Vector Drawing & Graphics Tips & Tricks
What This Tutorial Covers
Vector Tools
Pen, vector, and shape tools for path creation.
Boolean Operations
Combine shapes with union, subtract, intersect.
Edit Vectors
Refine bezier handles for precise curves.
Noble Desktop's UX/UI Design Certificate teaches Figma — the modern successor to Sketch.
Delve into a comprehensive Sketch tutorial covering a variety of topics including drawing custom vector shapes and borders, multiple ways to rotate, and more, with detailed steps and helpful images included.
Exercise Preview
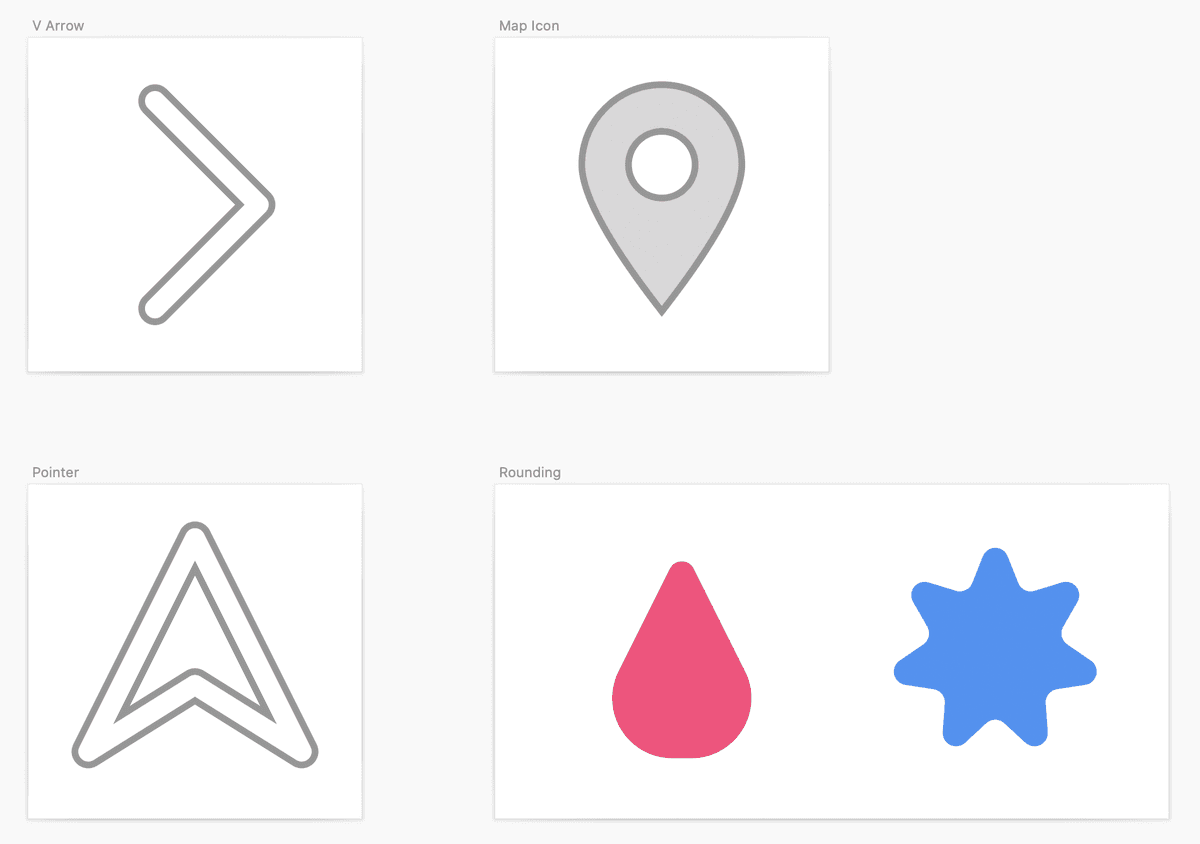
Drawing a Simple V Shaped Arrow
Let’s draw an arrow that looks like this:
![]()
- In Sketch, go to File > Open Local Document.
Navigate into Desktop > Class Files > Sketch Class and double–click on Drawing.sketch to open it.
- In the Toolbar, click the Insert button
 and choose Shape > Rectangle.
 - On the V Arrow artboard, hold Shift (to make it a perfect square) and drag to create a square that’s a similar size to the triangle and star on the Rounding artboard. (There’s no need to be an exact size.)
- In the Inspector, set the Borders width to 5.
- Choose Layer > Path > Scissors.
- Hover over the left side of the square and when it changes to a dashed line, click once to delete it.
- Click on the bottom of the square to delete it.
- Hit the Esc to stop using the Scissors.
Notice how the border is on the 2 sides we want it, but we still have an unwanted fill color. In the Inspector, under Fills uncheck the checkbox next to Color.
TIP: If you use the Scissors a lot and want a faster way to access it, you can add it to your Toolbar as follows. Right–click (or Control–click) anywhere on the Toolbar and choose Customize Toolbar. Drag the Scissors up into your Toolbar wherever you want it, and click Done.
Multiple Ways to Rotate
There are various ways to rotate things and each can be useful, so let’s explore them!
- With the V shape selected, at the top of the Inspector to the right of X & Y, enter 45° and hit Return to apply it.
- That’s what we want, but let’s explore other ways to rotate. Undo that by hitting Cmd-Z or choosing Edit > Undo.
To start a rotation:
- In macOS Big Sur & layer: In the Toolbar, click the Tools button
 and then choose Rotate. (You can also find this in Layer > Transform > Rotate).
 - Prior to macOS Big Sur: In the Toolbar, click on the Rotate button
 . (You can also find this in Layer > Transform > Rotate).
- In macOS Big Sur & layer: In the Toolbar, click the Tools button
- Hold Shift (to snap to 15° increments) and drag the shape to the correct position.
- Hit Return to finish rotating.
- Let’s see another way to rotate. Undo that again.
- In the Toolbar, click on the Rotate button (or go to Layer > Transform > Rotate).
- Hold Shift (to jump in 10 degree increments) and hit the Down Arrow key 4 times (so we’re at 40° rotation).
Now hit the Down Arrow 5 times (so we’re at 45° rotation).
This is not the fastest way to get to 45° rotation, but when you’re experimenting with arbitrary rotations, these keystrokes can be useful!
- Let’s see one last way to rotate. Undo the rotation so you’re back at 0° rotation.
- With the V shape selected, hover over the top right corner (the point of the V).
- You’ll see a resize cursor, but hold Cmd and it becomes a rotate cursor!
While holding Cmd and start dragging the arrow into the proper rotation. You’ll also want to hold Shift to snap to the 45° angle.
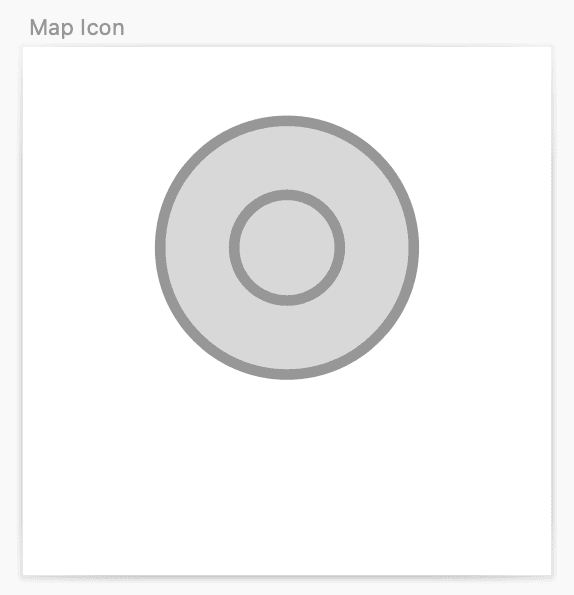
Drawing a Map Icon
Let’s draw a map icon that looks like this:
![]()
- In the Toolbar, click the Insert button and choose Shape > Oval.
- On the Map Icon artboard, hold Shift (to make it a perfect circle) and drag to create a circle that fills about the top half the artboard. Release the mouse/trackpad before releasing Shift.
- We need another circle for the hole in the middle. In the Toolbar, click the Insert button and choose Shape > Oval.
Mouse over the center of the existing circle. When you see the red smart guides indicating you’re perfectly centered in the circle, hold Option–Shift and drag out a new circle until you have something that looks about like this:
If the middle circle does not appear centered within the bigger circle, make sure the width of both circles are either odd numbers (ie: 13 and 23) or even numbers (ie: 14 and 24). If one circle’s width is odd and the other is even, you won’t be able to align them perfectly to each other.
After fixing the widths, you should be able to drag the smaller circle and have it snap to the center of the larger circle.
- Select both circles (by either dragging a selection over them, or clicking on one and Shift–clicking the other).
- To make the top circle punch an actual hole in the bottom circle, in the Toolbar click the Subtract button
 (or choose Layer > Combine > Subtract).
 Now we need to make the sharp bottom point. With the shape selected hit Return to show the vector anchor points.
TIP: Double–clicking will also take you into vector editing mode (although you may need to double–click multiple times if you have a combined shape like this one, because the first double–click takes you into the shape group).
Double–click on the bottom point (of the outer circle) to change it to a straight point.
TIP: You can switch between all the different point types by selecting a point (click once on the point) and in the Inspector click on the various buttons under Point Type.
- Lastly we need to move the point down. If the point is not still selected, click on it once to select it.
- Press the Down Arrow key several times until it looks good (add Shift if you want to move faster).
Click outside the artboards so nothing is selected.
Drawing a Pointer Arrow
Let’s draw an arrow that looks like this:
![]()
- Click on the Pointer artboard to make sure the other shape is deselected.
- In the Toolbar, click the Insert button and choose Shape > Triangle.
- On the Pointer artboard, hold Shift and drag to create a triangle that fills about 75% the artboard.
Hit Return to switch to vector editing mode and:
- Hover over bottom line.
- Hold Shift (to snap the point to the middle).
- Click once to add a point.
With the new point still selected, hit the Up Arrow key several times to move it up (add Shift if you want to move faster).