The Interview: Intro to Premiere Pro
What This Tutorial Covers
Workspace Tour
Project, Source, Program, and Timeline panels.
Importing Footage
Bring in interview clips and B-roll.
Sequence Setup
Match settings to your source footage.
Noble Desktop's Video Editing & Motion Graphics Certificate teaches Premiere Pro alongside After Effects, DaVinci Resolve, and the full motion design toolkit.
Dive into the intricacies of Premiere Pro with this detailed tutorial, covering everything from importing files and organizing projects to creating sequences and understanding timecodes.
Exercise Preview
Importing Files
Before you can work with video, images or audio in Premiere Pro you have to import your media files. You can import individual files one at a time, groups of files in the same folder and even entire folders and their sub–folders.
Now it’s time to add files to your project. Choose File > Import.
TIP: You can also use the keystroke Cmd–I (Mac) or CTRL–I (Windows) or open the Import dialog by double–clicking on any empty area of the Project panel.
Navigate to Desktop > Class Files > Premiere Pro Class > The Interview and:
Click once on the Media folder to highlight it (do NOT go into the folder).
Click Import (Mac) or Import Folder (Windows).
NOTE: When you import a folder, Premiere Pro imports the folder, its content, and all sub–folders/contents and converts them into bins in Premiere. There is one exception, folders with only one item will not be converted to bins but the file will still be imported.
In the Project panel, click the list view button
 at the bottom left.
NOTE: List view makes working with bins (Premiere’s name for folders) much easier.
In the Project panel, use the arrow
 to expand the Media bin.
Drag interview_audio.wav to the New Bin
 button on the bottom right of the Project panel.
- Rename the new bin 02—Audio.
Click on the Video bin and press the Return (Mac) or Enter (Windows) key to make the name editable.
- Rename this bin 01—Video
Click on the Images bin and press Return (Mac) or Enter (Windows) to make the name editable.
- Rename this bin 03—Images
Use the arrow
to expand the 01—Video bin.CTRL–click (Mac) or Right–click (Windows) on the Main Interview.mp4 clip and choose New Bin From Selection.
- Rename this new bin A—Roll
Click the arrow to collapse the 01—Video and 02—Audio bins. Then:
- Drag all three sub–bins (01—Video, 02—Audio, and 03—Images) out of the Media bin.
- Click on the Media bin and press Delete (Mac) or Backspace (Windows).
At the top of the Project panel, click on the Name column header to sort by that column.
Drag the divider between the Name and Frame Rate headers to the right to make the Name column wider.
This will make it easier to read long clip names.
Choose File > Save or Cmd–S (Mac) or CTRL–S (Windows) to save your project.
Creating a Sequence
A sequence in Premiere Pro is where you assemble your various assets together. It can contain any number of video, image, and audio files that you need to complete your editing tasks. A sequence has properties such as dimensions, frame rate, pixel aspect ratio, etc. Any footage added to a sequence has to be conformed to match the sequence settings. Usually we create a sequence from whichever clip represents the majority of our footage.
In the Project panel, use the arrow
to expand the 01—Video > A-Roll bin.From the A-Roll bin, drag Main Interview.mp4 into the empty Timeline panel to the right.
This creates a new sequence based on the settings of that clip.
Hold Shift and press the + (plus) key to expand the height of all of the video and audio tracks in the Timeline.
NOTE: Pressing Shift and + (plus) enlarges all the tracks while Shift and – (minus) reduces the heights of all the tracks on the timeline.
You can also enlarge the video or audio tracks using the vertical scroll bars on the right of the Timeline.
Individual track heights can be resized by dragging their border up or down in the track header section on the left of the Timeline.
Let’s pull our new sequence out of the folder.
In the Project panel, drag the Main Interview sequence (NOT Main Interview.mp4) out of the A-Roll bin and into an empty area of Project panel.
CTRL–click (Mac) or Right–click (Windows) on the Main Interview sequence and choose Rename.
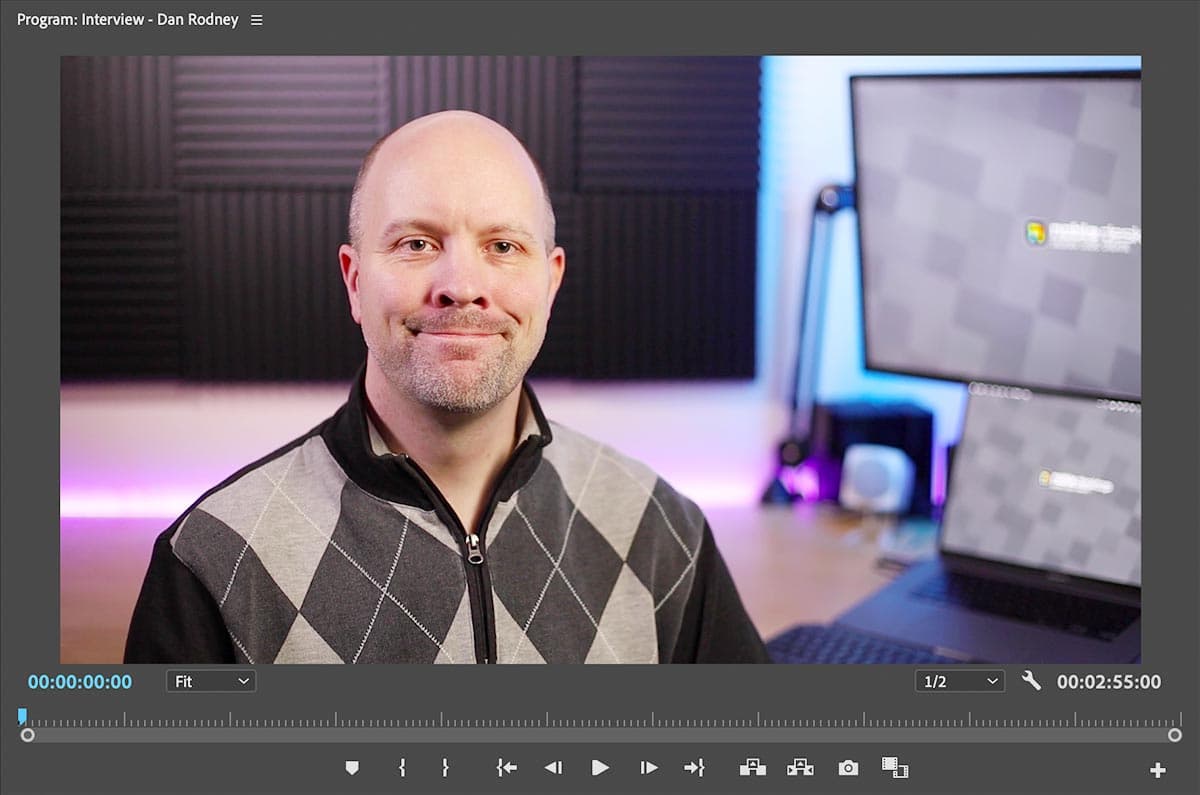
Rename the sequence Interview—Dan Rodney.
Click into the Timeline panel, then hit Spacebar to start playing the video.
Hit Spacebar again to stop the video.
Choose File > Save or hit Cmd–S (Mac) or CTRL–S (Windows).
Keep the project open because you’ll use it in the next exercise.