Special Characters & the Glyphs Panel
InCopy Workflow Setup
Designer Sets Up
Designer creates the InDesign layout with named text frames.
Export Assignments
File → Assignments → New — bundles frames for the editor.
Editor Opens InCopy
Editor checks out content, writes within the layout's constraints.
Check In Updates
Designer sees real-time text changes flow into the InDesign layout.
Noble Desktop's Graphic Design Certificate covers InDesign — the layout app that pairs with InCopy for editorial workflows.
Discover how to insert special characters and use the Glyphs panel with these straightforward instructions and helpful tips.
Inserting Characters Using the Glyphs Panel
Put the text cursor
 where you want to insert the special character.
Go to Type > Glyphs.
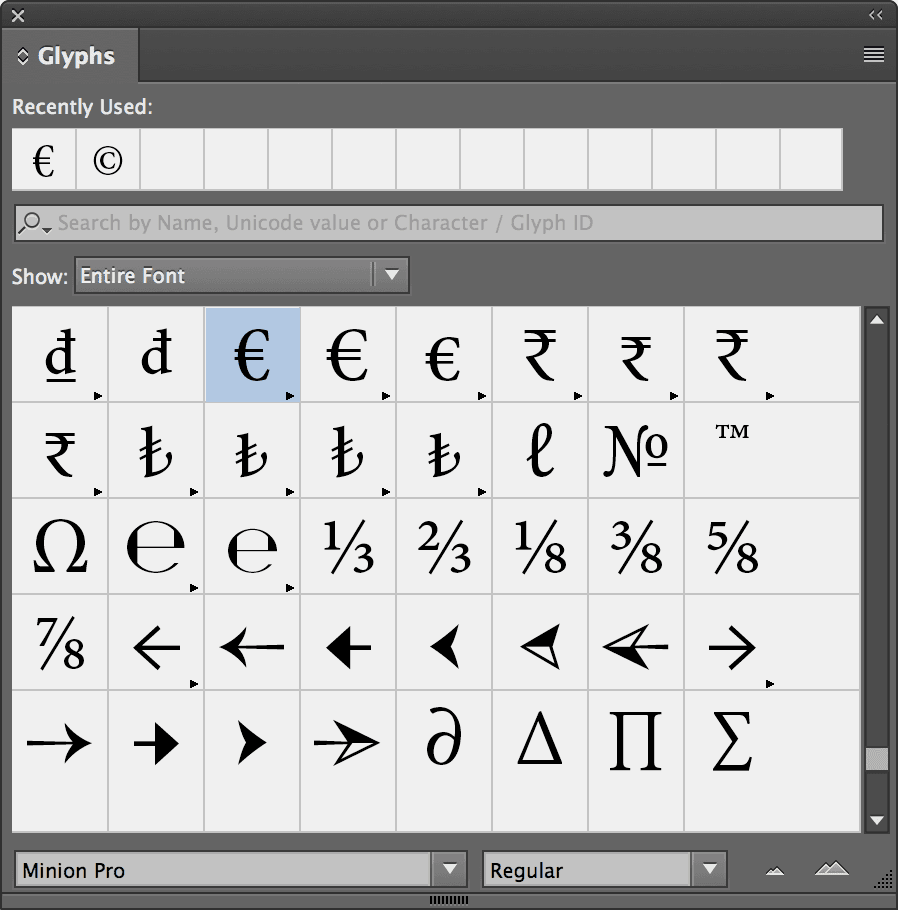
The font selected will be the same as the text you are currently editing. If you would like to change the font, do so at the bottom left of the panel.
To enlarge/reduce the previews, use the Zoom In
 and Zoom Out buttons
  at the bottom right of the panel.
Double–click the desired character to insert it.