Setting Your User Name
InCopy Workflow Setup
Designer Sets Up
Designer creates the InDesign layout with named text frames.
Export Assignments
File → Assignments → New — bundles frames for the editor.
Editor Opens InCopy
Editor checks out content, writes within the layout's constraints.
Check In Updates
Designer sees real-time text changes flow into the InDesign layout.
Noble Desktop's Graphic Design Certificate covers InDesign — the layout app that pairs with InCopy for editorial workflows.
Learn about the importance of User Names in InCopy, how to check and set your User Name, and understand the functionality it provides in collaborative work environments.
Checking the User Name
You may need to check the current User Name. For example, if you change to someone else’s computer you may want to temporarily change the User Name so people know you made that Note or change.
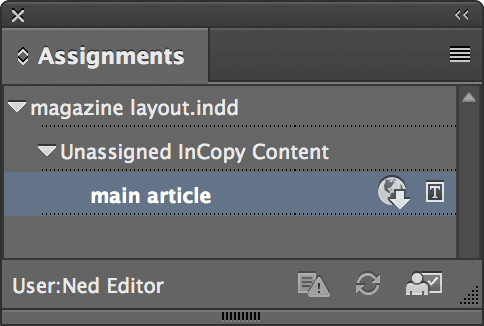
Go to Window > Assignments.
At the bottom left of the panel, the User Name is displayed.
As shown below, the User Name is Ned Editor.
Setting the User Name
- If you have any documents open, close them all.
- Go into the File menu and choose User.
Enter a unique User Name and Color. Click OK.
Setting the User Name in the Assignments Panel
Open the Assignments panel (Window > Assignments).
At the top right of the panel, click the panel menu button
 to open the menu.
- From that panel menu, choose User.