Uploading a WordPress Site (Home/Office)
What This Tutorial Covers
FTP/SFTP Upload
Transfer files from local development to live server.
Database Migration
Export local DB and import to production.
URL Replacement
Update URLs from local to production via search-replace tools.
Noble Desktop's WordPress Bootcamp teaches WordPress for site builders and developers.
Dive into the intricate steps of uploading a WordPress site with this comprehensive tutorial, discussing topics such as exporting a database, modifying SQL for appropriate absolute URLs, and the process of uploading WordPress and importing a database.
Exercise Preview
Exporting the Database
WordPress stores all the posts, page content, and comments in a MySQL database. We can easily transfer all our site content from the local version to the remote server by transferring the database.
Start your server and open phpMyAdmin, as shown below:
Mac
- Open the MAMP application.
- Servers should start automatically; if not, click Start Servers.
- Click Open WebStart page if the MAMP start page doesn’t automatically open in your default browser.
- On the start page, in the nav menu, go to Tools > phpMyAdmin.
Windows
- Open XAMPP.
- In the control panel, ensure the Apache and MySQL services are running.
- Open your browser and go to localhost
- On the start page, on the left sidebar, under Tools, click phpMyAdmin.
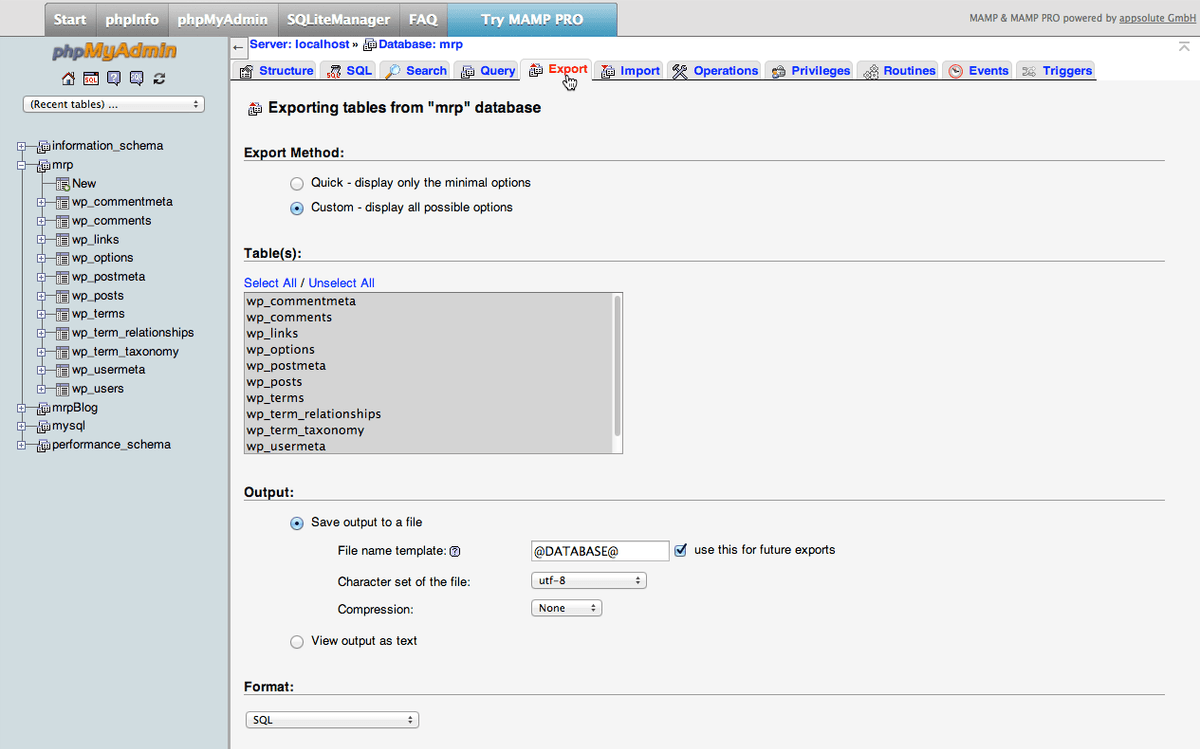
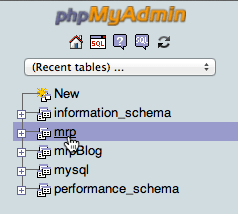
Click the mrp database from the list of databases on the left. This is the WordPress database that stores everything.
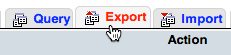
On the following page, click the Export tab:
To finish exporting your WordPress database, follow the appropriate directions for your operating system:
Mac
- Under Export Method, choose Custom.
- Under Table(s), click Select All to make sure all the tables are selected.
- Under Output, choose Save output to a file.
- Under Object creation options, check on Add DROP TABLE / VIEW / PROCEDURE / FUNCTION / EVENT / TRIGGER statement.
- At the bottom of the page, click Go.
Windows
- Under Export Method, choose Custom.
- Under Object creation options, check on Add DROP TABLE / VIEW / PROCEDURE / FUNCTION / EVENT / TRIGGER statement.
- At the bottom of the page, click Go.
If a pop-up window appears, Save the file into your Downloads folder. (If you are using Chrome on any platform or Safari on a Mac, it won’t open a pop-up window; it will just download the file.)
NOTE: By default, most web browsers will download files into the Downloads folder on your machine. Depending on whether you have changed your preferences, the file may download into another location other than the Downloads folder.
The mrp.SQL file will now be downloaded and placed in your Downloads folder.
Importing the Database
Go to 000webhost.com/members
Enter your email and password and click Log In (if you’re not logged in already).
Along the top menu, click Manage database.
Near the bottom right, click New Database.
Create a new database, user, and password:
Database name: mrp Database username: user Password: passw0rd (the letter o is a zero) When complete, click Create.
- On the following page, it will display important information regarding the database. Write it down because you’ll need it later.
- DB Name
- DB User
- DB Host
NOTE: Your database username (DB User) and database name (DB Name) have been prefixed with a series of numbers. Your password has not been changed.
On the right of the database table, click Manage > PhpMyAdmin.
This should take you to the phpMyAdmin page. Enter your new database Username and Password.
Click on your database name from the list of databases on the left.
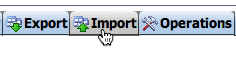
Click on the Import tab.
Click the Choose File button (in some browsers it is Browse).
Go to the Downloads folder where the mrp.SQL file was saved.
Double–click mrp.SQL
At the bottom of the page, click the Go button. It should import your database. You’ll know it worked if you see a message at the top that says something like: Import has been successfully finished, 69 queries executed.