Optimizing with Plugins
What This Tutorial Covers
Caching
Page and object caching for faster loads.
Image Optimization
Compress and serve modern formats.
Database Cleanup
Remove revisions and transients regularly.
Noble Desktop's WordPress Bootcamp teaches WordPress for site builders and developers.
Improve the functionality and performance of your WordPress site with these comprehensive step-by-step tutorials on how to install and configure four must-have plugins: Akismet, WordPress SEO by Yoast, Google XML Sitemaps, and QuickCache.
Topics Covered in This WordPress Tutorial:
Akismet, WordPress SEO by Yoast, Google XML Sitemaps, QuickCache
Exercise Preview
Exercise Overview
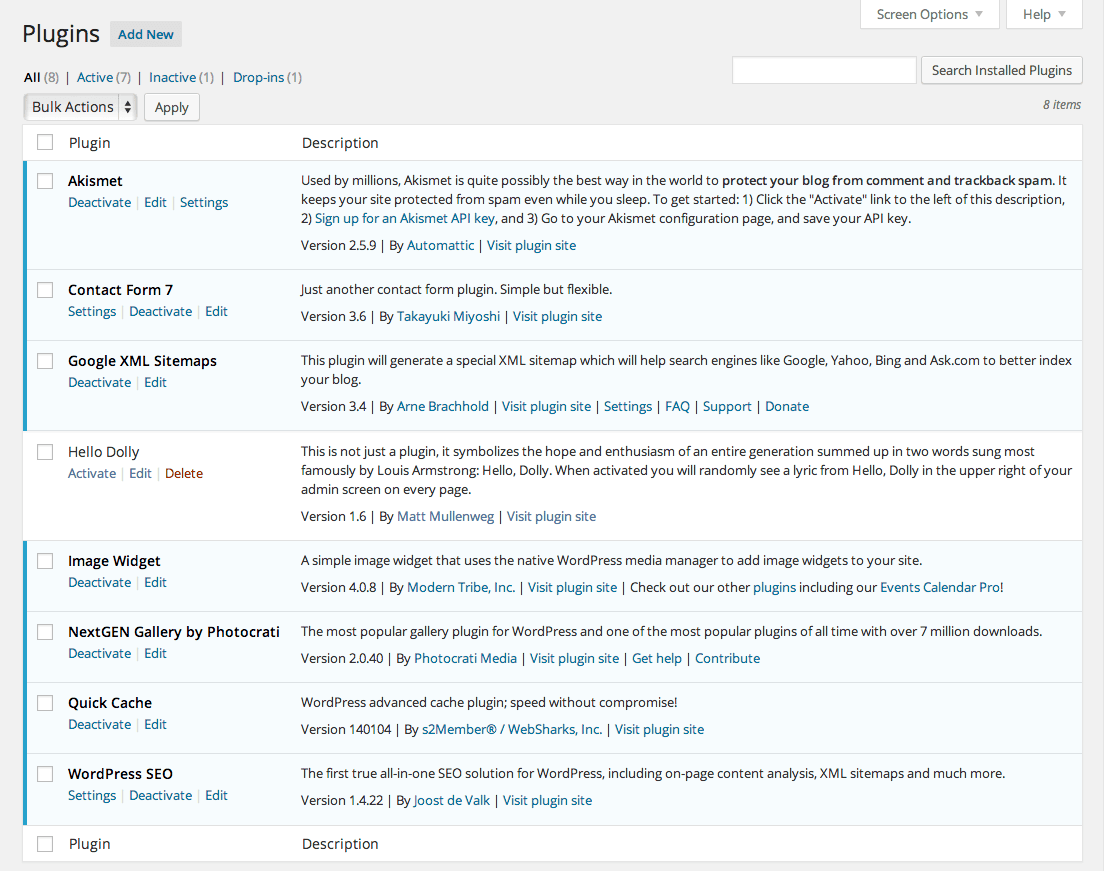
While there are over 12,000 plugins in the WordPress plugin repository, there are four that are must-haves for any site: Akismet, WordPress SEO by Yoast, Google XML Sitemaps, and QuickCache. These plugins are designed to block spam, optimize your site for search engines, and improve performance. In this exercise, you will learn how to install and configure these four plugins on your live site.
Akismet
This plugin does not require installation because it comes by default with any WordPress install. However, you do need to sign up to use it.
Please note that for this exercise we will continue to work on our local server. In a real life project, you should install these plugins on your remote server.
- Go to:
- Mac: localhost:8888/mrp/wp-admin
- Windows: localhost/mrp/wp-admin
Log in to your site.
On the left side, click Plugins.
Under Akismet, click Activate.
Once activated, a button will appear at the top of your screen; click the Activate your Akismet account button.
Click the Get your API key button.
Click the large Get an Akismet API Key button.
If you don’t have a WordPress.com account, fill out and submit the form to create one. If you do have an account, click I already have a WordPress.com account!
Sign in. (If a window pops up, click Authorize.)
On the following page, under Personal, click the Sign Up button.
Under WHAT IS AKISMET WORTH TO YOU? move the price slider to $0.
Fill in your contact info, if it asks for it.
Click Continue.
Your Akismet API key will appear on the next page.
Highlight the API key.
Hit Cmd–C (Mac) or CTRL–C (Windows) to copy it.
- Go to:
- Mac: localhost:8888/mrp/wp-admin
- Windows: localhost/mrp/wp-admin
On the left side, go to Settings > Akismet.
In the text field next to Manually enter an API key, hit Cmd–V (Mac) or CTRL–V (Windows) to paste your API key.
Click the Use this key button.
Click the Save Changes button.
Great, you will now be protected from evil spam! However, if you do continue to receive any spam, make sure to mark it as spam to give yourself greater protection in the future.
NOTE: Even though you have the option of paying nothing, this is worth at least a few dollars a month. Reward the developers for their hard work. If you’re using this on a commercial site, you will need to purchase a paid license. See the plugin’s website for pricing and details.
WordPress SEO by Yoast
This fantastic plugin optimizes your site to appear better in search engines. A few great features are that it automatically generates unique titles, meta tags, and canonical URLs.
On the left side, go to Plugins > Add New.
In the Search field, type yoast and hit Return (Mac) or Enter (Windows).
Next to WordPress SEO by Yoast, click Install Now.
If you are asked if you are sure you want to install the plugin, click OK.
Once it is finished installing, click Activate Plugin.
If a dialog appears regarding anonymous stats, click Do not allow tracking.
On the left, notice an SEO category has been added to our Dashboard menu.
Mouse over SEO and choose Titles & Metas.
If an explanatory dialog appears, click Close.
Let’s customize the information in our homepage head. At the top of the plugin section, click on the Home tab.
Click the editing the front page itself
>>link.Scroll down to the WordPress SEO by Yoast module.
Next to SEO Title, type: Monteith Restoration & Performance
CTRL–click (Mac) or Right–click (Windows) on the Monteith Restoration & Performance link at the top of the page and choose Open Link in New Tab (or Window).
Make sure you are in the MRP preview page. In the main content area, select the text under the About Us heading.
Hit Cmd–C (Mac) or CTRL–C (Windows) to copy it.
Switch back to the window with the WordPress SEO by Yoast module.
Place the cursor in the text area next to Meta description.
Hit Cmd–V (Mac) or CTRL–V (Windows) to paste the text you copied.
This new copy will be displayed only on the homepage of the Monteith Restoration & Performance site and will help give your Google listing a more accurate description of what your site is about.
In the Publish module at the top right, click the Update button.
Go back to the MRP homepage and reload it.
If you view the source code, you will notice that a new meta description has been added that matches the one you added in the plugin settings.
This plugin has many powerful options; feel free to experiment with them on your own.
Google XML Sitemaps
An XML sitemap is an outline of the structure of your site. This helps search engine crawlers to quickly index your site.
Back in the Dashboard, on the left side, go to Plugins > Add New.
Click on the Popular link at the top. Google XML Sitemaps should be one of the top plugins listed.
Click Install Now. If asked if you are sure you want to install the plugin, click OK.
Once it is finished installing, click Activate Plugin.
That’s it! A sitemap.XML page was added to your site to assist search engine crawlers index your site.
Quick Cache
If you are using too many plugins or making many requests to the database, your WordPress site’s performance may slow down. To speed things up, you can use the Quick Cache plugin.
On the left side, go to Plugins > Add New.
In the Search field, type quick cache and hit Return (Mac) or Enter (Windows).
Quick Cache (Speed Without Compromise) by WebSharks Inc. should be one of the top plugins listed.
Click Install Now. If asked if you are sure you want to install the plugin, click OK.
Once it is finished installing, click Activate Plugin.
There is now a Quick Cache category on the left. Click on it.
Under Enable/Disable, click the big Yes, enable Quick Cache! button.
Scroll to the bottom of the page and click Save All Changes.
That’s it! Now your site is ready to go!