Adding Custom Fields
What This Tutorial Covers
Custom Fields Basics
Built-in WordPress meta data for posts and pages.
Advanced Custom Fields Plugin
ACF makes custom fields friendly for non-developers.
Template Integration
Display custom field values in your theme files.
Noble Desktop's WordPress Bootcamp teaches WordPress for site builders and developers.
Learn how to add custom fields and install a WYSIWYG editor plugin in WordPress, including step-by-step instructions on setting up a new database, installing WordPress, creating a wp-config.php file, and activating the theme.
Exercise Preview
Adding Some Content to the Custom Fields
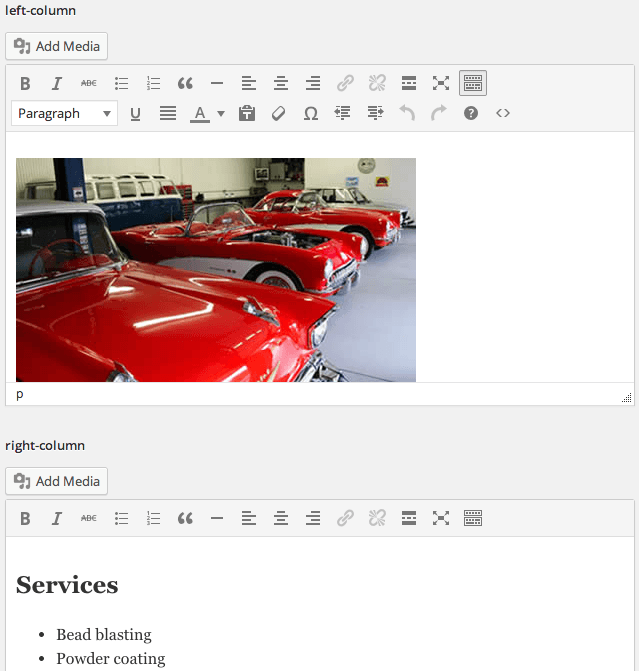
Scroll to the bottom and notice that we have a left-column and right-column section with WYSIWYG editors. We can use these to edit and create content without touching HTML code. Let’s add some content.
In the left-column custom field, delete everything in the text area.
Under left-column, click the Add Media button to upload an image.
In the Upload Files tab, click the Select Files button.
Navigate to Desktop > Class Files > WordPress.org Class > landm Content > images and double–click highlight-red-cars.jpg.
After the image appears on screen, next to ALT Text, type: L&M Classic Cars
Choose the following options for the image:
Alignment: None Link To: None Size: Full Size Click the Insert into post button.
We also still have the option to paste in HTML code. Let’s do so for our right-column. Switch to your code editor.
Open services-bottom.txt from the Class Files > WordPress.org Class > landm Content folder.
Select everything and copy it.
Hit Cmd–W (Mac) or CTRL–W (Windows) to close the file but not the folder.
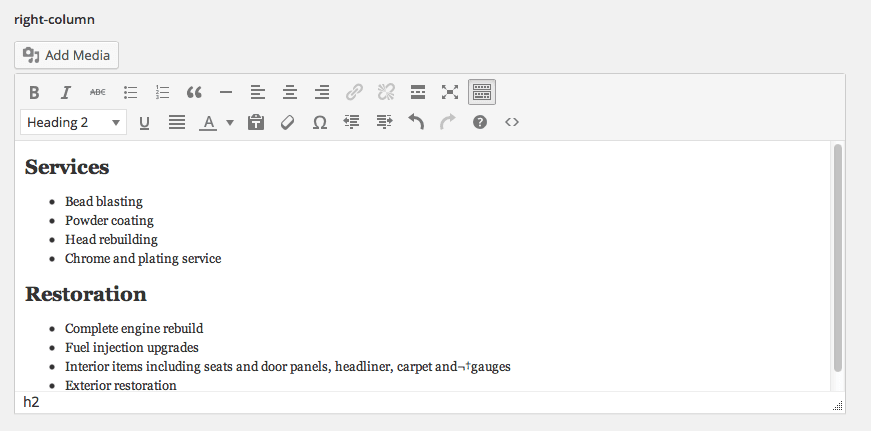
Go back to the Dashboard. In the right-column section, click the Toolbar Toggle button
 to show more options.
Click the Source code button
 to open up a modal where we can paste HTML.
Delete everything in the text area.
Paste in the content.
Click OK and you’ll see a nicely-formatted list:
At the top right, click Update.
Click View Page at the top and check it out! That’s some nicely-formatted content.
Bonus: Adding Content to Custom Fields
Switch to your code editor and open form-static.txt from the Class Files > WordPress.org Class > landm Content folder.
Select everything and copy it.
Hit Cmd–W (Mac) or CTRL–W (Windows) to close the file but not the folder.
Go back to the Dashboard. In the left-column section, click the Toolbar Toggle button
to show more options if they aren’t already showing.Click the Source code button
to open up a modal where we can paste HTML.Paste in the content.
Click OK to see the text properly formatted.
Switch to your code editor and open contact.txt from the Class Files > WordPress.org Class > landm Content folder.
Select everything and copy it.
Hit Cmd–W (Mac) or CTRL–W (Windows) to close the file but not the folder.
Go back to the Dashboard. In the right-column section, click the Toolbar Toggle button
to show more options if they aren’t already showing.Click the Source code button
to open up a modal where we can paste HTML.Paste in the content.
Click OK and you should see the text properly formatted.
At the top right, click Publish.
Click View Page at the top to check out the About & Contact page.