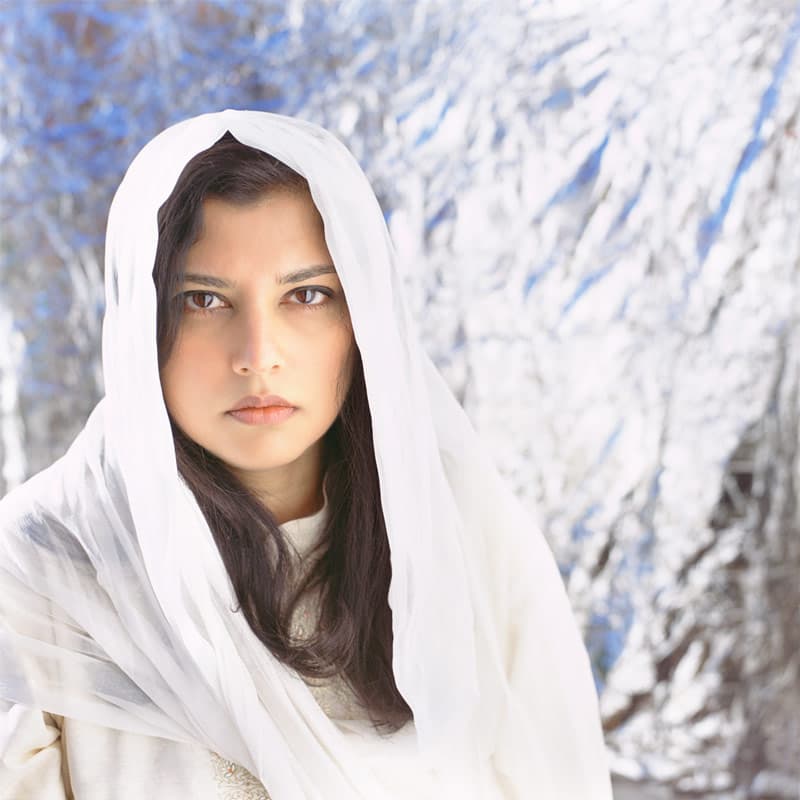
Smoothing Skin with Blending Modes
Smooth Skin via Blend Modes
Duplicate Background, Set to Lighten
Lighten only brightens beneath layer where the duplicate is darker.
Filter → Blur → Gaussian Blur
Radius 5 px softens highlights independently.
Rename to 'blurred lighten' & Lower Opacity
Adjust opacity to taste — too much creates the dreaded airbrushed look.
Repeat with Darken for Shadows
Mirror the technique with a Darken-mode layer to soften dark patches.
Noble Desktop's Photoshop Bootcamp covers retouching, compositing, color correction, and pro editing.
Learn how to enhance your Photoshop skills with this comprehensive tutorial covering topics like skin smoothing, adding natural-looking texture, and controlling the intensity of the smoothing effect.
Exercise Preview
Adding Texture Back in
The skin is certainly smoother, but it’s also a little unnatural looking. We can improve it by adding a bit of texture. Select the blurred darken layer so we can create a layer above it.
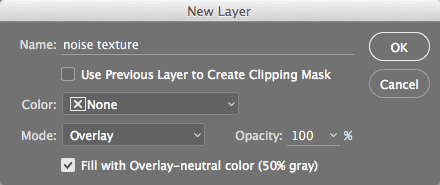
Hit Cmd–Shift–N (Mac) or CTRL–Shift–N (Windows) and set the following:
- Name it noise texture.
- Set its blending mode to Overlay.
- Check Fill with Overlay-neutral color.
An Overlay layer adds contrast by:
- Brightening wherever pixels are brighter than 50% neutral gray
- Darkening wherever pixels are darker than 50% neutral gray
So starting off with solid 50% neutral gray will produce no effect whatsoever, which is a good place to start!
Click OK.
With the noise texture layer still selected, choose Filter > Noise > Add Noise.
Make sure that Gaussian is selected and check Monochromatic if it isn’t already.
Enter an Amount around 2–5%. This will depend on the resolution of your file. Keep in mind that if you add a little too much, you can reduce the opacity of the layer afterwards.
Click OK.
Reduce the opacity of the noise texture layer as desired.
Let’s group the three layers that comprise this effect so we can modify the entire effect at once.
Shift–click the blurred lighten layer so the top three layers are highlighted.
Go to Layer > Group Layers (Cmd–G (Mac) or CTRL–G (Windows)).
Name the group smooth skin.
Controlling the Intensity of the Smoothing Effect
Make sure the Group
 is selected and if desired, adjust the group’s opacity until the smoothing effect looks right.
To control where the smoothing effect is visible we’ll use a layer mask. We can approach this two ways. We can start by showing the smoothing everywhere, then mask away what we don’t want. However, our preferred method is to hide the smoothing everywhere, then paint it back in only where we want it. To do that, make sure the Group
is still selected and go to Layer > Layer Mask > Hide All.Use a soft edge white paintbrush on the layer mask to show the effect where desired. Adjust the opacity of the brush to control how much of the smoothing effect you bring back in.
Save the file when done.
TIP: If this is something you frequently need to do, the steps in this exercise would work well as an action. The action could make all the layers/groups and add the layer mask to hide the smoothing effect. All that would be left for you to do on each image would be to adjust the opacity of the layers and paint the smoothing effect back in where you want it.