3D Type Shadow
Photo Retouching Steps
Camera RAW First
Global tone, white balance, and lens corrections in Camera RAW.
Spot Healing
Remove dust, blemishes, and small distractions.
Frequency Separation
Smooth skin texture without losing pore detail.
Final Color Grade
Curves and selective color for the final mood.
Noble Desktop's Photoshop Bootcamp covers retouching, compositing, color correction, and pro editing.
Learn how to create a 3D effect with drop shadows and transform tools in Photoshop through this comprehensive tutorial.
Exercise Preview
Adding 2D Drop Shadow to Text
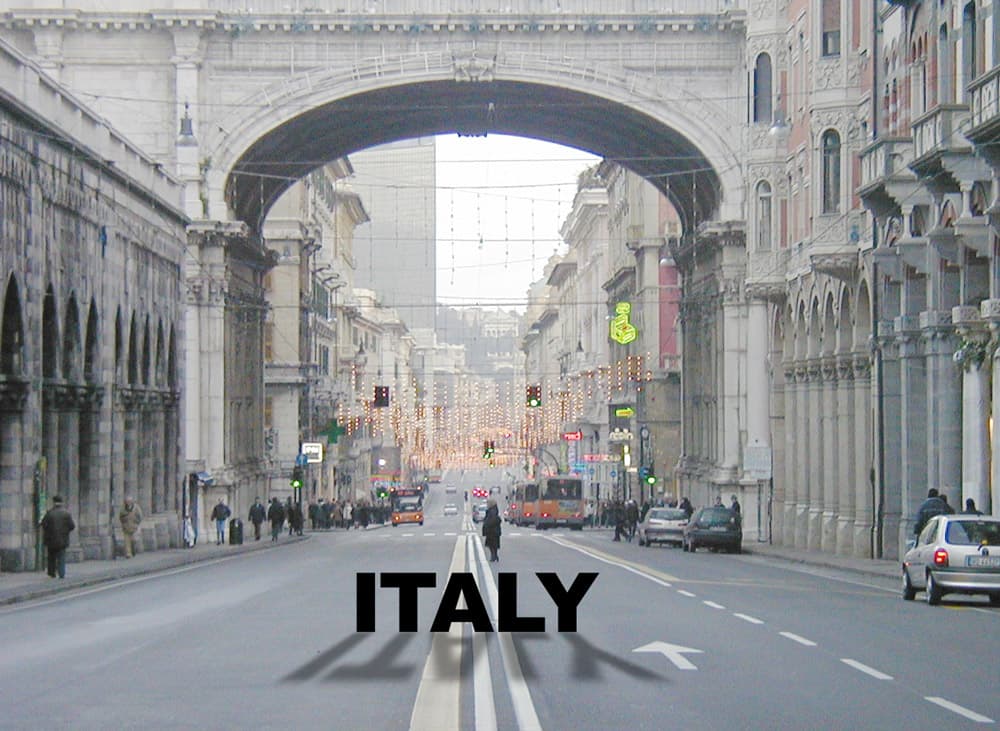
From the Photoshop Class folder, open the file italy.psd.
Choose the Horizontal Type tool
 .
.In the Options bar at the top of the screen, make the text Arial Black, 100 pt, and Center text
 .
.Click in the middle of the street (on the lane divider line) and type the word ITALY in all caps.
While still in the Horizontal Type tool
, select the text and go into the Character panel (Window > Character).Click the Color swatch and in the window that appears, choose black.
From the Kerning menu
 , choose Optical. Ahh, now the text looks better.
Choose the Move tool
 and position the text in the middle of the road, making sure to leave enough space below it for the shadow.
In the Layers panel (Window > Layers), make sure the ITALY layer is still selected.
At the bottom of the Layers panel, click Add a layer style
 and from the menu, choose Drop Shadow. Set the following options before clicking OK:
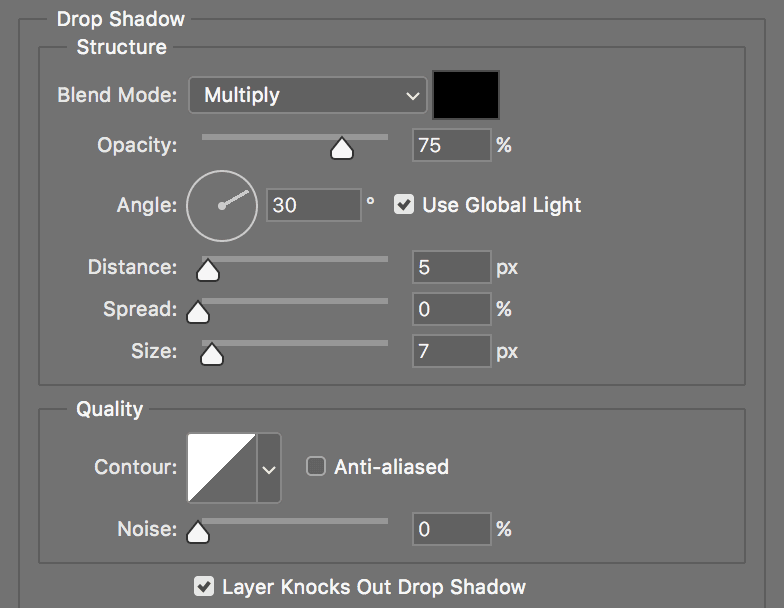
Using Transform to Create a 3D Effect
In order to transform the shadow, we need to break it off into a separate layer. Go into Layer > Layer Style > Create Layer. A warning may appear telling you that some layer effects can’t be reproduced with layers. It doesn’t affect us, so click OK.
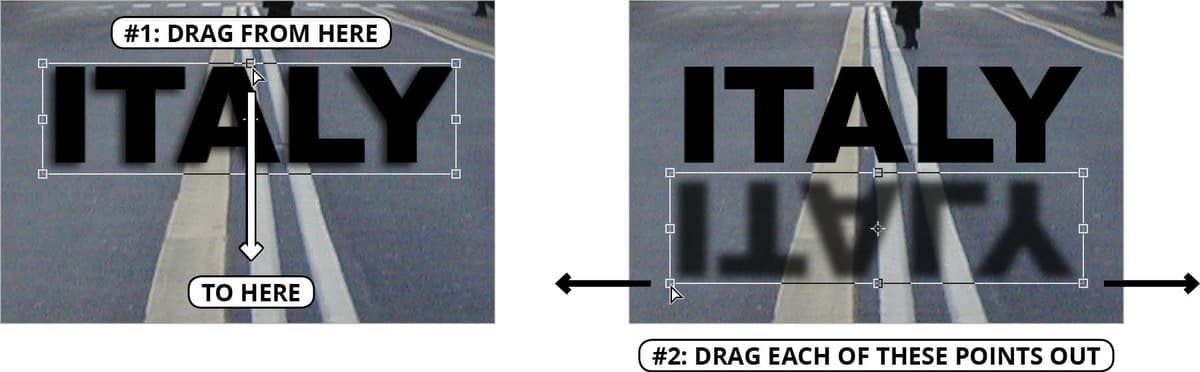
Click on the new layer ITALY’s Drop Shadow and go to Edit > Transform > Distort.
Distort the text so it looks like the finished product. Use the pictures below as a guide. Hit Return (Mac) or Enter (Windows) when you’re happy with the results.
Use the Move tool
to move the shadow up a bit so it’s touching the bottom edge of the text.If you think the shape still needs more fine-tuning:
- Go back to Edit > Transform > Distort.
- In the Layers panel, adjust the Fill (Opacity) as desired. Ciao!