Saving Photos for the Web as JPEG
Save Photos as JPEG for Web
View at 100%
Always preview at actual size before downsizing.
Save a PSD Backup First
File → Save As → keep an editable original alongside the web export.
Image → Image Size with Resample On
Photoshop auto-picks Bicubic Sharper for downsizing — keeps detail.
Set 72 ppi, target Width in pixels
Pixel dimensions matter on the web, not ppi. Smaller = faster page = better Google rank.
Noble Desktop's Photoshop Bootcamp covers retouching, compositing, color correction, and pro editing.
Dive into this comprehensive Photoshop tutorial to learn how to resize images for the web, reduce image size with resampling, and set JPEG quality, helping to optimize your website's Google ranking.
Exercise Preview
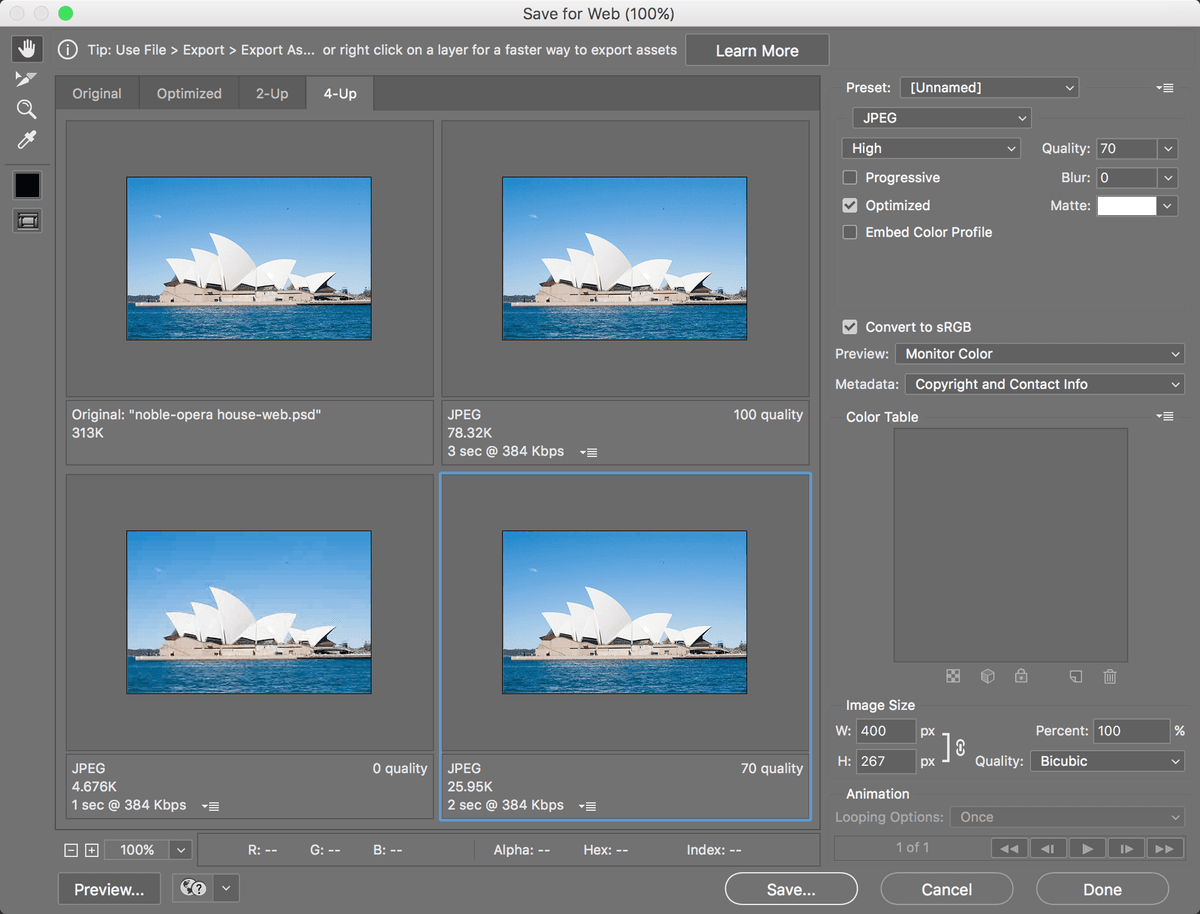
Photo by Dan Rodney
Resizing an Image for the Web
- From the Photoshop Class folder, open the file opera house.jpg.
- Choose View > 100%.
- Before making this web-ready, it’s a good practice to save a copy. Go to File > Save As.
- Next to Format (Mac) or Save as type (Windows), choose Photoshop.
- Name it yourname-opera house-web.psd and click Save.
- Go to Image > Image Size.
At the bottom, make sure Resample is checked on.
Resampling
Resampling means to add, remove, or recalculate pixels.
When Resample is checked, the number of pixels actually changes. Either pixels are removed, creating an image with less pixel information, or pixels are added—these “made‑up” pixels often result in a less detailed, more blurry image.
When it is unchecked, resizing or changing the resolution of the image will not affect the number of pixels in the image—but you can convert a large printing, low-resolution image to a smaller printing, high-resolution version, or vice versa.
- Make sure Constrain Aspect Ratio
 is checked on (darkened).
 - To the right of Width, set the menu to Pixels.
Set Width to 600 pixels. The height will change automatically to maintain the proportions of the image.
NOTE: The specific pixel dimensions you need will depend on where you’ll use the image such as social media websites, a corporate website, etc.
Click OK.
Notice that it’s now a much smaller image, appropriately sized for our specific use.
Setting JPEG Quality in the Save for Web Dialog
Go to File > Export > Save for Web (Legacy).
NOTE: Save for Web is marked as Legacy because Adobe won’t be updating it to support new features such as artboards. Adobe introduced new exporting methods such as File > Export > Export As. Each has pros and cons, and Adobe is keeping Save for Web until the new methods can fully replace it.
A new window appears, allowing you to adjust compression settings and preview the final image. Click the 4-Up tab at the top.
You’re now looking at the original, uncompressed image in the upper left of the window, and three compressed versions, each using a different setting. Click on the upper right image.
In the settings on the right, from the menu below Preset, choose JPEG.
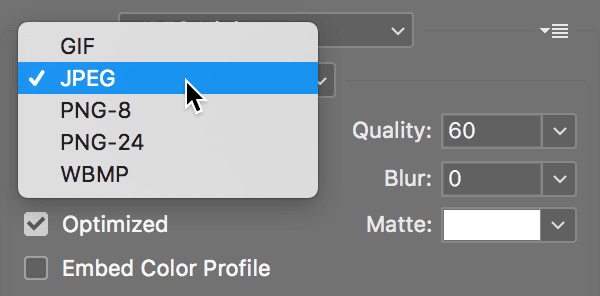
NOTE: The JPEG format is best for photos. It maintains good quality at a small file size. Be careful, though—the more you compress JPEGs, the more they will degrade and visual distortions will appear.
For the Quality setting on the right side of the window, type 100.
Note that the file size appears under each of the compressed preview images. While this doesn’t cause much visual distortion, we can get a much smaller file if we try a lower quality.
Click on the lower left image. Choose JPEG and set the Quality to 0.
This is too distorted for most purposes, but the file size is small!
Click on the lower right image. Choose JPEG and set the Quality to 70.
This is getting closer. There’s only minor distortion. The trade-off between quality and file size reaches a good balance here.
Notice that there’s a thicker border around the lower right image preview area. That indicates it’s the selected version. Click Save to save a copy of this one.
Make sure it’s named yourname-opera-house-web.jpg.
NOTE: When naming files for the web, do not use spaces in the filename. Spaces will cause problems with web browsers. Use dashes or underscores instead. Photoshop will automatically replace any spaces with dashes.
Navigate to the Photoshop Class folder and click Save (Format: Images Only).
You should now be looking at the original Photoshop file. Go to File > Save. This will save the JPEG quality settings. If changes need to be made later, it will remember the Save for Web settings we used for this specific file!
Close the file.