Removing Moiré Patterns
Remove Moiré from a Scan
Scan at an Unusual ppi
718 ppi instead of 300 disrupts the halftone pattern.
Filter → Noise → Median
Apply with Radius: 2 pixels — blends adjacent pixels to equalize the moiré.
Resize to Final ppi
Image → Image Size to bring the file back to your output resolution.
Sharpen Carefully
Smart Sharpen with low Amount to restore detail without bringing back the moiré.
Noble Desktop's Photoshop Bootcamp covers retouching, compositing, color correction, and pro editing.
Learn how to remove a moiré pattern from a scanned printed photograph with our Photoshop tutorial, featuring step-by-step instructions and practical exercises.
Exercise Preview
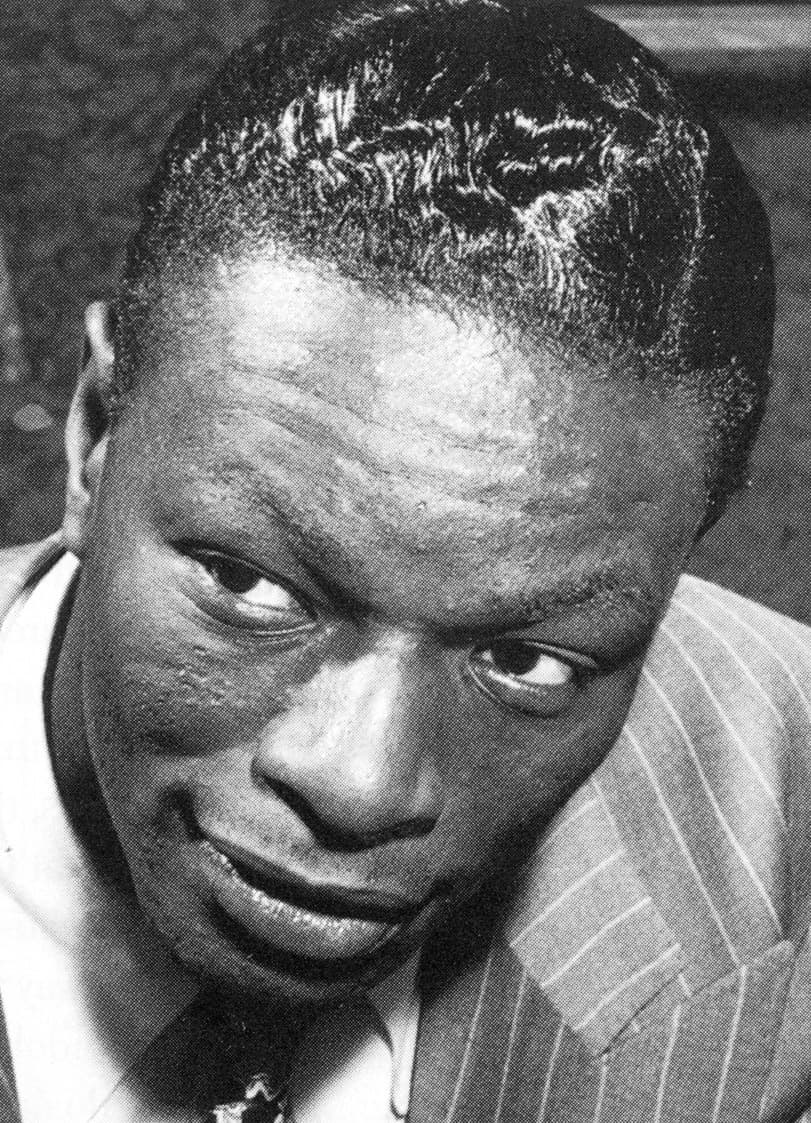
Depending on the print quality of this workbook, you may not be able to see the moiré pattern in this scan. This can also be true for your personal printer. It’s best to trust the view on-screen at 100%.