Creating Shadows & Layers
Photo Retouching Steps
Camera RAW First
Global tone, white balance, and lens corrections in Camera RAW.
Spot Healing
Remove dust, blemishes, and small distractions.
Frequency Separation
Smooth skin texture without losing pore detail.
Final Color Grade
Curves and selective color for the final mood.
Noble Desktop's Photoshop Bootcamp covers retouching, compositing, color correction, and pro editing.
Learn the fundamentals of using layers and creating drop shadows in Photoshop with this detailed tutorial, featuring step-by-step exercises and helpful screenshots.
Exercise Preview
Adding the Drop Shadow
As previously mentioned, you can add a drop shadow by choosing it from the Layer menu, but let’s do it an easier way.
At the bottom of the Layers panel, click the Add a layer style button
 and from the menu, choose Drop Shadow, as shown below.
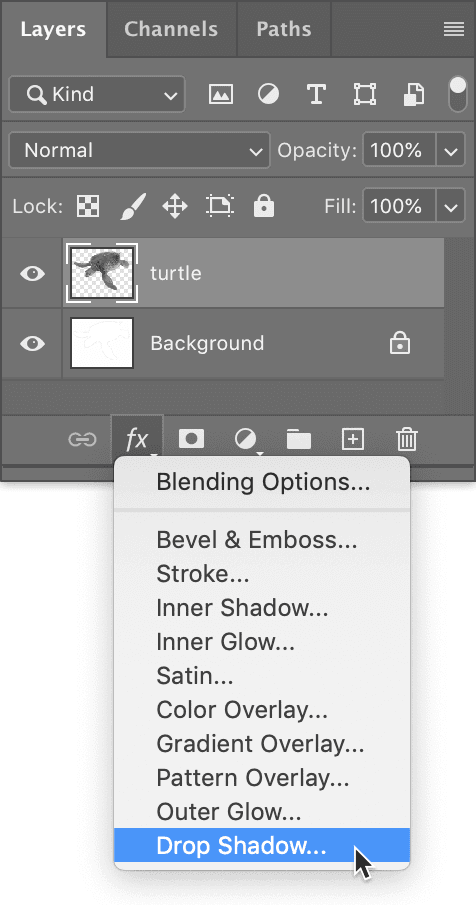
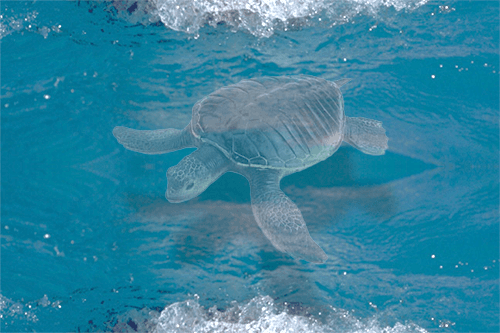
When the dialog opens, you will notice a little shadow underneath the turtle. Try moving it around by clicking inside the image window and dragging it around.
Set the following options in the Layer Style dialog:
Blend Mode: Multiply Opacity: 50% Angle: This one’s up to you! (Distance and Angle are determined when you drag the shadow in the window.) Distance: Also up to you! Spread: 0% Size: 8 px Noise: 0% Click OK.
That’s how easy it is to create a drop shadow! Look in the Layers panel. To the right of the turtle layer, there is an effects icon
, which indicates there is a layer style. Below the turtle layer, the Effects are listed.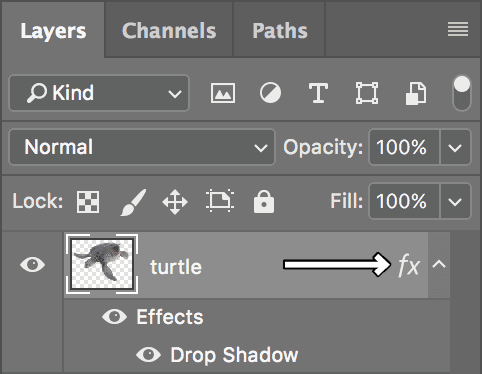
To clean up the Layers panel, click the up arrow
 just to the right of this symbol. Notice how the Drop Shadow listing is hidden.
Click the arrow again, and you can see the list of Effects once again.
If you double–click on the name of the effect, you will be able to alter the shadow’s settings like distance, light angle, opacity, etc. Try it out for fun.