Color Settings & CMYK Conversions
Photoshop Best Practices
Always use adjustment layers and Smart Objects.
Flatten only at export, not during editing.
filename-v1.psd, filename-v2.psd — never overwrite history.
Color decisions are only as good as the display you make them on.
Noble Desktop's Photoshop Bootcamp covers retouching, compositing, color correction, and pro editing.
Discover the intricacies of CMYK conversions in Photoshop, including how to choose the correct profile for your conversion, load color profiles, compare different conversions, and understand the importance of these profiles in creating accurate colors for your designs and images.
Exercise Preview

Getting Started
Close all files you may have open, then open yourname-lifestyle.psd.
In the dialog make sure Use the embedded profile is chosen and click OK.

Explanation: This image’s embedded profile is ColorMatch RGB. Like Adobe RGB, ColorMatch RGB is a good, device-independent workspace. Even though in this class we’ve chosen Adobe RGB as our workspace, it’s not worth converting from one to the other because loss can occur when converting between colorspaces. Because ColorMatch RGB is a perfectly good workspace, we should just use it for this image.
Save the file as yourname-lifestyle-flat4printer.psd.
Go to Layer > Flatten Image.
Making a Copy so We Can Compare the Settings
To duplicate the image, go to Image > Duplicate and click OK. You should now have two copies of the image open, making it easy to compare.
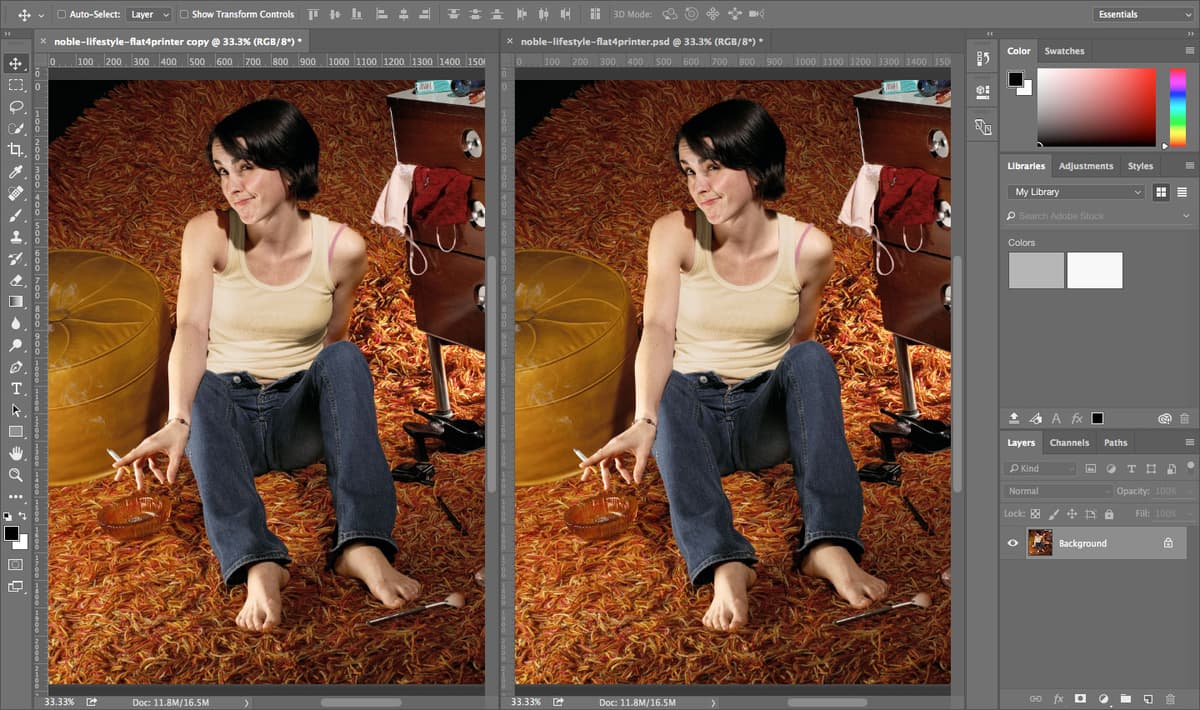
Go to Window > Arrange > 2-up Vertical
 .
.In one window pane, Zoom out a bit so that you can see most of the image.
Go to Window > Arrange > Match All. Your screen should look similar to the one shown below. This makes comparing the images easy.