Adding Photos
What This Tutorial Covers
Place Embedded
Drop images onto the canvas as smart objects.
Free Transform
Scale and rotate placed images non-destructively.
Layer Management
Each placed photo lives on its own layer.
Noble Desktop's Graphic Design Certificate covers Photoshop alongside Illustrator and InDesign.
Learn how to add and manipulate photos, and how to work with layers in this extensive tutorial on Photoshop for web design.
Exercise Preview
Importing a Photo
- In Photoshop, close any files you have open.
- To open a file, hit Cmd–O (Mac) or CTRL–O (Windows).
Navigate into Desktop > Class Files > yourname-Photoshop for Web Class > NYC and double–click on About Page—Ready for Photos.psd to open it.
This is a more developed version of the desktop design you’ve been working on in previous exercises. Let’s place an image into the empty space at the top.
- We want to add a photo at the top of the page. Remember that when you add a new layer it will be placed on top of the currently selected layer. In the Layers panel, select the Popular New York Attractions layer.
Go to File > Place Embedded.
NOTE: Using Place Embedded places a copy of the file in the document rather than linking to the file on your computer. This way, you don’t have to worry about changes you make in your document affecting the original image file. Additionally, if you (or someone else) needs to edit this document on another computer, you won’t need to include the original image file. In most workflows, this is probably a better choice than Place Linked.
- Navigate into Class Files > yourname-Photoshop for Web Class > NYC > NYC Photos and double–click cab.psd.
- This image is larger than our file, but Photoshop automatically sized the image down to fit within the document. Hit Return (Mac) or Enter (Windows) to accept the sizing.
- With the Move tool
 , drag the photo up or down until the top of the photo snaps to the top of the file.
 - Let’s group all the text layers so we can move them all at once. In the Layers panel, select Popular New York Attractions.
- Hold Shift and click on Unlike Any Other City.
- Hit Cmd–G (Mac) or CTRL–G (Windows) to group the layers.
Rename Group 1 by double–clicking its name and typing: text columns
Adding Three Smaller Photos
We need to show three small photos, which we’ll add below the text.
- Show the guides by hitting Cmd–; (Mac) or CTRL–; (Windows).
- Before we start adding things, we should make sure our guides are locked to prevent them from accidentally being moved. Go to View > Lock Guides.
- A quick way to add multiple files is to drag and drop them from your hard drive onto Photoshop. Keep Photoshop open, but switch to the Desktop.
- Navigate into Class Files > yourname-Photoshop for Web Class > NYC > NYC Photos.
- Arrange your screen so you can see the Photoshop file and the NYC Photos window on the Desktop.
- Click once on bridge.psd to select it.
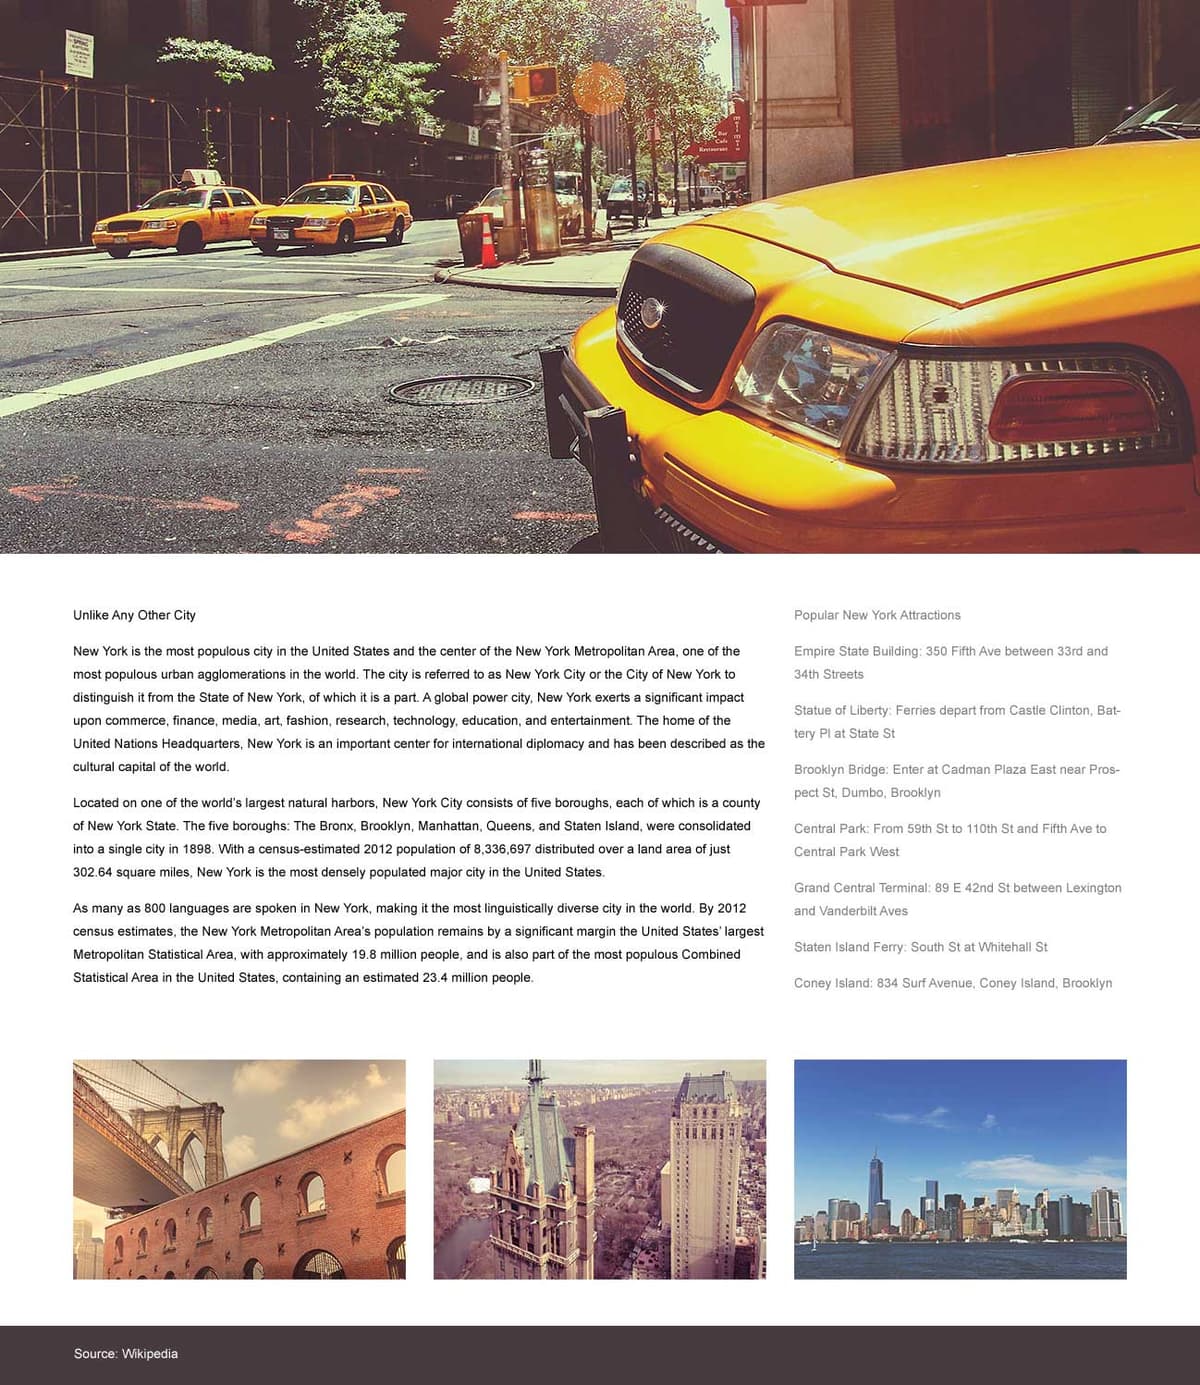
Hold Cmd (Mac) or CTRL (Windows) and then click on Central Park.jpg and skyline.jpg.
3 files should now be selected.
- Drag the files from the Desktop and drop them onto the Photoshop window.
- In Photoshop, hit Return (Mac) or Enter (Windows) 3 times to accept the sizing for each of the 3 photos.
- In the Layers panel you should have 3 new photo layers. Select the skyline layer.
- Hold Shift then click the bridge layer. This should select all 3 photos.
- Hit Cmd–T (Mac) or CTRL–T (Windows) to start a Free Transform.
In the Options bar at the top of the screen, make sure the Link icon
 has an outlined dark background (which indicates it’s checked). If it does not have a dark background, click the Link icon to turn it on.
NOTE: This link toggles affects how resizing (scaling) works:
- Link ON: Resizing is proportional. Hold Shift to resize unproportionally.
- Link OFF: Resizing is unproportional. Hold Shift to resize proportionally.
- Link
Do NOT should Shift as you do the following!
Grab a resize handle and make them a bit smaller (don’t worry about being precise just yet), so they will fit below the text.
Move them by clicking and holding anywhere on the photo (not a resize handle) and dragging the photos below the text, aligning the left edge with the edge of the gray column highlight (second guide from the left).
We want to make the photos 4 columns wide, but there’s a quirk in Photoshop where snapping to guides does not always work. When scaling proportionally, dragging a corner resize handle does not snap to guides. It does work with the middle side handles though! Odd isn’t it?
Use the middle resize handle on the right to resize the width (do NOT hold Shift) to make the photos 4 gray columns wide:
- Hit Return (Mac) or Enter (Windows) (or double–click the photos) to accept the transformation. Now the images are scaled proportionally!
- Select the Move tool .
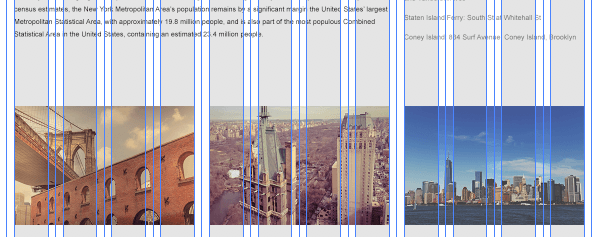
With the 3 images still selected, move them up or down until you see a pink horizontal Smart Guide appear in the center (this indicates they are vertically centered in that area). If you don’t see the guide, just position it as shown in the following screenshot.

- At the top left of the Options bar, uncheck Auto-Select.
- Now we want to position the images separately so they’re not hiding under each other. In the Layers panel, click the skyline layer so that it is the only one selected.
- Drag the skyline image directly to the right, using the Smart Guides that appear to align it under the sidebar column.
- In the Layers panel, select the Central Park layer.
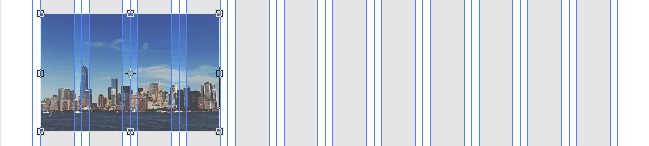
Move it so that it is centered between the other two images. You should end up with the three images aligned as shown below:
Organizing the Layers
- In order to stay organized, there are a few things we should take care of. First, let’s group the three smaller photos. In the Layers panel, select the skyline layer.
- Hold Shift and click on the bridge layer. All three smaller photos should now be selected.
- Hit Cmd–G (Mac) or CTRL–G (Windows) to group the layers.
- In the Layers panel, double–click the name Group 1 and rename it: photos
- Drag the photos folder in the Layers panel down below the text columns folder (be careful not to drop it inside the text columns folder).
The cab layer should be above both groups (below the columns layer).
NOTE: We just moved these layers/groups for purely organizational purposes, so they’ll be easier to find later.
- In the Layers panel, select the photos folder.
On the artboard, drag it up/down a bit, as shown (don’t worry about being exact):
Hit Cmd–S (Mac) or CTRL–S (Windows) to save the document. That’s it for now!