Mapping Photos with GPS
What This Tutorial Covers
Map Module
View geotagged photos on a world map.
Manual Tagging
Drop pins for photos without GPS data.
Saved Locations
Reusable favorites for frequent shoot spots.
Noble Desktop's Graphic Design Certificate covers Photoshop alongside the broader Adobe toolkit that complements Lightroom in any photography workflow.
Dive into the extensive Lightroom tutorial covering essential topics like mapping photos with and without embedded GPS and creating & saving locations.
Exercise Preview
Mapping Photos with Embedded GPS
If you have not completed the previous exercises (1A–1E), do them before proceeding with this exercise.
In the Folders panel on the left, select the Library folder.
Some of the photos in the Library were taken with an iPhone. Photos taken with iPhone, and most other mobile devices, include GPS coordinates. The GPS icon
 is found on the bottom right of photos with GPS coordinates.
Scroll to the bottom of the Library to see the photos that have GPS coordinates. They will have the GPS icon
on the bottom.Select the totem pole photo (20121227_YourName_050).
The Metadata panel located in the right side panels (you may have to scroll down to see it) will list the GPS data. Expand the Metadata panel if it isn’t already.
Towards the bottom of the Metadata panel, find the GPS box to see the GPS coordinates that were recorded by the iPhone.
Click the arrow
 to the right of the GPS coordinates to switch to the Map module and see the location on a Google map (you need an internet connection to use it). This feature is a little buggy on Windows. If you don’t see a map and you are connected to the internet, close and restart Lightroom. Then repeat the steps above.
The yellow pin on the map is where the photos were taken, in this case Oklahoma. Hover over the yellow pin to view the photographs. Click the left/right arrows to scroll through the photos.
Underneath the map, notice there is a zoom slider with a minus and plus button to the left and right. You can use this to adjust the zoom level on the map, but there’s a much easier way to zoom in on a specific location on a map.
Hold down the Opt (Mac) or ALT (Windows) key and drag a box around the yellow pin to zoom in on it.
To the left of the zoom slider, from the Map Style menu, choose Satellite to view satellite images of this location. Feel free to play with the different Map Styles.
Creating & Saving Locations
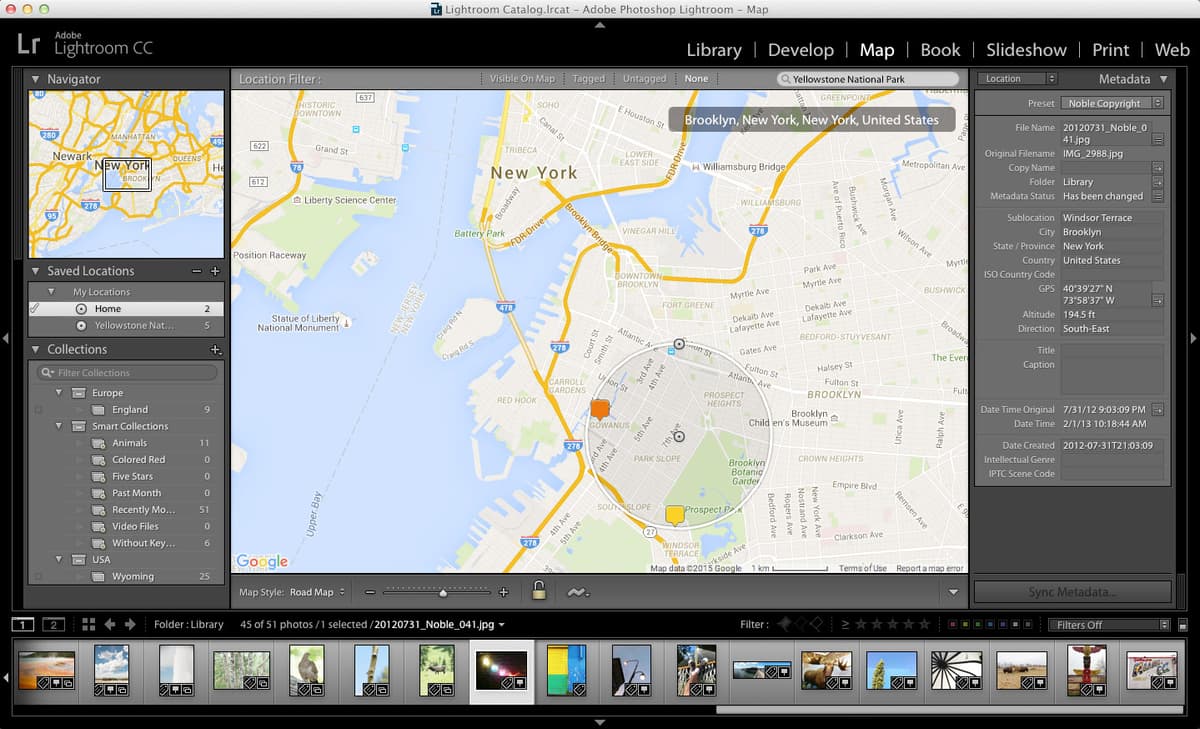
At the top right of the map, in the search bar type New York, NY.
Hit Return (Mac) or Enter (Windows) to initiate the search.
At the bottom left of the map, from the Map Style menu, choose Road Map.
Zoom in on the map until some of the street names become visible.
Drag the map around so Manhattan is on the far left.
In the Saved Locations panel, click the Create New Preset icon
 .
.- In the New Location window:
- For Location Name type Home.
- From the Folder menu, choose My Locations.
- Change Radius to 1.0 (by either using the slider or typing 1.0 in the text box).
- Click Create.
Notice a transparent circle has appeared on the map, with two dots: one in the middle and one on the edge of the circle.
Drag the middle dot to move the circle to your home on the map (or if you don’t live in NYC, choose a nice neighborhood you’d like to live in.)
Drag the dot on the edge of the circle to make the location smaller or larger depending on your preference.
At the top right of the map, in the search bar type Yellowstone National Park.
Hit Return (Mac) or Enter (Windows) to initiate the search.
On the left, next to Saved Locations, click the Create New Preset icon
.- In the New Location window:
- For Location Name type Yellowstone National Park.
- From the Folder menu, choose My Locations.
- Change Radius to 33.0.
- Click the Create button.
In the Saved Locations panel, notice the new locations are now saved inside the My Locations folder.
Mouse over the Home location, and click the arrow
 to the right of a location name to jump to that location on the map.
Press G to return to the Library.
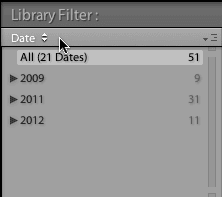
In the Library Filter bar at the top of the Library, click on Metadata.
As shown below, mouse over the top of the first column to reveal a menu.
Click on the menu and choose Map Location to filter photos by Location.
Click Yellowstone National Park to see all photos in that Location.
Click the GPS icon
on the bottom right of any of the photos to go to that location on the Map. Cool!