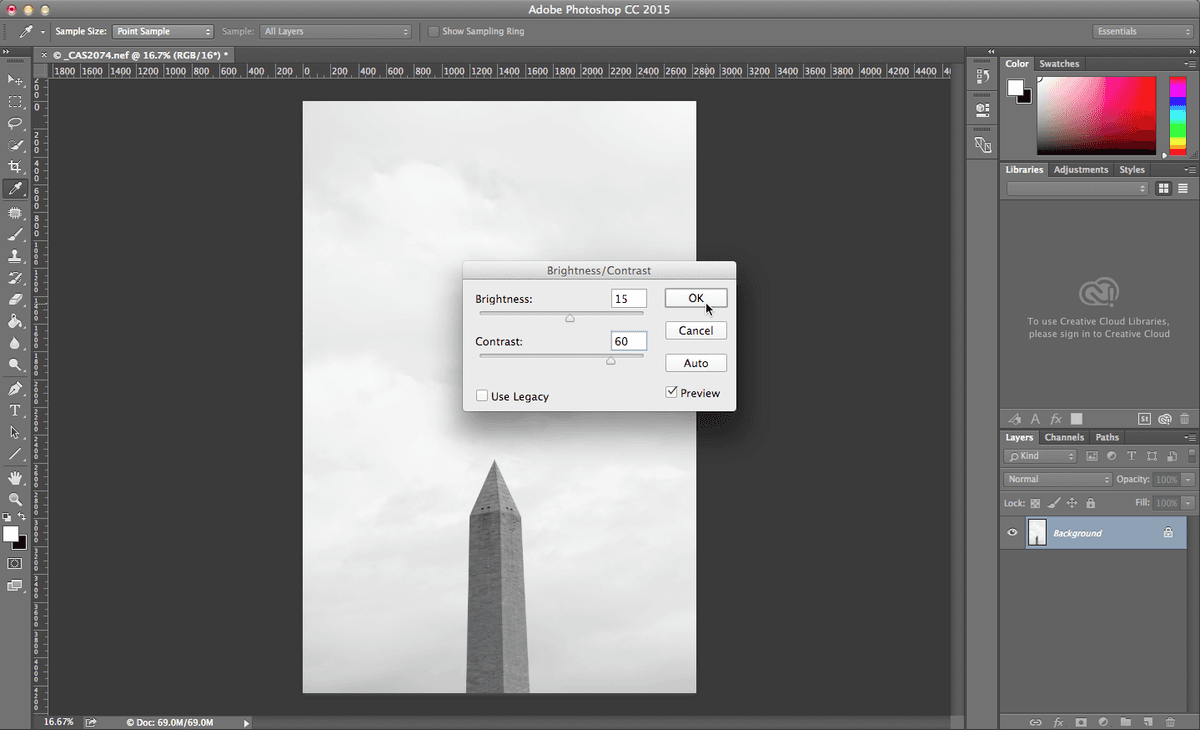
Editing in Photoshop
Lightroom vs Photoshop
Lightroom for Volume
Process hundreds of photos quickly with consistent edits.
Photoshop for Pixel-Level
Composites, retouching, and detailed corrections.
Round-Trip Workflow
Right-click → Edit In Photoshop, returns as a copy in Lightroom.
Non-Destructive
Both apps preserve originals — edits stored separately.
Master Adobe Tools at Noble Desktop
Noble Desktop's Graphic Design Certificate covers Photoshop alongside the broader Adobe toolkit that complements Lightroom in any photography workflow.