Adjusting Contrast Using the Tone Curve
Lightroom Editing Essentials
Library Module
Import, rate, keyword, and organize photos across the catalog.
Develop Module
Global and local adjustments — exposure, contrast, color, sharpening.
Presets
One-click looks — save your own or use the built-in presets.
Export
Output to JPG, TIFF, or PSD with size, sharpening, and metadata control.
Noble Desktop's Graphic Design Certificate covers Photoshop alongside the broader Adobe toolkit that complements Lightroom in any photography workflow.
Enhance your photo editing skills with this detailed Lightroom tutorial, delving into topics such as altering contrast and lighting in target areas, managing highlights, lights, darks, and shadows, and subtly manipulating the T1Curve for improved images.
Exercise Preview
Adjusting Tones
- If you have not imported the photos that were imported in Exercise 2E:
- Go into the Library module.
- At the bottom left of the screen, click Import.
- In the dialog box that appears, on the left under Source, navigate to Desktop > Class Files > Lightroom Class and select the Develop folder.
- At the top, above the photos, make sure Add is selected (highlighted).
- On the bottom right, click Import.
Press G to go into Grid View.
In the Library module, select the first photo (the White House: _CAS1968).
Press D to go into the Develop module.
In the Navigator panel, select FIT if it isn’t already selected.
Once in the Develop module, expand the T1Curve panel on the right.
Drag the Highlights slider left and right to test it out.
Double–click on the word Highlights to reset it.
- Test and reset all the other settings:
- Lights
- Darks
- Shadows
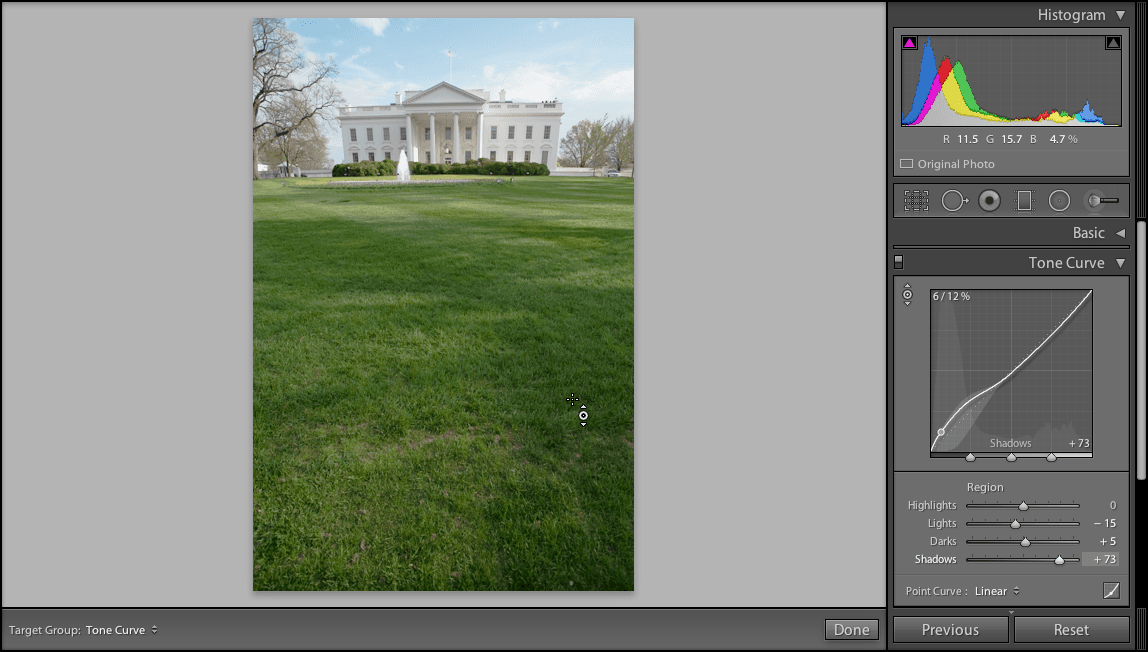
At the top-left corner of the T1Curve panel, click the Adjust T1Curve icon
 .
.Click on a dark area of the grass in the photo, and drag upwards to lighten the image. Cool!
NOTE: Alternatively, you could have manually adjusted the settings in the T1Curve panel.
Double–click the word Shadows to reset it.
Click on the darker green grass again.
Press the Up Arrow key a few times to lighten the grass. Cool!
Click on the sky area.
Press the Down Arrow key a few times to darken it.
Click on the White House.
Press the Up Arrow key a few times.
Click the Adjust T1Curve icon
to deselect it.In the top-left corner of the T1Curve panel, click the Switch
 a few times to see the before and after.
NOTE: You can also click the Before & After icon
 at the bottom of the screen to view the differences. (If you don’t see it, then you didn’t deselect the Adjust T1Curve icon . Click Done or deselect it now.)
Nice work!