Recreating the Photo Gallery Filter Using jQuery, Part 1
What This Tutorial Covers
DOM Selection
Target gallery items by category attribute.
Show/Hide Logic
jQuery's show() and hide() for visibility control.
Modern Alternative
Vanilla JS or React replace this jQuery pattern today.
Noble Desktop's JavaScript Development Certificate teaches modern JavaScript and React.
Learn how to quickly and efficiently recreate a filtering system for a photo gallery website using jQuery in this comprehensive tutorial that covers topics such as adding variable references and attaching a click event handler using the on() method.
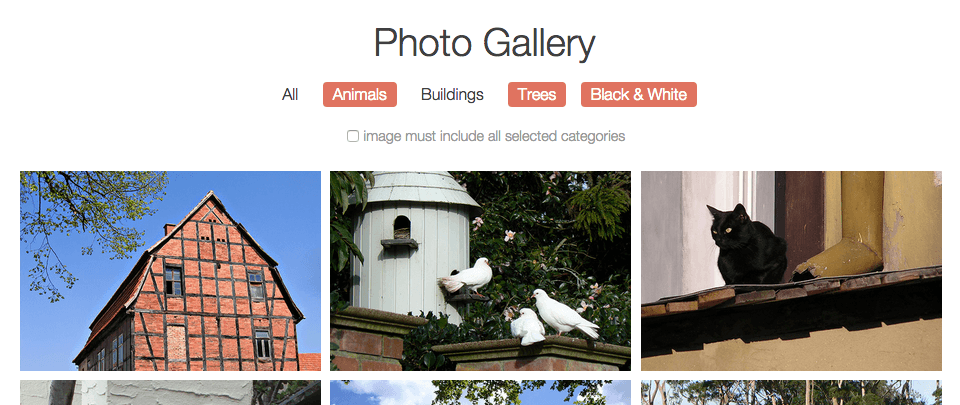
Exercise Preview
Attaching a Click Event Handler Using the On() Method
In gallery-with-js.html, scroll to the active code section and around line 253, locate the for loop. At this point, we cycled through all of the navigation items and added an onclick method to each of them. To accomplish this in JavaScript, we had to loop through them all, add onclick and assign a function.
In jQuery, it’s much easier. If you are going to add a method that exists in jQuery onto a group of elements, it will do it automatically in the background without having to cycle through an explicit loop.
In gallery-with-jQuery.html, around line 161, add the following click() method and message that we will test in the JavaScript Console:
$(document).ready(function() {Five Vars Omitted To Save Space
$exclusive = $('#exclusive');

   $filterNav.click(function() {
      console.log('clicked');
   });

});
Save the file.
Go to Chrome where you should still have gallery-with-jQuery.html open. Reload it.
Cmd–Opt–J (Mac) or CTRL–Shift–J (Windows) to bring up the Console.
Click any of the buttons in the nav. You should see it say clicked in the Console.
Using the click() method in jQuery is perfectly fine, however, there is a slightly better practice in jQuery whenever you’re attaching event handlers like this: using the on() method and passing in the value for the kind of event you want to use.
Open a separate browser tab or window and navigate to: api.jQuery.com
In the search bar at the upper right of the page, search for: .on()
In the results below, click: .on()
Scroll down under Direct and delegated events and find the code shown below.

If you want to attach something with click, this is an example of how you’d write it. Likewise, you could replace click with change or hover or focus, etc. The value of doing this is that if you want to attach multiple actions on that click, you can do that in multiple different places. For example, you could specify this element does one thing on click, and then later on in your code you could specify that it also does another thing on click. They will be combined together into one. On the other hand, if you just used.click() it would override everything.
Switch back to your code editor.
Around line 161, replace click(function() with the following bold code:
$filterNav.on('click', function() {
   console.log('clicked');
});
Save the file.
Go to Chrome and reload gallery-with-jQuery.html.
Open the Console if it isn’t already.
Click the buttons in the nav to see that they still print clicked to the Console.