Segues Part 1
What This Tutorial Covers
Storyboard Segues
Visual transitions between view controllers.
Segue Types
Show, present modally, and custom segues.
prepare(for:sender:)
Pass data to the destination view controller.
Noble Desktop's Full-Stack Web Development Certificate teaches programming fundamentals that transfer across mobile, web, and desktop development.
Master the art of iOS development by learning how to create a segue to pass information between views, create a class for the Detail View Controller, and understand the nuances of segues in this comprehensive tutorial.
Exercise Preview
Creating a Class
As we did in a previous exercise for the Table View Controller, we need to create a class for the Detail View Controller so we can program extra functionality for it.
- In the Project navigator, select BandsTableViewController.swift. (We want the file to be added after this file, that’s why we had you select it.)
- Go to File > New > File (or hit Cmd–N).
- Under iOS and Source, double–click on the Cocoa Touch Class template.
- From the Subclass of menu, choose UIViewController (or start typing it and let Xcode autocomplete it for you).
For the name of the Class, add BandsDetail at the start, so the Class ends up being BandsDetailViewController. (Notice that is Bands plural, not Band!)
NOTE: UIViewController is the type of object we are currently using on the storyboard. By making our class a subclass of the UIViewController, it will have all the functionality it currently has, plus any additional functionality we add in the code to this new BandsDetailViewController class.
- Click Next.
- You should already be in the Jive Factory folder, so click Create.
- Notice a BandsDetailViewController.swift file has been added in the Project navigator. Now we need to link it to the view controller in the storyboard.
- In the Project navigator click on Main.
- In the Document Outline, select View Controller (inside View Controller Scene). It will become outlined in blue to indicate it’s selected.
- In the Utilities area on the right, click on the Identity inspector tab
 .
. - Next to Class, type B and it should autocomplete to BandsDetailViewController.
Hit Return to apply it. Now it’s connected to our new class.
What is a Segue?
In a previous exercise, we added a segue that transitions users from the Table View to the Detail View when they click on a band row. Let’s read up a bit about segues to see how we can use them to display the appropriate info in our detail view.
- Go to Help > Developer Documentation.
Into the search field, type UIStoryboardSegue and click on the first result (which should be for UIStoryboardSegue).
One basic thing to note is that segue (pronounced seg-way) objects perform the visual transition between view controllers. Before this transition occurs, a prepare(for segue: UIStoryboardSegue, sender: Any?) method is called in the source view controller. It is in this method that we may choose to pass some data to the destination view controller.
- The prepare method is a commonly-used method, so Xcode created it for you when you created the table view controller. Before going back to the code, close the Documentation window.
In the Project navigator, click on BandsTableViewController.swift.
NOTE: The code we are looking for is only in this file. Take a moment to make sure you’re in the 100+ line Table View file, NOT the new Detail View file!
Scroll to the bottom of the document and find the following code:
/*
// MARK:—Navigation

// In a storyboard-based application, you will often want to do a little preparation before navigation
override func prepare(for segue: UIStoryboardSegue, sender: Any?) {
   // Get the new view controller using segue.destinationViewController.
   // Pass the selected object to the new view controller.
}
*/
Delete the
/*above the // MARK:—Navigation line so that we can uncomment the code and use it.Delete the
*/below the closing brace } of the method.Now we will replace the comments inside of the method with some code. To save you time, we already typed it up in a text file for you.
- Go to File > Open.
- Navigate to the Desktop > Class Files > yourname-iOS Dev Level 2 Class > Code Snippets folder and open prepareForSegue.txt.
- Press Cmd–A to select all the code.
- Press Cmd–C to copy it.
- Close the file.
- Delete the two lines of comments inside the prepare method.
In its place, paste the code you copied:
override func prepare(for segue: UIStoryboardSegue, sender: Any?) {

   if (segue.identifier == "showDetail") {
      if let indexPath = self.tableView.indexPathForSelectedRow {
         let bandsDetailViewController:BandsDetailViewController = segue.destination as! BandsDetailViewController
      }
   }
}
Let’s break this code down. The prepare method was conveniently written for us by Xcode. Inside this method we wrote an if statement that checks to see which segue was triggered. If that segue’s identifier is equal to showDetail then the code inside the if statement is executed. showDetail is the name we’ll assign to our segue (which we’ll do a bit later).
Inside the first if statement is another if statement which asks the current table view for the index path of the row that was selected. The index path is how we know which row was tapped. This will help us set the correct info for each band later.
The first line of code inside the second if statement sets the view controller we are transitioning to, which is BandsDetailViewController.
In order for the code we just added to execute when someone clicks on one of the rows, we need to set the identifier on the segue in the storyboard to showDetail. The first if statement we just added refers to showDetail, which is the name we’ll give to our segue. Let’s set that now.
- In the Project navigator, click Main.storyboard.
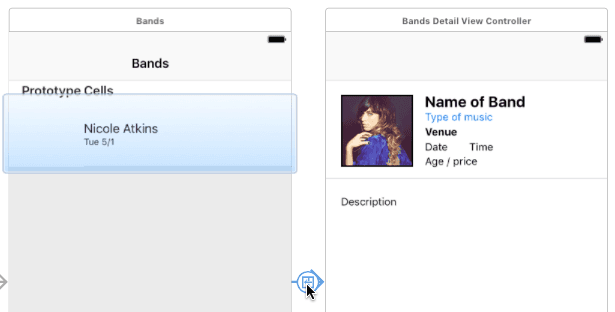
As shown below, in the Editor, click on the segue between the Table View and Detail View Controllers to select it.
- In the Utilities area on the right, click the Attributes inspector tab
 .
. Next to Identifier, type showDetail and hit Return.
The code inside the if statement in the prepare method will now execute when this segue happens. Next we can work on passing along the necessary information.