Previewing on iPhone without Developer Account
App Store Submission
Archive in Xcode
Product → Archive — builds release configuration.
Upload to App Store Connect
Distribute via Xcode or Transporter app.
Fill In Metadata
Screenshots, description, keywords — quality matters for ASO.
Submit for Review
Apple reviews within 24-48 hours typically.
Noble Desktop's Full-Stack Web Development Certificate teaches programming fundamentals that transfer across mobile, web, and desktop development.
Explore this tutorial to learn about iOS development, including how to preview an app on your iPhone without an Apple Developer Account, setting up an Apple ID, configuring Xcode, and setting up your phone to run your apps.
Setting up Your Phone to Run Your Apps
For any existing apps, you will now have to make sure the correct Team is selected so you can preview on your iPhone. To do that:
- Plug your phone into the computer using a Lightning Cable.
- Open any app you have created (Hello World, or Dice, for example).
- Click on its name at the top of the Project Navigator.
- Under General > Signing > Team select the team you created.
- Under the active scheme on the upper left
 , at the top of the list, choose the device you just plugged in.
 - Hit the Run button to see the app on your iPhone.
You will probably get this message:
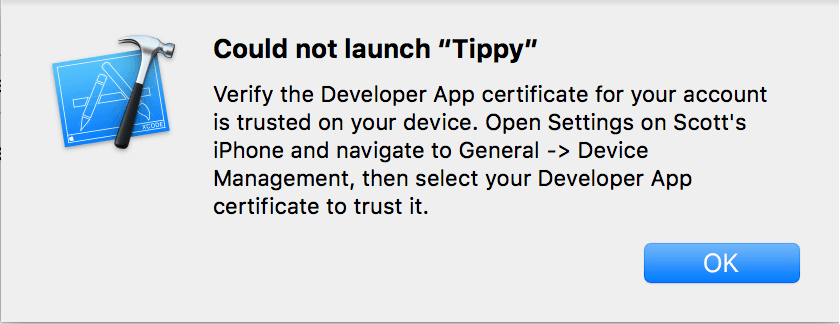
- As it says in the message, go into Settings > General > Device Management.
- You will see the Apple ID email you used. Tap that, then the app that is attempting to load. It will ask if you trust the device. You do!
Revel in the joy of running your own app on your iPhone!