Cell Styles in Excel: How to Style Cells for Quick & Easy Modification
Excel Workbook Checklist
Auto-banding, structured references, automatic filter.
Formulas → Define Name. =SUM(Sales) beats =SUM(B2:B100).
Note assumptions, sources, and gotchas in the cells.
Review → Protect Sheet to prevent accidental edits.
Noble Desktop's Excel Bootcamp covers formulas, pivot tables, data analysis, and VBA.
Discover the time-saving capabilities of cell styles in spreadsheet software, allowing easy formatting adjustments across thousands of cells with just a few clicks.
What is a cell style? It’s a named collection of properties about a cell. These properties include Number Format, Alignment, Font, Border, Fill Color and Pattern, and Protection.
Suppose you inherit (or create) a large workbook and see that there are thousands of cells that have a blue background. Or thousands containing a percent format with 2 decimal places. Management tells you that the color is wrong and needs to be changed to branding standards. Or that all those percent-formatted cells should contain 4 decimal places.
You suddenly face many days of finding and then reformatting these cells. Had the author (or you) used styles to make these cells look the way they do, you would instead have maybe 2 minutes of work to do! So let’s examine how this works.
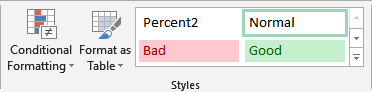
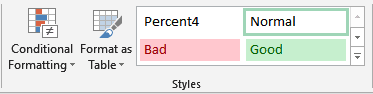
On the Home tab, there’s a Styles group:

There are many more than these 4 styles, but let’s examine the “Good” style a bit more. If you right-click on “Good”, you’ll see this:
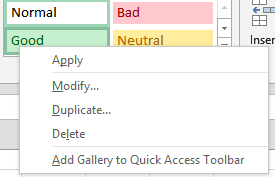
From here you can apply this style to the selected cells, you can modify the style, you can duplicate the style (to make minor changes to the style) or delete the style.
You don’t have to right-click the style to apply it to the selected cells; you can left-click it.
We’ll examine modifying the style:
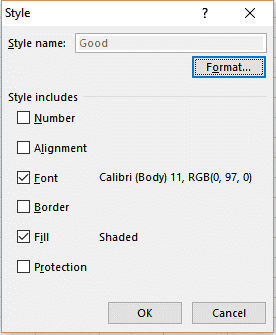
The important thing to notice here is that this style contains only 2 properties which it would apply, because only 2 checkboxes are checked. If you applied this “Good” style to cells, they would only “inherit” the font and fill properties, leaving the number format, alignment, border, and protection properties untouched.
On the right side of this group in the ribbon are a few arrows. When you click on the bottom arrow, you’ll expand this to see all the available styles, broken down into a few categories (Good, Bad and Neutral, Data and Model, Titles and Headings, and Number Format):
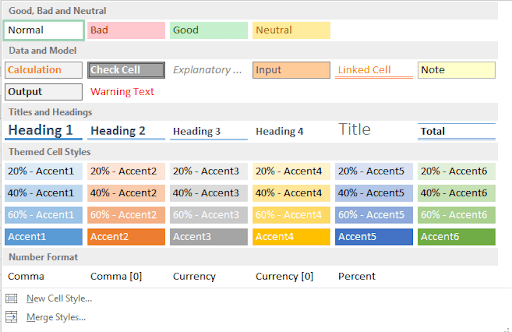
You can use any of these styles or make your own by clicking “New Cell Style” near the bottom of the dialog.
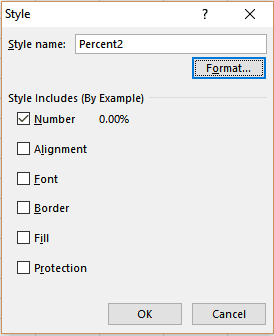
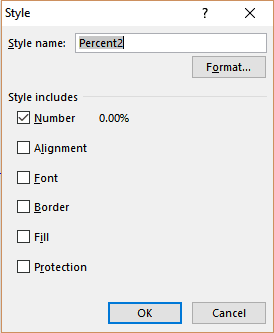
Let’s look at the process of changing the percentage from 2 decimal places to 4, from scratch. First, we define a New Cell Style, somewhat arbitrarily called “Percent2” by clicking “New Cell Style”:
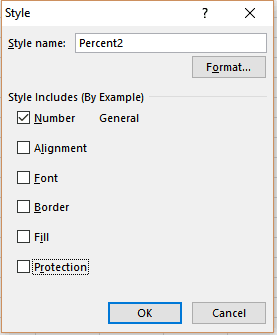
Notice the only checkbox selected is Number (others could be checked, but not for this example). Once the properties we want are selected, we click the Format button and assign the number format:

Click OK:
You see your formatting represented in the dialog as 0.00%. Click OK and look at the Styles:
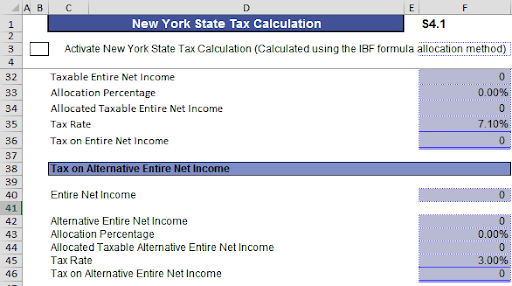
Your new style is listed! Let’s see how you can apply it in this small but illustrative worksheet:
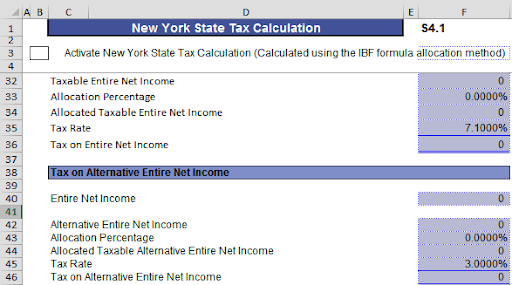
Cells F33, F35, F43, and F45 were assigned the Percent2 style. Management says we need 4 decimal places. Here are the steps to do that. Right-click the Percent2 style and select Modify:
Then click the Format button and change the number of decimals to 4, and click OK:
Done! We never selected those cells and changed the format. We only changed the style. And this is effective for every sheet in the workbook, not just the sheet you’re looking at. The only “issue” is that the style called Percent2 is now misleading because it really should be Percent4! So to be accurate, right-click Percent2 again, choose Modify, and just change the name! Percent2 disappears and is replaced with Percent4!
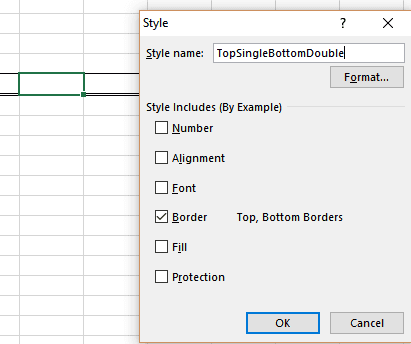
One more quick example, this time using borders. Suppose you’ve already formatted some cells containing a top border and a bottom double-border and wanted to “assign” a style name to it. You simply select the cell and create a new style! Check or clear the desired checkboxes and it's done! Here’s a style called TopSingleBottomDouble:
You can see a preview in the styles:
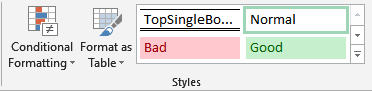
(Note the borders.)
The cell which you used as a sample did not get this style; you still have to apply it to the desired cells.
OK, management wants a solid thick bottom border. Simply modify the style, giving the new border (in the borders tab when you click Format), and the cells will change. Maybe you want to change the name, but that’s all there is to it!

Now what are you going to do with all this extra time?