Medical Animation: Working with Video & Audio
What This Tutorial Covers
Video Layer Integration
Embed video into compositions alongside graphics.
Audio Sync
Align voice-over with visual animation.
Layered Workflow
Composite multiple visual and audio sources cleanly.
Noble Desktop's Video Editing & Motion Graphics Certificate teaches After Effects alongside Premiere Pro, Cinema 4D, and DaVinci Resolve.
Immerse yourself in this comprehensive After Effects tutorial, covering topics such as working with video and audio, looping video and audio, creating a medical animation, and organizing your workspace for optimal efficiency.
Exercise Preview

Organizing the Timeline
Keeping an organized timeline makes it easier to work with your layers, especially if you have a lot of them.
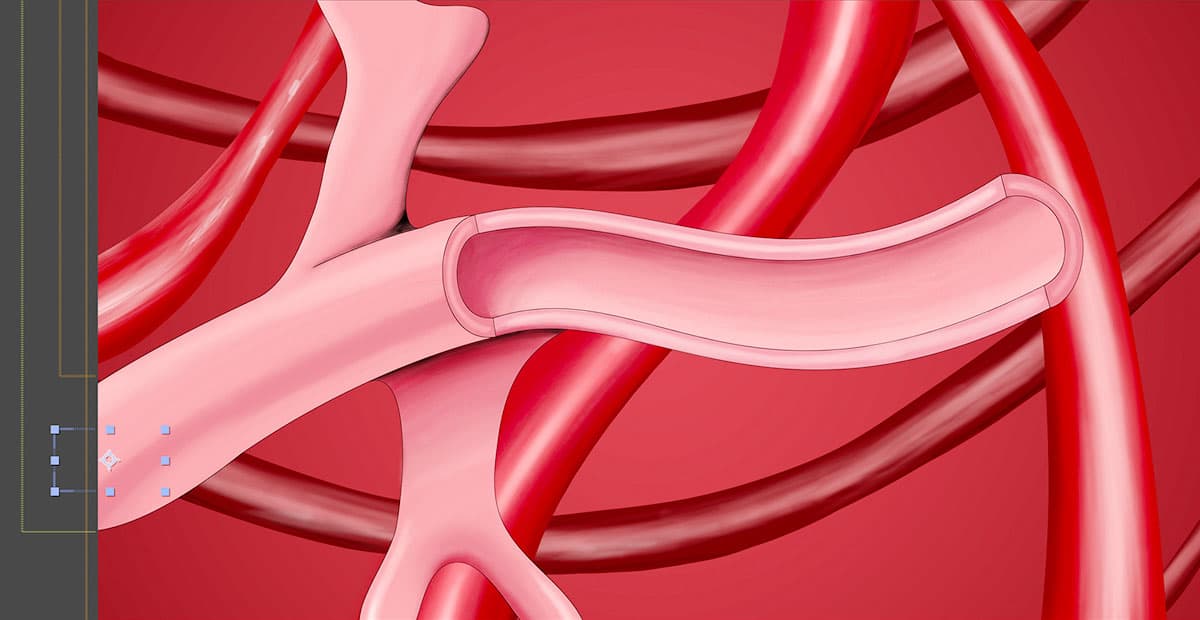
With the Circulation comp open, click on the Main Vein—Top layer to select it.
Change the layer’s label
 it to Yellow.
Select the BG Vein 01 layer.
Hold Shift and click on the Gradient Fill 1 layer to select all the layers in between.
Change the label color for any of the highlighted layers to Orange.
Looping Video & Audio
In this project we’ll use video and audio. Unlike image layers, video and audio files both have set durations. In this project both files are considerably shorter than the comp’s duration. To fix this we’ll set them to loop repeatedly.
In the Project panel, expand
 the 02—Audio folder.
Click on the heartbeat-loop.wav file to highlight it.
At the top of the Project panel you can see the 02:01 duration, indicating this is just over 2 seconds long.
CTRL–click (Mac) or Right–click (Windows) on heartbeat-loop.wav, choose Interpret Footage > Main and:
- At the bottom of the window, set Loop to 15
- Click OK.
Drag heartbeat-loop.wav into the timeline (the left side where layers names are) so it’s the bottom layer.
Notice that the audio layer extends to the end of the timeline.
Use the Spacebar to hear the audio (a heart beat).
In the Project panel, expand
the 03—Video folder.Select red blood cell.mov.
At the top of the Project panel you can see the 01:01 duration, indicating this is just over 1 seconds long.
CTRL–click (Mac) or Right–click (Windows) on red blood cell.mov and choose Interpret Footage > Main.
- At the bottom of the window, set Loop to 30
- Click OK.
Drag red blood cell.mov into the timeline (the left side where layers names are) and put it below the Main Vein—Top layer.
Notice the red blood cell in the middle of the composition. This video has a transparent background so it’s only an animated blood cell.
Use the Spacebar to see the red blood cell video (and hear the heart beat audio).
Choose File > Save or hit Cmd–S (Mac) or CTRL–S (Windows).
Animating Video Files
With the exception that they have a limited duration, video layers are treated the same as still image layers, so we can animate their scale, position, etc. and even add the same effects to them.
We’re going to have to change a preference so we can easily make curved motion paths.
- Choose After Effects > Preferences > General (Mac) or Edit > Preferences > General (Windows).
- If it is enabled, uncheck the switch next to Default Spatial Interpolation to Linear.
- Press OK to close the dialog box.
In the Timeline, select red blood cell.mov layer and:
- Press Return (Mac) or Enter (Windows) to make the name editable.
- Rename it blood cell 1 and press Return (Mac) or Enter (Windows) again to finalize the name change.
Change the blood cell 1 layer’s label color to Blue.
With the blood cell 1 layer selected, hit S to reveal Scale.
Change Scale to 15
Press P to reveal Position.
In the Tools panel, choose the Selection
 tool (or hit the V key to choose it).
In the Composition panel, drag blood cell 1 to the left and position it so it is hidden behind part of the vein.
We used Position values of 20,800
- Move the playhead to the beginning of the timeline.
Click the Position stopwatch
 .
.Move the playhead to 1;00
In the Composition panel, drag blood cell 1 to the middle of the vein (we used Position values of 770,470).

Move the playhead to 2;00
Drag blood cell 1 to the right of the vein until it is just off the screen. Try to keep it about level with the top of the vein. (We used Position values of 1970,265).
In the Timeline, scrub (drag) the playhead back and forth over the keyframes you just created to preview the animation.
After Effects attempts to create a smooth sloping path of motion automatically, but we’ll adjust the path in the next exercise.
Choose File > Save or hit Cmd–S (Mac) or CTRL–S (Windows).
In the next exercise you’ll finish this animation.
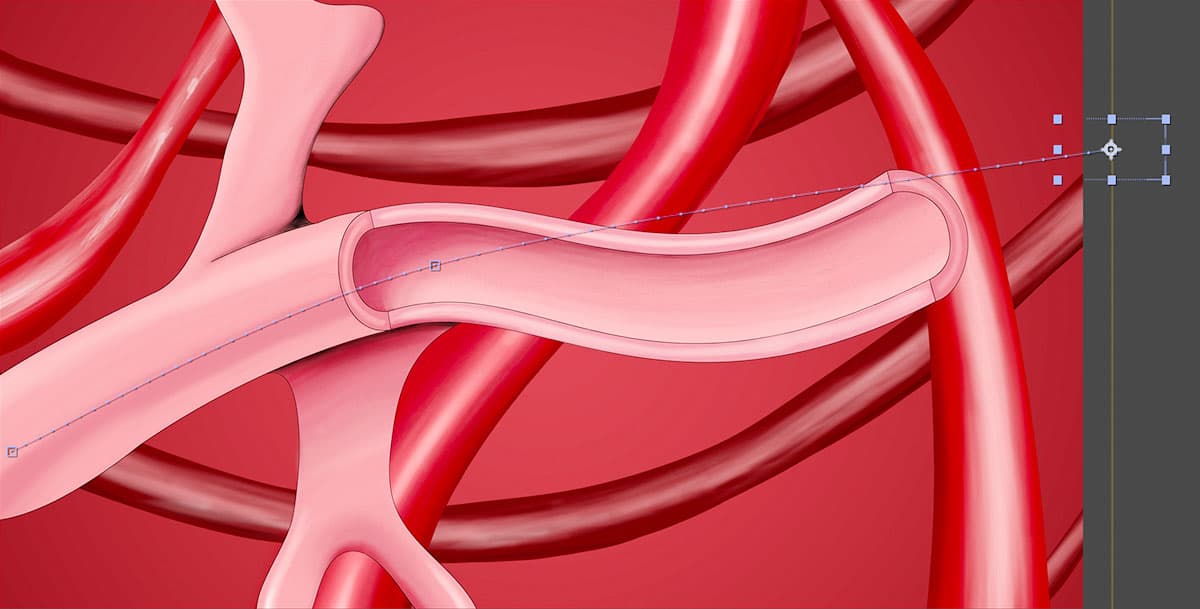
Editing Curved Motion Paths
The spatial interpolation preference we changed attempts to create a smooth curving path for any animation with more than 2 position keyframes, but it doesn’t always give you the path you want. Luckily, the motion path can be edited after you’ve made it.
In the Tools panel, choose the Selection
tool (or press the V key to choose it).In the Timeline, select the blood cell 1 layer.
If the keyframes are not visible, press they U key to reveal them.
Select the last keyframe.
NOTE: Selecting a position keyframe in the Timeline highlights the vertices and direction handles of the motion path in the Composition panel.
In the Composition panel, drag the direction handle attached to the last vertex of the motion path so that it now follows the curve of the vein.

In the Timeline, select the middle keyframe.
In the Composition panel, adjust the handles of the middle vertex (anchor point) to refine the path.
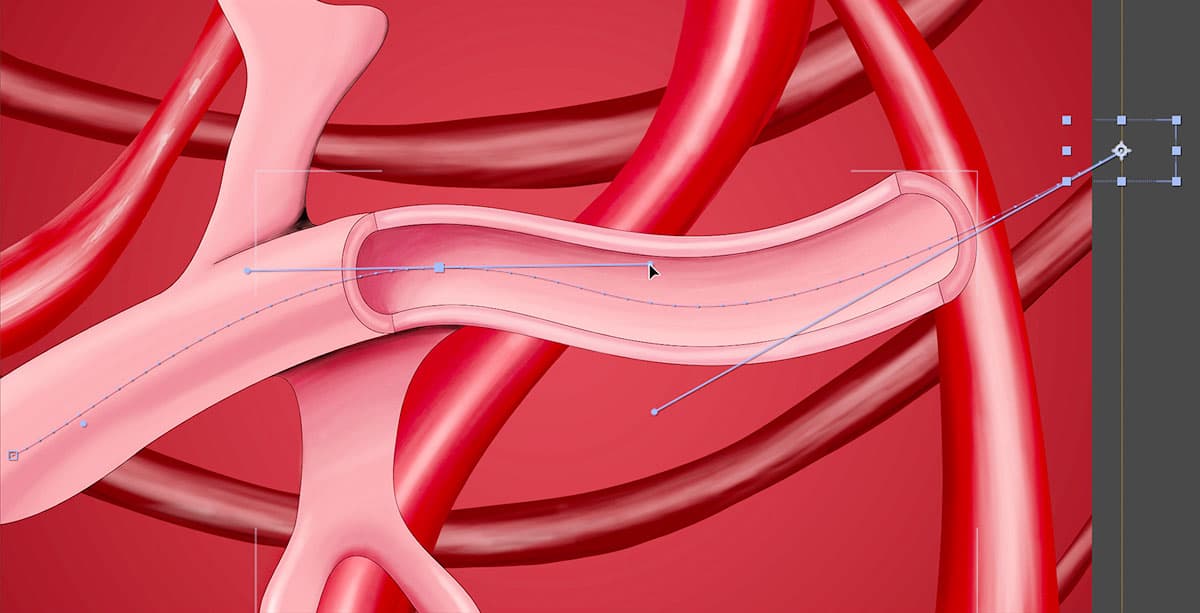
Adjust the direction handles until you’re happy with how the motion path matches the curvature of the vein. You can move the position of the vertices (anchor points) if needed.
In the Timeline, scrub (drag) the playhead back and forth over the keyframes you just created to preview the animation.
You want to make sure the blood cell stays inside the vein graphic as it moves.