Modifying a Theme
What This Tutorial Covers
Child Themes
Safe modifications that survive parent theme updates.
Theme Files
header.php, footer.php, functions.php, and template hierarchy.
Hooks & Filters
Customize behavior without modifying core theme files.
Noble Desktop's WordPress Bootcamp teaches WordPress for site builders and developers.
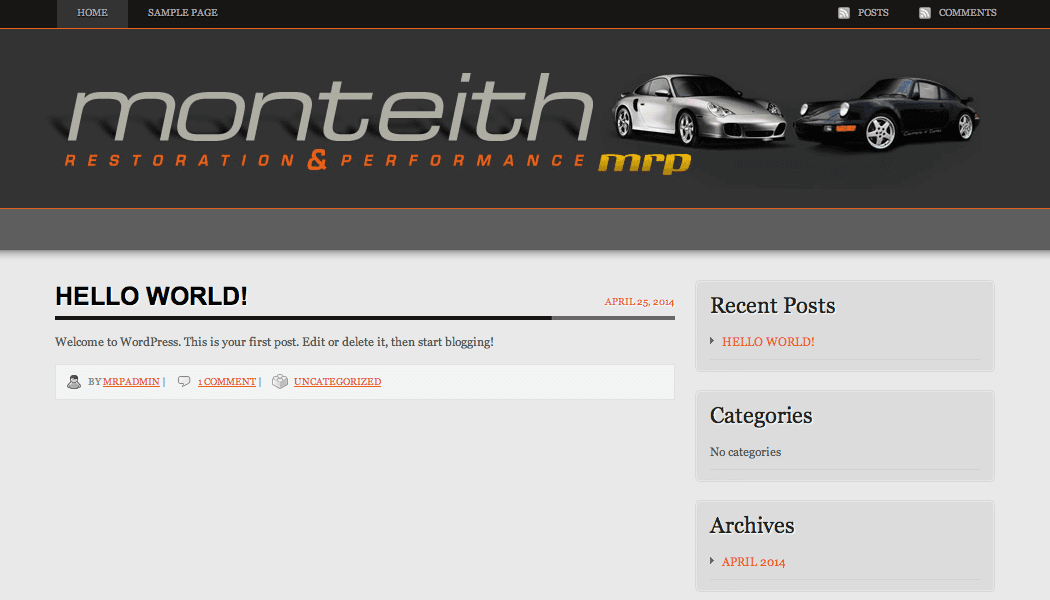
Develop your understanding of WordPress customization with this tutorial, covering topics such as adding a header graphic, customizing links, changing the header background, and removing the categories menu.
Exercise Preview
Using Developer Tools
We are going to use Chrome’s Developer Tools to figure out what’s going on with our link style. Developer Tools allow you to debug and inspect a live webpage’s HTML, CSS, and JavaScript code. We will use it to select items on our pages and see what CSS properties are being applied to them. It is especially useful for WordPress sites because the code is being generated dynamically, so finding specific code among many templates can be challenging.
NOTE: Most major browsers have Developer Tools built in. The steps in this workbook for working with the Developer Tools are written for Chrome. If you decide to use another browser, the steps will be similar.
- Make sure you are viewing the page in Chrome:
- Mac: localhost:8888/mrpBlog
- Windows: localhost/mrpBlog
CTRL–click (Mac) or Right–click (Windows) on the 1 COMMENT link, and select Inspect.
The Developer Tools will open in the bottom of the window.
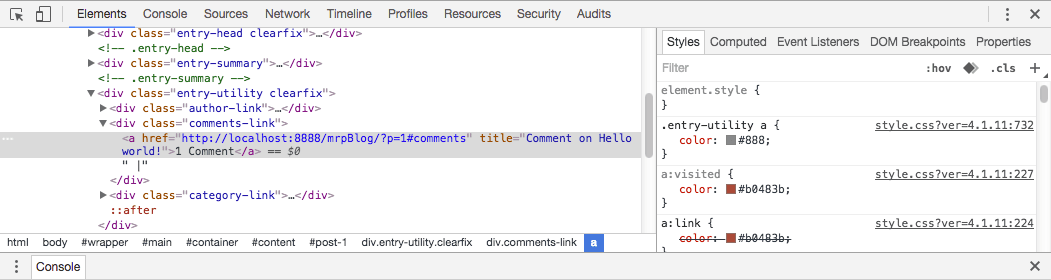
The left panel of the Developer Tools console shows the page’s HTML code. The right panel shows the CSS styles applied to the element that is currently selected in the left panel.
In the left-hand panel, the
<a>tag for the 1 COMMENT link is selected. The right-hand panel lists all CSS rules that apply to the tag. Scroll down until you find the rule we just created (about fourth on the list). Notice it is crossed out to signify that it is being overridden by the rules above it. We need to make our rule more specific so it won’t be overridden.Switch back to your code editor.
Around line 10, change the a rule to the following:
a:link, a:visited, a:hover, a:active {
   color: #e75c1b;
}
Save the file.
Switch back to Chrome and reload the page. Notice that the color of our links have changed to match the orange in the logo!
IMPORTANT: In recent versions of MAMP, there is a feature called OPcache that may cache the pages of the site you are developing. This may cause you to not see changes you make to the code when you reload the page in the browser. If this happens to you at any point, refer to the Disabling OPcache in MAMP page in the Reference section in the back of the workbook for steps on disabling this feature.
Click the 1 COMMENT link.
Notice that the color of the links in the comment section are a reddish brown color and don’t match the rest of the links on the page.
CTRL–click (Mac) or Right–click (Windows) on the PERMALINK link, and choose Inspect.
In the right-hand panel, notice that our rule is crossed out again. One rule is a little more specific than the one we created. No worries, we can simply incorporate that rule’s selector into our rule in the child theme’s style.css and override it that way.
Switch back to your code editor.
Around line 10, edit the a rule as follows (don’t forget the comma after active!):
a:link, a:visited, a:hover, a:active,.comment-meta a:link,.comment-meta a:visited {
   color: #e75c1b;
}
Save the file.
Switch back to Chrome and reload the page. Notice that the color of the links in the comments field matches the rest of the links on the page. Awesome!
Changing the Header Background
Let’s change the background of the header to match the logo. First, we need to find the style rule that needs to be overridden.
CTRL–click (Mac) or Right–click (Windows) on the dark gray background to the left of the logo, and choose Inspect.
The left-hand panel will now highlight a div tag with an ID of wrapper. In the right-hand panel, the #wrapper rule includes a background property.
Let’s confirm that we have found the correct style for the background by disabling the property. In the right-hand panel, hover over the left of the background property to reveal a checkbox
 .
.Click the
icon to disable the property and see that the background disappears.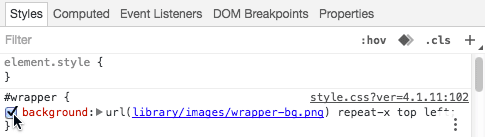
It looks like the #wrapper uses a repeating image for the background image. To override this style, you will need new artwork and a new style in your child theme. Before creating a new style, you must add the new artwork to your theme folder.
Open a new Finder (Mac) or Explorer (Windows) window.
Navigate to the Desktop, then into Class Files > WordPress.org Class > Child Theme Files.
Click once on wrapper-bg-mrp.png to choose it.
Press Cmd–C (Mac) or CTRL–C (Windows) to copy it.
- Go to the obscure-mrp theme folder:
- Mac: Hard Drive > Applications > MAMP > htdocs > mrpBlog > wp-content > themes > obscure-mrp
- Windows: C: > xampp > htdocs > mrpBlog > wp-content >
themes > obscure-mrp
Create a new folder called: images
Open the images folder.
Press Cmd–V (Mac) or CTRL–V (Windows) to paste wrapper-bg-mrp.png.
Switch back to your code editor.
After the link style, around line 13, add the following rule:
#wrapper {
   background-image: url(images/wrapper-bg-mrp.png);
}
Save the file.
Switch back to Chrome and reload the page to see your new background. Cool!
Close the Developer Tools console.