The Interview: Exporting the Final Video (H.264) in Premiere Pro
Export H.264 with Quick Export
File → Save
Save your project before exporting.
Use Quick Export Button
Top-right of Premiere — fastest way to export with a preset.
Choose H.264 Preset
Match Source - Adaptive High Bitrate is a safe default for sharing or upload.
Pick Output Location
Premiere produces a self-contained file you can upload, share, or broadcast.
Noble Desktop's Video Editing & Motion Graphics Certificate teaches Premiere Pro alongside After Effects.
Learn how to export and render an interview video using the Quick Export command in Premiere Pro in this comprehensive tutorial.
Exercise Preview
Using Quick Export
The Quick Export command in Premiere Pro is intended to create an H.264 video file. H.264 is a type of MPEG–4 file and is probably one of the most ubiquitous files types for video today. This command produces a video file that most people can view either on their computers, mobile devices, or via the web.
Click on the Timeline to make it the active panel.
At the top right of the window, click the Quick Export
 button.
In the pop-up panel, click on the link below File Name & Location and in the dialog that appears:
- Navigate to Class Files > Premiere Pro Class > The Interview > Exports.
- Leave the Save As name as is. By default, Premiere Pro uses the Sequence name as the file name.
- Click Save (this doesn’t export the file, it just chooses the location).
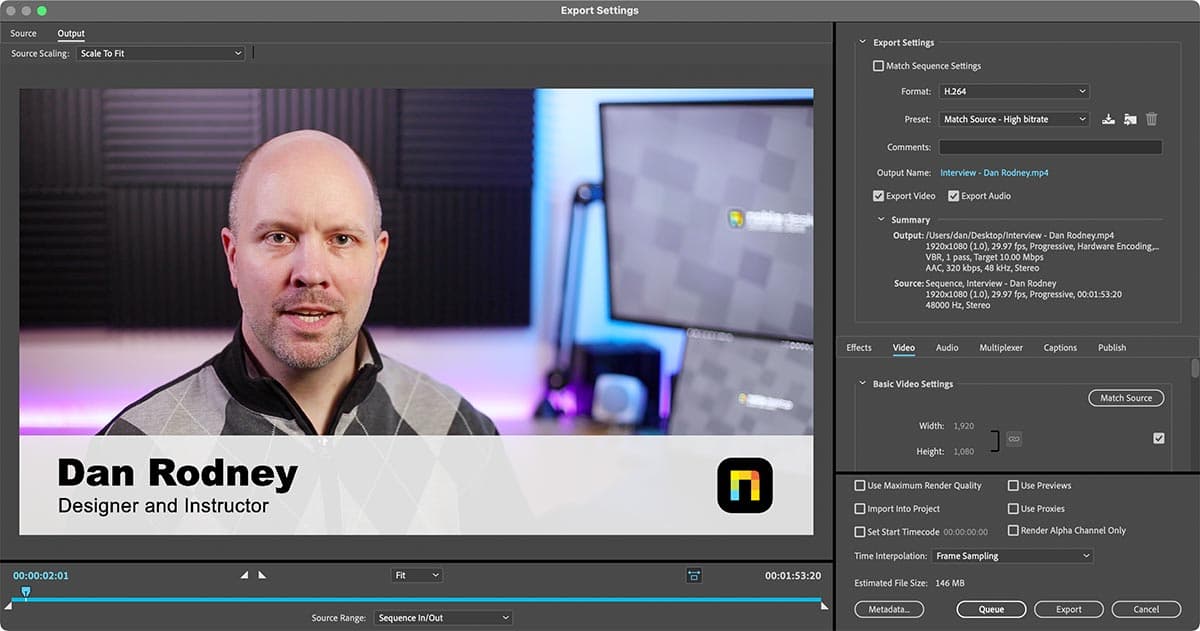
In the Quick Export pop-up:
- Choose Match Source—Adaptive High Bitrate from the Preset menu.
- Click Export.
When the export is done (which can take a while), choose File > Save or hit Cmd–S (Mac) or CTRL–S (Windows) to save the Premiere project file.
If you want to view your exported video file:
- Minimize Premiere Pro
- On your Desktop, navigate to Class Files > Premiere Pro Class > The Interview > Exports.
- Double–click on the video file to preview it.