The Liquify Filter & Intro to Smart Filters
Liquify as a Smart Filter
Filter → Convert for Smart Filters
Turns the layer into a Smart Object so filters become non-destructive and re-editable.
Filter → Liquify
Liquify pushes pixels around like liquid — the Smart Filter version is editable later.
Use Face-Aware Liquify
Face Tool detects facial features and lets you adjust eyes, nose, mouth, jaw with sliders.
Re-Edit Anytime
Double-click the smart filter under the layer to re-open Liquify and tweak.
Noble Desktop's Photoshop Bootcamp covers retouching, compositing, color correction, and pro editing.
Learn how to manipulate images using smart filters and the Liquify tool in Photoshop, with a comprehensive tutorial that includes applying filters to smart objects, manipulating facial features, and editing smart filters.
Exercise Preview
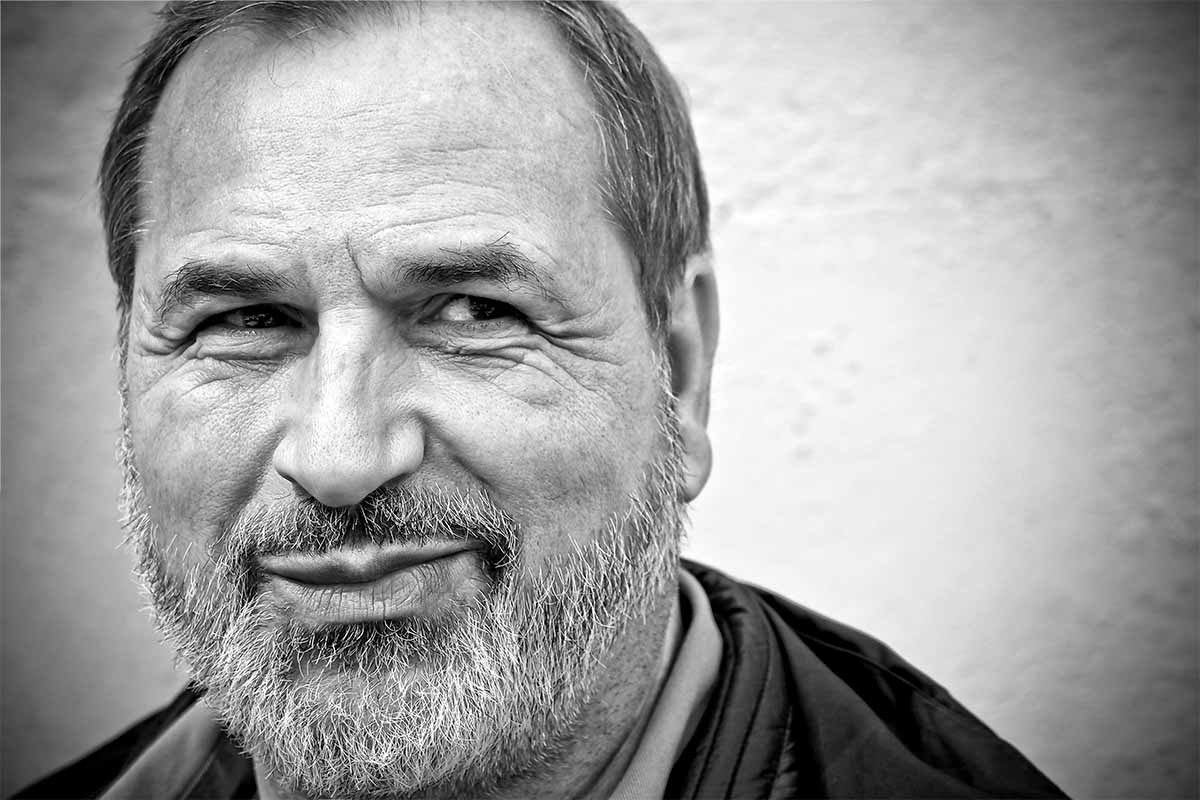
Photo from Pixabay
The Liquify Filter: Facial Features
- Go into the Filter menu and choose Liquify.
- This filter has it’s own new tools panel. On the left, choose the Face tool
 .
. Hover over nose and notice 3 white control dots appear.
- Drag the middle dot up and down to change the length of the nose.
- Grab either the left or right dot and drag left/right to change the nose width.
- On the right of the window, notice the numeric controls for Nose Height and Nose Width, which are the two things you just changed.
- Continue experimenting by hovering over the eyes, mouth, outside of the face, etc. and dragging the white control dots, or using the properties on the right.
- To see your progress (before and after) hit P your keyboard multiple times (or uncheck and then re-check on Preview at the bottom right of the window).
When done, click OK.
Editing the Smart Filter: Using Liquify to Push Pixels
- Because we applied this filter as a smart filter (meaning we applied it to a smart object), look in the Layers panel and you’ll see Liquify listed there.
In the Layers panel, double–click on Liquify to re-open the filter.
Notice all your previous changes are still here.
The Liquify filter can also push pixels around like a liquid, enabling you to make some unique adjustments. Let’s see how that works.
In the Tools panel choose the Forward Warp tool
 .
.The black jacket on the right is a weird shape. Let’s see how to push it down.
- At the top right set the Brush Size to 900
- On the photo, drag the black jacket’s edge down and left slightly.
- Once you move it some, you’ll probably need to reduce the brush size a bit (use the
[or]keys) and then continue adjusting the jacket’s shape. - To see your progress (before and after) hit P on your keyboard multiple times (or uncheck and then re-check on Preview at the bottom right of the window).
When done, click OK.
Editing the Contents of the Smart Object (the Photo)
To make changes to the original photo, we must open the smart object. In the Layers panel, double–click on the layer thumbnail (to the left of the layer name).
- If you see a message (about saving after editing the contents), click OK.
- Notice the original photo layer will open in a separate window (where you do NOT see the affects of the Liquify filter).
- Press Cmd–J (Mac) or CTRL–J (Windows) to duplicate the current layer.
- Name the new layer retouching.
- In the Tools panel choose the Spot Healing Brush tool
 .
. - Remove a few of the wrinkles on his face.
- Do a File > Save.
Do a File > Close to return to the file with Liquify. Notice the liquify effect has been applied to the revised photo with wrinkles removed.