Placing Your Designs in Pre-made Mockups
Use a Pre-Made Mockup PSD
Open the Mockup PSD
Mockups (e.g. business cards from Behance) typically have a 'Your Design' Smart Object layer.
Double-Click the Smart Object Thumbnail
Opens the design in its own window so you can replace the placeholder.
File → Place Embedded Your Design
Drop in your business card art on top of the example layer.
Save & Close
Closing the smart object updates the mockup automatically — perspective and shadows already applied.
Noble Desktop's Photoshop Bootcamp covers retouching, compositing, color correction, and pro editing.
Learn how to place your design into a pre-made mockup and customize it for a professional presentation in this detailed Photoshop tutorial.
Exercise Preview
Placing Your Design into a Mockup
We got a business card template at behance.net/gallery/147855279/Free-Professional-Business-Card-Mockup which is included in the class files. Let’s see how to use it.
- From the Photoshop Class folder, open 4B Free Professional Business Card Mockup.psd.
In the Layers panel notice the Your Design layer:
- The layer name indicates this is where we put our design.
- The layer thumbnail has an icon
 which indicates it’s a smart object. That means we can open it and place our design there.
In the Layers panel double–click on the layer thumbnail for the Your Design layer.
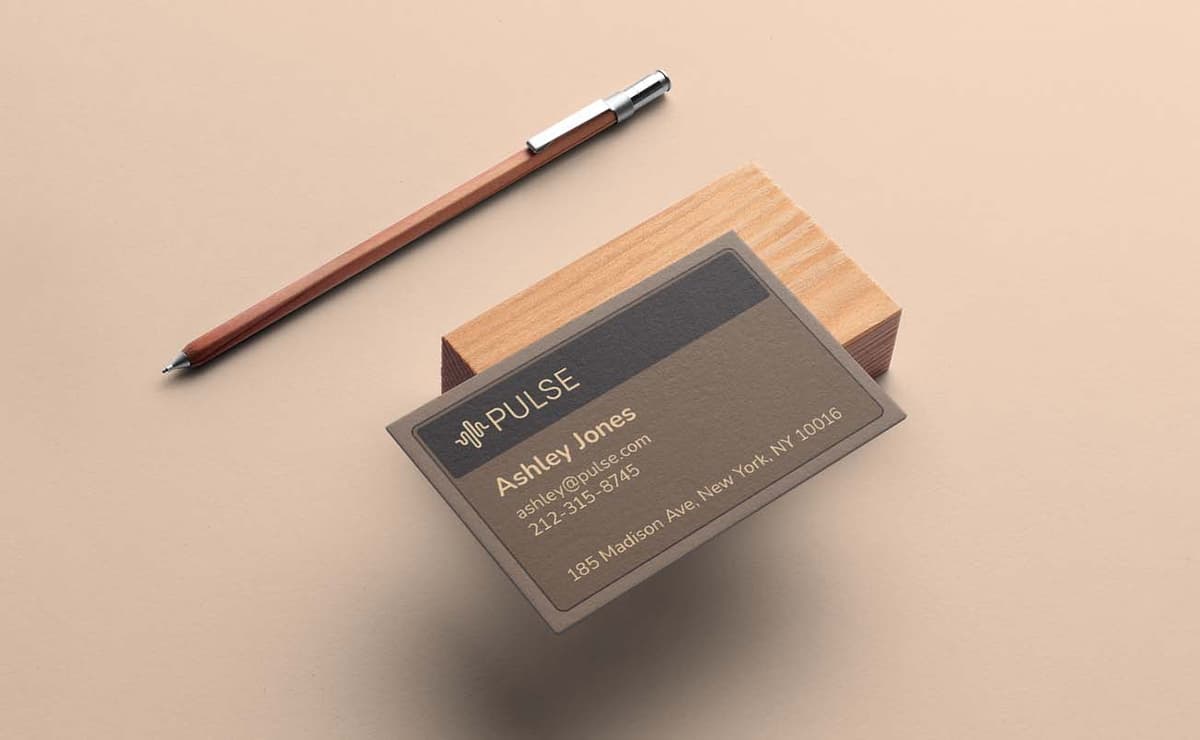
A new window should open showing you an example business card design.
- Select the top-most layer/group (so our design will be placed on top of it).
- Go to File > Place Embedded.
Navigate into the Photoshop Class folder and double–click on the file 4B Pulse Business Card.pdf
NOTE: We exported this PDF from Adobe InDesign, where we created the design.
- A dialog will appear with some options, click OK.
You should see our business card design filling up this document. Press Return (Mac) or Enter (Windows) to accept the size.
- Save and close this file.
You should now be back in the business card mockup and see our Pulse business card design there!
Customizing the Mockup
This mockup offers several ways to further customize it.
- Choose View > 200%.
In the Layers panel, select the top layer Overlay Effect—Change Opacity.
At the top of the Layers panel, adjust the Fill opacity to control how much of the paper texture you see.
NOTE: They could have used the regular layer Opacity instead of Fill opacity, but when you get files that anyone can make, you never know what quality you’ll get!
- In the Layers panel, near the bottom of the layers, double–click on the layer thumbnail for the Change BG Color layer.
In the color picker, choose any color you like, or click on a color in the business card to start with that color. You can then tweak that color to your liking.
Once you’ve found a color you like, click OK.
In the Layers panel, double–click on the layer thumbnail for Change Side Color.
- This is changing the color of the small edge on the left and bottom of the card.
- Choose a color you like (maybe something dark so the light edge doesn’t stand out) and click OK.
There’s a lot of empty color space around the business card. If you want, you could use the Crop tool
 to remove some.
Keep in mind that anyone can make a mockup and give it away for free or charge for it. The quality, customizable features, and ease of use can vary greatly. This examples gives you a good example of what to expect, but when you get a different template you’ll have to look through the layers and see what you can do with it.