Loading Profiles & Custom CMYK Conversions
What This Tutorial Covers
ICC Profiles
Color profiles describe specific output devices.
Convert to Profile
Translate colors for the print process.
Soft Proofing
Preview how colors will look in print.
Noble Desktop's Graphic Design Certificate covers Photoshop alongside Illustrator and InDesign.
This comprehensive guide provides step-by-step instructions on how to effectively manage color profiles in Photoshop, demonstrating how to open a file, check and load profiles, make multiple copies for comparison, apply various settings, and compare the differences between conversions to achieve the best output for your specific device.
Making Multiple Copies so We Can Compare the Settings
Mac users only: In Photoshop, go into the Window menu. If Application Frame is not checked, choose it to turn on the Application Frame.
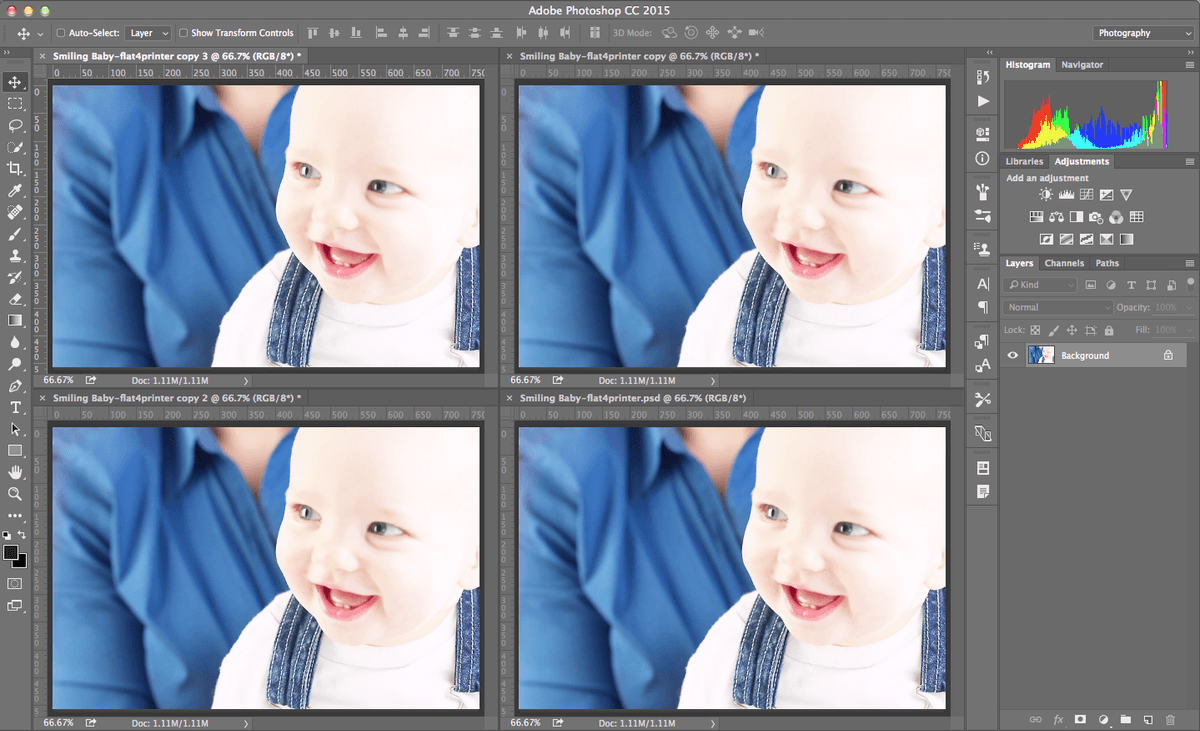
To make three new copies of the image, go to Image > Duplicate three times. You should now have four copies of the image open, making it easy to compare.
- As shown below, arrange the images so you see them all at the same time and set the zoom so you see almost the whole image. To do that:
- Go into Window > Arrange > 4-up
 .
. - Zoom out a bit so that you can see the entire image in one of the window panes.
- Go to Window > Arrange > Match Zoom.
- Go into Window > Arrange > 4-up
Image 1 (on the Top Left)
Let’s start with the top left image. Make sure you are using the Move tool
 and click on the image to make sure it’s active.
Go to Edit > Color Settings (Cmd–Shift–K (Mac) or CTRL–Shift–K (Windows)).
Under Working Spaces go into the CMYK menu. Choose U.S. Sheetfed Coated v2.
Click OK.
Now do the CMYK conversion by going to Image > Mode > CMYK Color. If a confirmation message appears, check Don’t show again and click OK.