Creating a Video Timeline
What This Tutorial Covers
Timeline Panel
Photoshop's timeline workspace for video editing.
Video Layers
Add and arrange video clips alongside still layers.
Export Options
MP4, GIF, or image sequence export from the timeline.
Noble Desktop's Graphic Design Certificate covers Photoshop alongside Illustrator and InDesign — the complete Adobe toolkit.
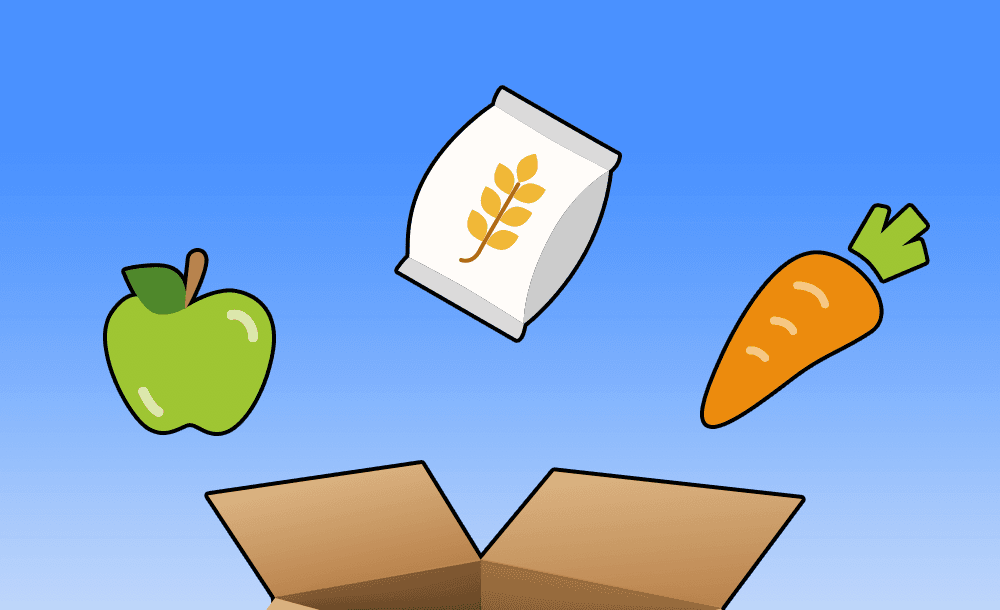
Discover how to create an engaging animated GIF using a video timeline in Photoshop, covering key topics such as using keyframes to animate properties, moving and editing keyframes in the timeline, and previewing the finished animation.
Exercise Preview

Introducing Photoshop’s Video Timeline
A video timeline shows what each element in the file is doing for the duration of the animation, which is similar to video editing software like After Effects and Premiere Pro. Because it shows all the layers instead of static snapshots of what the frames look like, this approach is quite different from the frame-by-frame approach we’ve been using. Frame animations are great for simple GIFs that hide/show elements, but they aren’t as easy to work with when you want to create more complex animations. Let’s dive in!
The button in the middle of the Timeline panel should say Create Frame Animation. We don’t want to create that type of animation, so click the arrow
 to the right of Create Frame Animation and choose Create Video Timeline.
Now click the Create Video Timeline button.
At the top left of the Timeline panel click the Gear icon
 (for Set playback options) and do the following:
- Set Resolution to 100%.
- Check on Loop Playback if it isn’t already.
- Click the Gear icon again to close the options.
At the top right of the Timeline panel, go into the panel menu
 and choose Set Timeline Frame Rate.
Make sure it says 30 fps. (Change it if needed, then click OK.)
Go into the Timeline panel menu
once more and choose Panel Options.Make sure Timeline Units is set to Frame Number and click OK.
At the bottom left of the Timeline the current time display now shows frames (0) instead of timecode (0:00:00:00), as shown:
 .
.In the Timeline, notice that all the layers in this file are visible here.
By default when working on a video timeline, the Timeline panel shows all of the layers in the document. We only want to animate the 3 foods, so our Timeline is too cluttered at the moment. Let’s hide most of our layers here in the Timeline.
In either the Timeline or Layers panel, click on the fruits layer bar or layer name to select it. (It will be selected in both panels.)
Shift–click on the vegetables to select all 3 food layers.
Go into the Timeline panel menu
and choose Show > Set Favorite Clips.Now these 3 layers should be the only ones visible in the Timeline. We won’t bring them all back, but if we wanted to, we’d choose Show > All Clips.
On the left-hand side of the Timeline to the left of the fruits layer name, click the arrow
 to expand into a list of properties that can be animated.
You can only animate changes in a layer’s Position, Opacity, or Style in a video timeline. We’ll only animate each food layer’s Position property.
Open up the grains and vegetables layers as well.
Feel free resize the Timeline panel (make it bigger or smaller) by dragging the top border. If you can no longer see the entire graphic, zoom in/out as needed (using Command (Mac) or CTRL (Windows) and either the Plus or Minus keys).
Using Keyframes to Animate the Position Property
Currently the 3 food items are arranged in a straight line that resembles an emoji grocery list. To make the initial layout look more visually appealing, let’s reposition them to make an arc above the box with even amounts of spacing between each.
The 3 animatable properties have a little stopwatch
 directly to their left. Under fruits, click the stopwatch next to Position.
In the Timeline at frame 0 under the fruits layer and to the right of the Position property, notice the keyframe
 . A keyframe indicates the beginning/end of a transition of the property it’s adjacent to (Position in this case).
Using the Stopwatch
Turning on the stopwatch next to a property allows that property to animate. Click it only once. After that, changing the value of the property automatically creates a new keyframe (or updates the current keyframe). Beware, clicking it again (when it is activated
 ) will make all the keyframes for that property disappear!
Use the stopwatch
to add Position property keyframes for the grains and vegetables layers.Because each layer already has keyframes, the Position values will automatically update as we rearrange the food to look nicer. In the Tools panel, make sure the Move tool
 is selected.
At the far left of the Options bar, check on Auto-Select. This will allow us to select layers by clicking on them.
Make sure the menu next to Auto-Select says Layer.
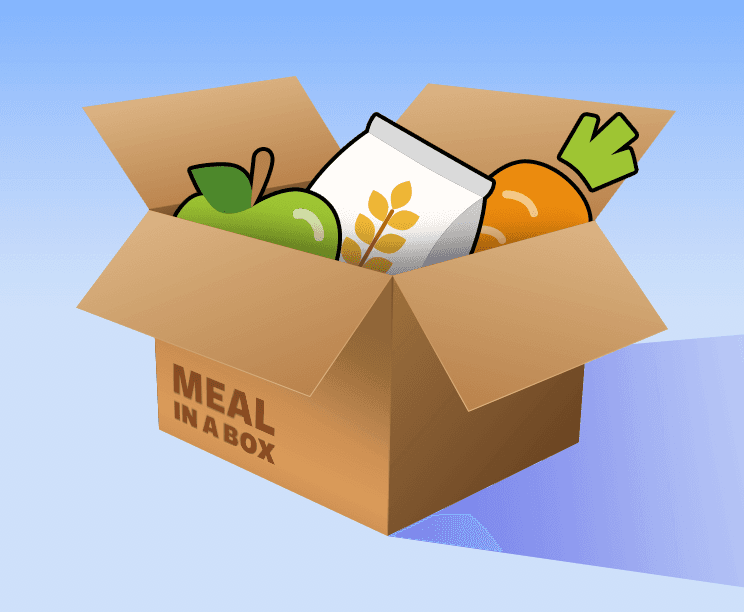
One by one, drag each food item and arrange them in an arc with nice spacing in between them, similar to the screenshot below (we outlined each food and the box so you can see them better):
At the top of the Timeline panel, notice there is a blue playhead
 (called the Current Time Indicator).
All you need to do to make a transition is create keyframes at key moments in an animation sequence, and Photoshop will create in-between values for you. Because we want our move to last exactly 6 frames, drag the playhead to frame 6. (Watch the current time display at the bottom left of the Timeline to make sure it says 6.)
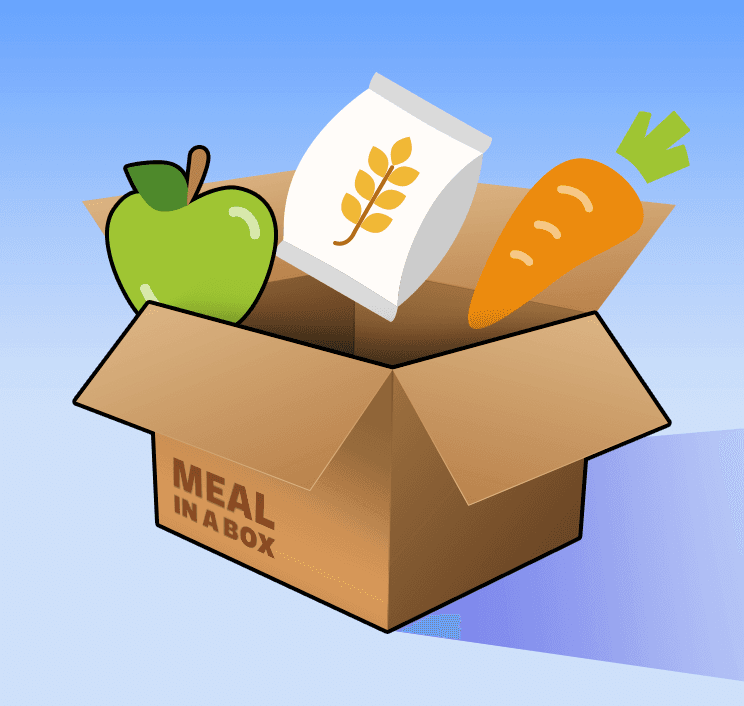
Because each layer already has a keyframe, moving these layers will automatically create a new keyframe at the current time. Drag each layer so they’re nestled inside the box, similar to the image below:
In the Timeline panel, notice a new set of keyframes
 (one per layer) were automatically added at frame 6. A transition takes place between two keyframes of the same property.
Why the Two Keyframes Look Different
When we added the second keyframe to each food layer, the appearance of both keyframes changed from solid
to two-tone. In Photoshop, keyframes appear two-toned if they’re the first or last keyframes on a property. The first keyframe on a property appears dark-to-light  and the last keyframe appears light-to-dark . Keyframes appear solid if they’re middle keyframes or if they’re the only keyframe assigned to a property. Selected keyframes are yellow.
Go back to frame 0 and scrub forward with the playhead. Cool, they’re moving!
Moving Keyframes in the Timeline
Let’s get the viewers’ mouths watering from looking at those floating foods before they drop into the box. We think half a second is enough time. At our frame rate of 30 fps, that’s 15 frames. We can move our keyframes so the animation starts at the 15 frame mark.
In the frame animation timeline we used in the previous exercises, editing a transition is not that easy (because you have to undo your work and redo it with new values). Let’s see how easy it is to edit an animation when working in a video timeline!
At the bottom of the Timeline is a slider
 that controls the timeline’s zoom. Feel free to adjust this whenever you need to.
To go to frame 15, drag the blue playhead or go to the bottom left of the Timeline panel and drag the frame number.
Under the fruits layer, click on the word Position. Clicking on a property name selects all of the keyframes on that property (currently two).
Under the vegetables layer, Shift–click on the word Position. All 6 Position property keyframes should be selected (yellow).
TIP: You could also drag a selection box that encompasses all 6 keyframes.
Grab any keyframe and drag them to the right so the first keyframes
align with frame 15. (They should snap to the playhead’s position when you get close.)Click in a blank area of the canvas to deselect the layers.
Moving the Outermost Foods Along a Curve
Slowly scrub through the animation with the playhead, paying close attention to how the apple moves.
By default, objects in Photoshop take the “path of least resistance”—which in this case is a diagonal line. That’s why around halfway through its animation the apple looks too close to the edges of the box, similar to the image below:
Movement along a diagonal isn’t all that interesting or realistic, so let’s fix the issue by creating new keyframes that make the apple on the left (and for consistency, the carrot on the right) move along a curved path. Move the playhead to frame 18, halfway through the animation.
One at a time, move the leftmost and rightmost foods a bit inward so you get a result similar to the one shown below on the right:
- Click on the apple and hold down Shift to constrain its movement to a straight line. Drag rightward until it looks nice.
- Do the same for the carrot, moving it leftward by around the same amount.
- Notice how Photoshop automatically added new solid keyframes because the position of the apple and carrot changed.
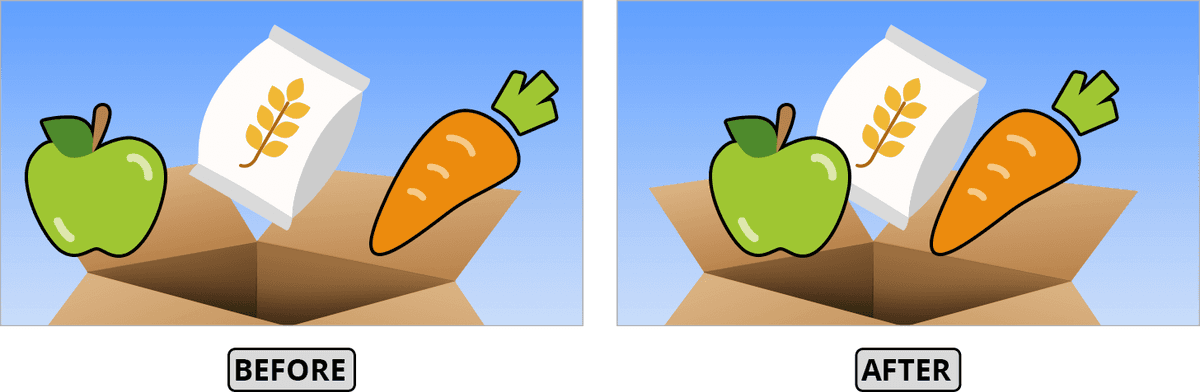
Go back to frame 15 and scrub through with the playhead. That curved motion looks a lot more natural and interesting!
Animating the Foods Out of the Box
Our animation will be a loop of the foods coming into and out of the box. We need each item to return to their starting position, or else the loop would look jarring. There’s no need to figure out the exact Position values by doing a Free Transform and tediously copy/pasting values. We can copy and paste keyframes!
We want to give the viewer a bit more than a second to see the foods tightly snuggled in their cozy box before we pull them back out. Move the playhead to frame 61, which is 40 frames (11⁄3 of a second at 30 fps) after the final keyframe.
To the left of each layer’s Position property, click the empty diamond
 (NOT the stopwatch!) to add another keyframe for this property.
When the diamond is empty, it is used to add keyframes. When it is yellow, there’s already a keyframe there. Clicking it would remove the keyframe at the current time!
To keep our animation consistent, we want the items to leave the box in 6 frames. Move the playhead to frame 67.
Before we can make the final values the same as the starting ones, we need to create keyframes that we can replace with keyframes we copy. Here at frame 67, click the empty diamond
next to Position for all 3 layers.Deselect all layers by clicking in an empty area of the canvas.
Under the topmost fruits layer, CTRL–click (Mac) or Right–click (Windows) on the first keyframe
at frame 15.From the menu that appears, click Copy.
In the same fruits layer, CTRL–click (Mac) or Right–click (Windows) on the last keyframe
you recently added at frame 67. Choose Paste and voilà, the apple is back in its original position!NOTE: If the Paste option is grayed out, deselect the layers and try again.
Repeat this for the grains and vegetables layers:
- Deselect all layers by clicking in an empty area of the canvas.
- Copy the first keyframe at frame 15. You have to CTRL/Right–click it, as the usual Cmd/CTRL–C shortcut will copy the entire layer instead of the keyframe!
- Paste it onto the last keyframe at frame 67.
Once again, the apple and carrot need to move along a curve. Go to frame 64 and move the apple and carrot a bit inward. Because these foods will only be in motion for a few frames and won’t affect the loop, there’s no need to be super precise. Just get them close to where they were at the middle of the first animation.
In the Timeline, drag the playhead to the start of the video timeline (frame 0).
Press the Spacebar to preview the animation. The playback will loop eventually because we told the Timeline to do that when we set options.
Press the Spacebar again to stop playback.
Offsetting Keyframes for Sequenced Animation
Currently all the foods move into and out of the box at the same time, but we want them to do that one after the other, starting with the apple and ending with the carrot. We can do this by offsetting each individual food animation by a few frames. Let’s move some keyframes!
While holding Shift, drag the playhead and when it gets close to frame 15 it will snap to the keyframes! (The playhead can snap to anywhere there are keyframes.)
Wouldn’t it be nice if we could easily navigate forward and backward in time even when there aren’t any keyframes? It’s your lucky day, because there are keyboard shortcuts to do just that! These shortcuts override normal Photoshop keyboard shortcuts, so they are not enabled by default. Click the Timeline panel menu
.Check on Enable Timeline Shortcut Keys.
On the keyboard, press Right Arrow to go forward by 1 frame. Neat!
Press Left Arrow to go back by 1 frame, so you are back at frame 15. We’ve just uncovered a much faster way to fine-tune the playhead’s location in the Timeline!
Press the Right Arrow key 2 times to move the playhead forward 2 frames. The frame number at the bottom left should show 17.
The leftmost food (fruits) will come in first, so we’ll keep that starting at frame 15. Let’s move the grains. Under that layer, click on the word Position to select all four of its keyframes.
Drag the keyframes rightward so the first
one in the set snaps to the playhead.Make the vegetables start moving two frames later (at frame 19). Remember that you can press Right Arrow twice to move the playhead. Then drag its first of 6 Position property keyframes there.
Go back to frame 0 and press the Spacebar to preview the animation. It looks nice, but it’s a bit long.
Trimming Off Extra Time
Let’s keep the foods up at the top for a second and a half (45 frames). Our last keyframe is at frame 71, so let’s make frame 116 our last frame.
Move the playhead to frame 116.
The length of the Work Area (the area in the Timeline panel directly above the layer bars) determines how long the final movie will be. As shown below, drag the right handle (Set End of Work Area) to the playhead so the work area ends at frame 116:

We want to check out the looping, so preview using Spacebar and watch the sequence at least twice. The timing looks good, so let’s export this puppy!
Save the file.