Card War: Displaying the Cards & Score
What This Tutorial Covers
View Updates
Refresh UI when game state changes.
Image Handling
Display card art from asset catalogs efficiently.
Score Tracking
Persist score across hands and rounds.
Noble Desktop's Full-Stack Web Development Certificate teaches programming fundamentals that transfer across mobile, web, and desktop development.
Discover how to create an iOS Card War app that includes UIImageViews to hold the cards, code to set the card size and position, reveal the cards, update the winner's score, and restart the game.
Exercise Preview
Setting the Size & Position of the Cards That Are Drawn
The next thing we need to do is define the size and position of the player1CardIV and player2CardIV rectangles that will initially hold the card back image. This is much like setting constraints in the Storyboard, except doing so programmatically instead of visually.
We want these rectangles to have the same dimensions as the Deck button, so let’s take a look at it. Switch to the Main.storyboard tab.
In the Editor or Document Outline, select the Deck Button if it isn’t already.
If the Size inspector isn’t showing on the right, click its icon
 . You may first need to go to the top right and click the Hide or show the Utilities button
  .
.First we need to set the size of the new image view to match the size of the Deck button. Under Constraints, take a look at the following size constraints:
- Next to the Proportional Height constraint, click Edit to see that the Multiplier is 0.36. Because we constrained the Deck button in relation to the view (called superView in our Document Outline), this means the Deck button is 36% the size of the height of the view.
- To set the width, we constrained the Deck button in relation to itself, using the 329:488 Ratio constraint. To get this ratio programmatically, we’ll need to do some math to set the width in relation to the height.
Switch back to the ViewController.swift tab.
Set the location and dimensions of player 1’s image view by typing the following line of code:
cardsImageViews.append(player2CardIV)

player1CardIV.frame = CGRect(X: 0, y: 0, width: view.frame.height * 0.36 * 0.67, height: view.frame.height * 0.36)
We’re using the numbers you just saw to set the new CGRect’s height to be 36% of the view’s frame’s height. To get the perfect width, we divided 329 (the width in our 329:488 Ratio) by 488. This is how we got the 0.67. Because we’re multiplying by numbers less than 1, this code will produce a frame smaller than the view, with a width that’s smaller than its height.
We can take a look at what the code we just wrote does, add the player1CardIV to the view as a subview by typing the following code:
player1CardIV.frame = CGRect(X: 0, y: 0, width: view.frame.height * 0.36 * 0.67, height: view.frame.height * 0.36)

view.addSubview(player1CardIV)
Let’s see how our app looks so far! At the top left of the window is the active scheme. Click where it says Card War and choose iPhone 8 to preview what the app looks like on an iPhone 8.
Go to the top left and click the Run button
 .
.Once the Simulator finishes loading the app, click on the Deck button, and a card of the same size will appear at the very top-left corner of the app!
It’s in this position because we set both the X and y origin coordinates to 0. To move the card into a better position, we’ll need to add more programmatic constraints.
Switch back to Xcode.
Set the position of player 1’s image view using the following code:
player1CardIV.frame = CGRect(X: 0, y: 0, width: view.frame.height * 0.36 * 0.67, height: view.frame.height * 0.36)
player1CardIV.center.X = view.center.X * 0.24
player1CardIV.center.y = view.center.y * 1.1

view.addSubview(player1CardIV)
We also used the factors we’re multiplying by in our Storyboard to constrain the Deck button. (Feel free to switch to its tab and check out the multiplier for the Align Center X and Align Center Y constraints.) Because we’re using the same numbers, this code positions player 1’s card directly on top of the Deck button. If we were to run the Simulator now, we wouldn’t see player 1’s card.
To set the size and dimensions for player 2’s card (and to add it to the view), type the following code:
player1CardIV.center.y = view.center.y * 1.1
player2CardIV.frame = player1CardIV.frame
player2CardIV.center.X = player1CardIV.center.X
player2CardIV.center.y = player1CardIV.center.y

view.addSubview(player1CardIV)
view.addSubview(player2CardIV)
Player 2’s code clones the size and position of player 1’s card. Because we already performed the calculations for player 1, we can do things like setting the size of player 2’s frame to that of player 1’s.
In the next exercise, we’ll animate the cards so they move from their current position (on top of the Deck button), to a place where they’ll look nice. For now, let’s just write the following two lines of code to immediately move player 1’s card over:
view.addSubview(player2CardIV)

player1CardIV.center.X = view.center.X * 0.57 + cardLayoutDistance * CGFloat(drawNumber)
player1CardIV.center.y = view.center.y * 0.6
Let’s break that down:
We got these values via trial and error. Both values are a bit higher than the ones we used to constrain the label that reads Player 1 Score:. This means that the card will be positioned a bit under and to the right of the center of that label.
The center.X code is more complex because each card’s horizontal position will be different, based on its drawNumber (a whole number from 1–26 converted to a float so we can multiply it with another float). This ensures that the cards will go from left to right, with each subsequent card stacked on top of the previous one.
Remember that cardLayoutDistance is a float that is calculated as 1/44 of the view’s width. To see this, look at the viewDidAppear near the middle of the code.
We want the same horizontal position for player 2’s card, but it needs to be vertically positioned near the bottom of the screen. Type the following code:
player1CardIV.center.y = view.center.y * 0.6
player2CardIV.center.X = player1CardIV.center.X
player2CardIV.center.y = view.center.y * 1.4
Let’s fire up the Simulator to see the new positioning! At the top left, click the Stop button
 then click the Run button .
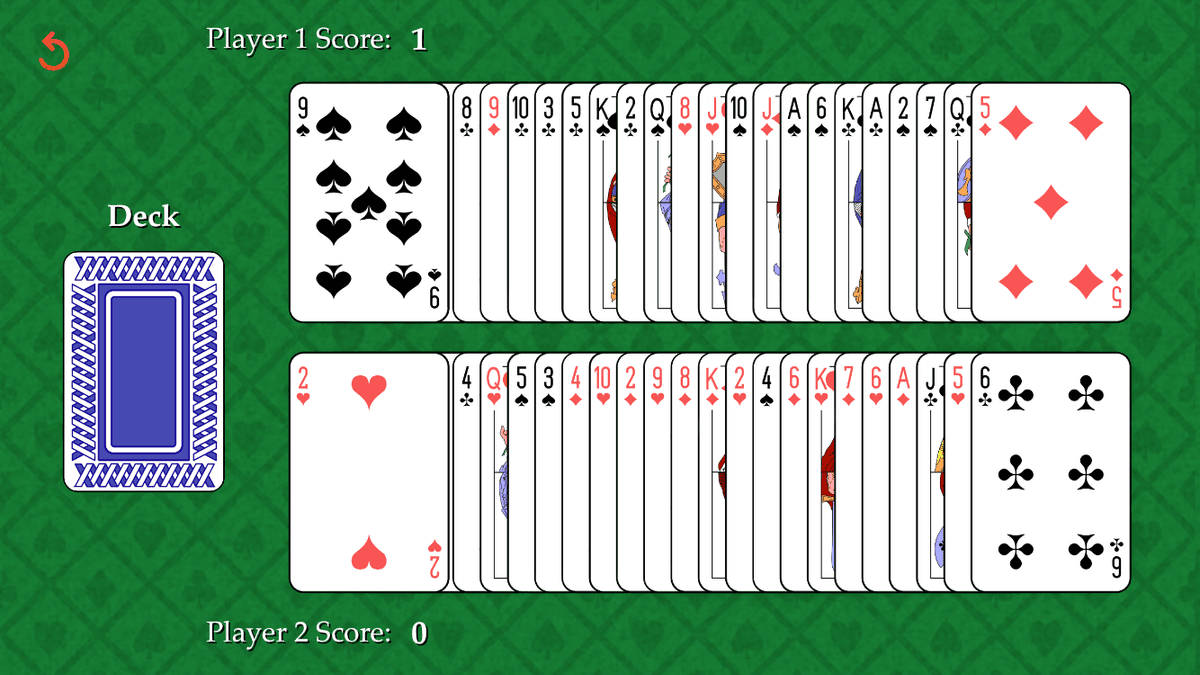
Click the Deck button to see that each player’s card now appears (instantaneously, without any animation) to the right of the card back button, near each player’s respective score label. Much better!
Revealing the Cards & Updating the Winner’s Score
It’s time for the big reveal! In the next exercise, we’ll animate each image view to flip over, exposing the card each player drew. For now, go back to Xcode and assign each player the actual image that their card contains:
player2CardIV.center.y = view.center.y * 1.4

player1CardIV.image = player1Card.image
player2CardIV.image = player2Card.image
Let’s take a peek! At the top left, click the Stop button
then click Run .When the app finishes loading, click the Deck button to see the first set of cards get instantaneously revealed! (We’ll eventually add a nifty flipping animation.)
NOTE: Remember that when the card object was initialized in the data model, it fetched its own image. So our data model is interacting with the View Controller to display this information visually in our UI!
You may have noticed that the score stayed put at 0, and did not change. Switch back to Xcode so we can remedy that.
Add two if statements that make a decision which player wins the round:
player2CardIV.image = player2Card.image

if player1Card.value > player2Card.value { player1Score += 1 }
if player1Card.value < player2Card.value { player2Score += 1 }
Because we’re playing a simplified version of the game of War, nothing will happen if there’s a tie. In the case that one of the two cards has a greater value than the other, the winning player’s score will get incremented by 1 point.
Stop
the Simulator and Run it again.Click the Deck button to draw a set of cards. If both cards have different values, you will see the winning player’s score label (the number 0) automatically change to 1. This is because when we declared the player1Score and player2Score variables in the previous exercise, we used the didSet property observer. It’s keeping its watchful eye on any changes to these variables, updating the associated label outlet accordingly.
NOTE: If you drew a set of cards with the same value (such as two Aces), you won’t be able to see this unless you rerun the Simulator and try again.
Currently, we are only able to draw a single set of cards. Even if you click the Deck button again, it will not do anything. To fix that, return to Xcode.
At the beginning of the drawCards function, find the following line of code:
if drawingCards { return }If the drawingCards boolean evaluates as true, the drawCards function thinks that the user is still drawing cards! Because we have not changed the value of this variable, the code is preventing the user from going any further.
Go back to the bottom of the drawCards function where we’ve been writing our code, and set the variable to false so the user can proceed:
if player1Card.value < player2Card.value { player2Score += 1 }

self.drawingCards = false
Stop
the Simulator and Run it again.Click the Deck button, keeping track of the number of times you’ve done so. Yay, this time the app is keeping score!
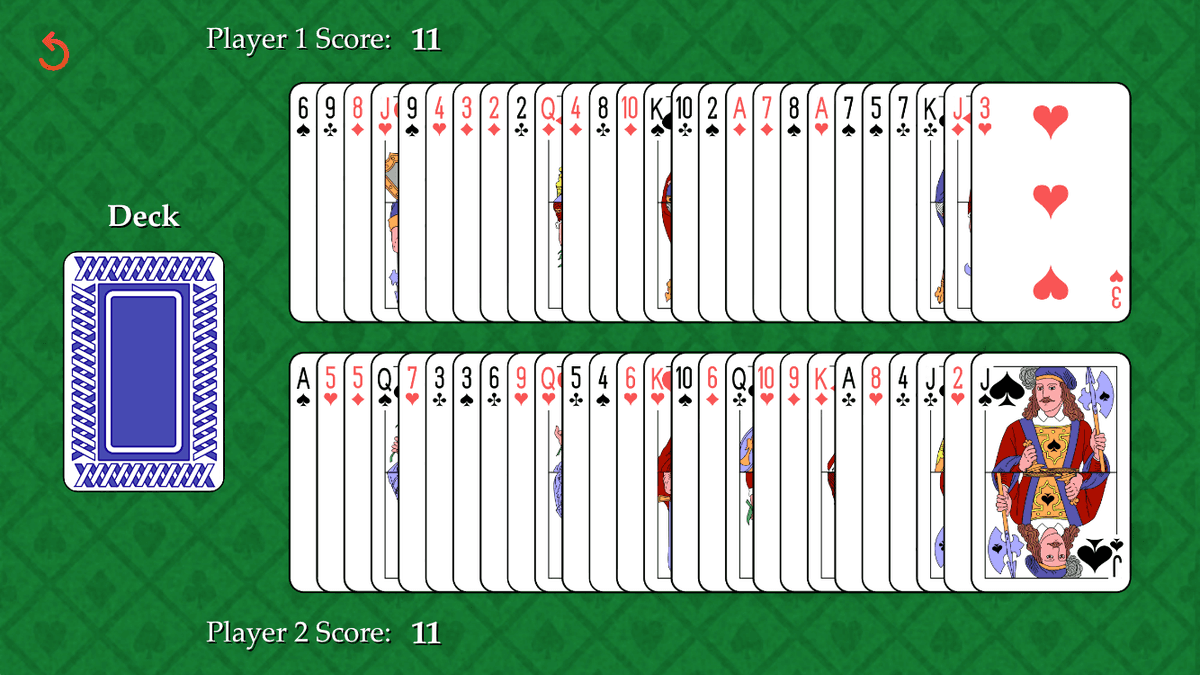
If you haven’t already done so, click the Deck button until each player has 26 cards.
This should take you back to Xcode. It’ll point out an EXC_BAD_INSTRUCTION on the line that is trying to removeLast card from the shuffledDeck to deal it to player 1.
To fix the issue, add the following if statement that specifies what happens on the 26th and final draw:
if player1Card.value < player2Card.value { player2Score += 1 }

if drawNumber == 26 {
   deckButton.imageView?.image = UIImage(named: "Game-Over")
   gameOver = true
}
self.drawingCards = false
Remember that deckButton is the first outlet in our code, and it allows the Deck button to change images from its usual card back image to the game over image. (Feel free to take a look—it’s in the Images folder.) Because the 26th draw is the last one, we’re also telling the code that the game is over.
To see what happens when the game is over and the user tries to click the button again, go near the top of the drawCards function and find the following:
if gameOver {
   restartGame()
   gameOver = false
   return
}
When the user clicks the Deck button after the 26th draw, these lines of code will get executed. The game will no longer be over, and the game will get restarted.
Defining What Happens When the Game is Restarted
We haven’t defined what happens when the restartGame function gets called (when the user either presses the Deck button after the game ends, or presses the restart button at any point in time.) Let’s do that now.
Let’s make it so when the user presses the red restart button
 at the top left of our UI, it will call the restartGame function we’re about to flesh out. (Because the restartButton function only does one thing, get rid of any additional spaces that were in the code, so your code appears as follows.)
@IBAction func restartButton(_ sender: Any) { restartGame() }The first thing we need to do when we restartGame is shuffle the deck, so we create a brand new randomly ordered set of cards:
@IBAction func restartButton(_ sender: Any) { restartGame() }

func restartGame() {
   deck.shuffle()
}
The deck variable is an instance of the Deck class from our data model. (You can see the variable near the top of the View Controller code.) When we call the Deck class’s shuffle method, it will fill the shuffledDeck (from the data model) with all 52 cards in random order.
When the game gets restarted, the drawNumber needs to become 0, because no cards have been drawn yet. The scores need to be reset as well. Reset those variables back to their original values as shown:
func restartGame() {
   deck.shuffle()
   drawNumber = 0
   player1Score = 0 ; player2Score = 0
}
Using Semi-Colons in Swift
By including the semi-colon in the last line, we were able to write more than one statement on a single line. Some programmers like them, and some prefer to write each statement on a different line. The choice is up to you—go with whatever makes it easier for you to read and understand your code.
We previously wrote code that changed the image of the Deck button once there are no more cards in our virtual deck. Because our restarted game gets a brand spanking new deck with all cards present, we need to revert the image to the card back image. Add the bold code:
deck.shuffle()
drawNumber = 0
player1Score = 0 ; player2Score = 0
deckButton.imageView?.image = UIImage(named: "Card-Back")
Let’s play the game all the way through to see what happens when the user restarts the game by clicking the Deck button. Stop
the Simulator and Run it again.Click the Deck button 27 times, until you see the scores change back to 0.
You should notice that the deck button does not change its image, and the cards are still present when the scores are reset…
Click the Deck button again to see that when you draw a new set of cards, they stack on top of the previous ones. All of the old cards have not been removed from memory, which could slow down the user’s phone and make our app crash!
Let’s fix both issues. It’s most critical to fix the memory issue, so let’s do that first. Return to Xcode.
Call in the “cleanup crew” by iterating through the cardsImageViews array and removing all the card image views stored inside it:
deckButton.imageView?.image = UIImage(named: "Card-Back")
for cardIV in cardsImageViews { cardIV.removeFromSuperview() }
Remember that cardsImageViews is an array that stores a handle to each image view (each set of two cards the user draws). So in this line of code, we remove all of them from the superview, thus removing them from memory.
Let’s make sure our app can take out the trash now. Stop
the Simulator and Run it again.Click the Deck button a few times, until you get bored. At any point, press the restart button
to reset the deck.Awesome, those pesky old cards are all gone!
Now we can go on to fix the Deck button issue. Return to Xcode.
Currently, we’re directly assigning the new image to the deckButton variable. This only works within an animation block. Even though we’ll add animations in the next exercise, let’s make it work now. In the drawNumber == 26 if statement, delete the following line of code:
deckButton.imageView?.image = UIImage(named: "Game-Over")To fix the issue, we’ll use the setImage method associated with the UIButton class. (Remember that our deckButton is an object of that type.) In the place of the line you just deleted, type the following:
if drawNumber == 26 {
   deckButton.setImage(UIImage(named: "Game-Over"), for:.normal)
   gameOver = true
}
The setImage method’s for parameter allows you to specify the state in which the image will be set. For instance, we could change the image when the user has selected it, similar to how a link on the web can look different when a user is mousing over its text.
The .normal state for a UIControl (objects such as a UIButton) is the default state, when the control is neither selected nor highlighted. We are not using any other states in this app, so targeting the button in its normal state should change the image!
Stop
the Simulator and Run it again.Click the Deck button image until all the cards have been dealt.
Yes! You should see the image change to the Game Over image.
Click the Deck button once more, to see that the image does not get reset when everything else does.
Return to Xcode.
In the restartGame function at the bottom, replace the deckButton.imageView? line with the following setImage method shown in bold:
func restartGame() {
   deck.shuffle()
   drawNumber = 0
   player1Score = 0 ; player2Score = 0
   deckButton.setImage(UIImage(named: "Card-Back"), for:.normal)
   for cardIV in cardsImageViews { cardIV.removeFromSuperview() }
}
Stop
the Simulator and Run it again.Click the Deck button until you see the image change twice—once to the Game Over image, then back to the original card back image. Perfect!
Return to Xcode and Stop
the Simulator.Save the file and keep Xcode open so that we can continue with this file in the next exercise.