The Lawyer Joke Book: Setup
What This Tutorial Covers
Document Setup
Page size, margins, and master pages.
Style Setup
Paragraph and character styles for the book.
Pagination
Auto page numbers and section markers.
Noble Desktop's Graphic Design Certificate covers InDesign alongside Photoshop and Illustrator.
Enhance your Adobe InDesign skills with this step-by-step tutorial covering master pages, automatic page numbering, automatic text flow, and running heads, all while designing a multi-page book layout.
Exercise Preview
Setting up the Document
- Go into File > New > Document and set the following:
- To the right of Width, set Units to Picas.
- Set Width to 31p6 (or 5.25 inches) and Height to 48p (or 8 inches).
- If the Start # isn’t already 1, change it now.
- Check on both Facing Pages and Primary Text Frame if they aren’t already.
- Set Columns to 1 and Column Gutter to 1p0.
- In the Margins section, unlink
 the values and set Margins of Top: 6p6, Bottom: 6p6, Inside: 4p6, and Outside: 4p6
Click Create.
Choose the Selection tool
 .
.
Setting up the Master Page: Adding Guides
Notice that there are no page numbers or running heads? Let’s add them now. In the Pages panel, double–click on the name A-Master.
You should see an open canvas of two pages awaiting your brilliance. Let’s add some guides to help us with what we’re about to create. Make sure the rulers are showing (View > Show Rulers).
From the left-hand ruler, drag out a vertical guide to the purple margin guide on the left. (As shown below.)
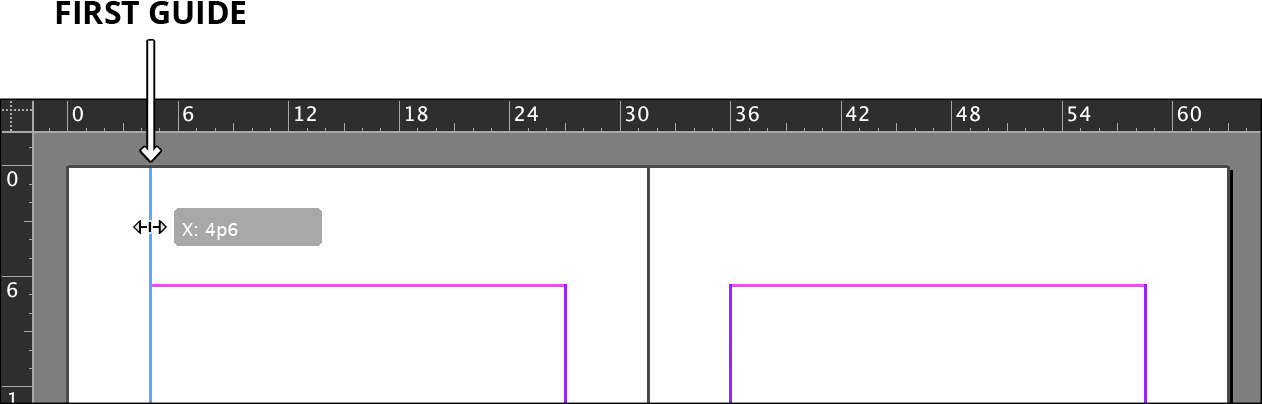
One at a time, pull out three more guides and position them at the margin guides:

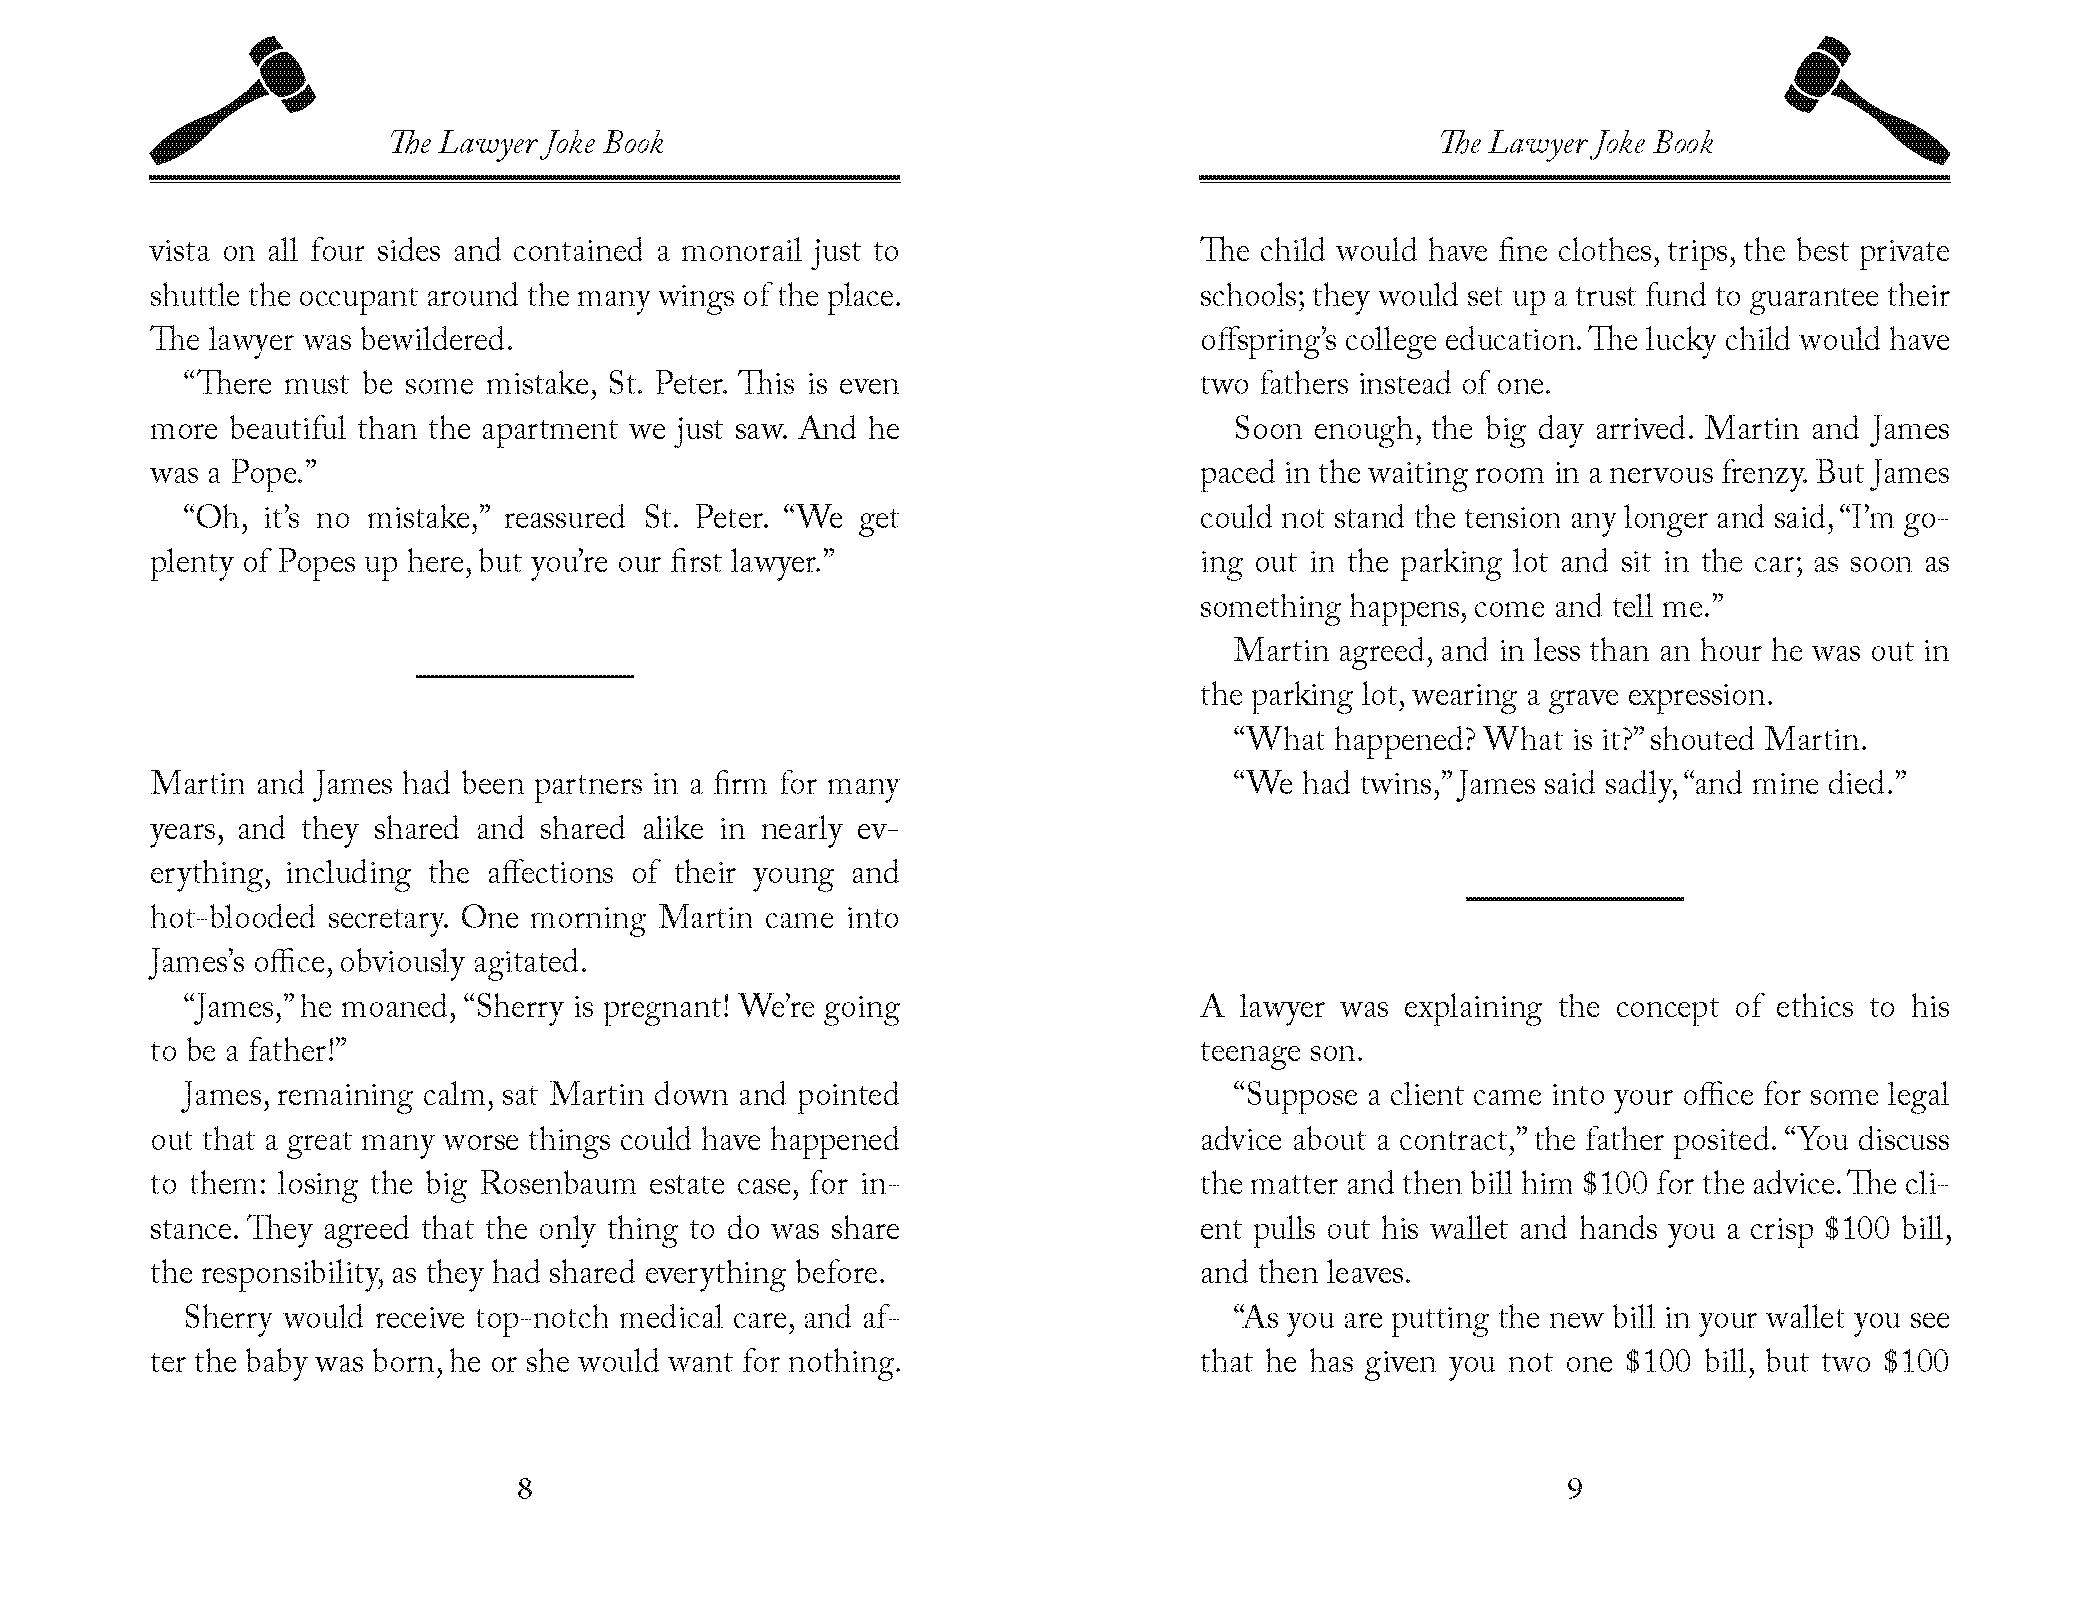
Setting up the Master Page: Adding the Running Heads
Now let’s draw a line to separate the text from the running heads. Take the Line tool
 , hold Shift (to keep it perfectly horizontal) and at the top of the left-hand page, draw a line a little bit above the master text frame between the guides. (Look at the sample on the first page of this exercise to see what we mean.)
With the line still selected, in the Stroke panel, set:
Weight: 3 pt Type: Thick—Thin Above the line, use the Type tool
 to draw a text frame that stretches from guide to guide. Make it anything from a quarter to half an inch (1p6–3p) high.
In it, type: The Lawyer Joke Book
Make the text 12 pt Adobe Caslon Pro Italic (listed under C).
Center the text.
Position the text and line so they look good (that is, like the example shown in the next step).
Let’s bring in an image. Choose the Rectangle Frame tool
 and, as shown below, position the crosshair cursor at the left guide above the type and click once.
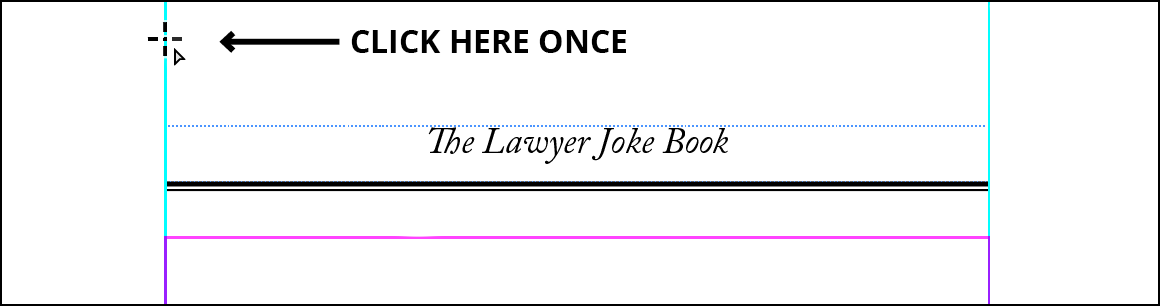
In the dialog that appears, make it 5p wide and 3p10 high.
With the frame still selected, go to File > Place and choose GavelLeft.eps.
It is clearly too big, so go to Object > Fitting > Fit Content Proportionally.
Reposition the frame so it looks good with the type and line. Move them all lower on the page if needed, but don’t put them too close to the master text frame.
For a better preview of how it will look, at the bottom of the Tools panel, click and hold the Normal button
 and from the menu, choose Preview.
Then click and hold on Preview
 and choose Normal again to see things as they were before.
TIP: Press W to enter and leave Preview mode
. Just make sure you aren’t editing text while you do it!We need this running head on the right page as well. Let’s save some time and duplicate what we just did. Being careful NOT to accidentally select the master text frame below, use the Selection tool
to select the gavel, the text frame, and line.NOTE: You can use the Shift key to click on each item, or you can click and drag a marquee around all three (be sure NOT to select the large empty text frame below).
Go into Edit > Step and Repeat, check Preview, and enter the following:
Repeat Count: 1 Vertical Offset: 0 (so it doesn’t move up or down) Horizontal Offset: 31p6 (the width of the page) When you click OK, you’ll end up with a copy of all three items on the right-hand page.
Deselect everything by choosing Edit > Deselect All.
With the Selection tool
, click on the right-hand gavel to select it.In the Control panel, click the center reference point
 if it’s not already chosen.
Near the middle of the Control panel, click the Flip Horizontal button
 .
.Move the gavel to the right, holding down the Shift key while you drag to keep its position constrained horizontally. Release the mouse when it snaps to the rightmost guide.
Just to confirm that what you are doing is being reflected by the rest of the document, double–click on page 2 in the Pages panel.
Nice. Let’s do a File > Save to be safe.
Setting up the Master Page: Adding Page Numbers
Go back to the A-Master page (double–click on its name) so we can add a page number.
At the bottom of the left-hand page, use the Type tool
to draw a text frame that stretches from guide to guide, as wide as the master text frame.With the text cursor still in the frame, choose Type > Insert Special Character > Markers > Current Page Number, or the keystroke Cmd–Opt–Shift–N (Mac) or CTRL–ALT–Shift–N (Windows).
Select the page number symbol (which will be an A since you are on the A master). Make it 12 pt Adobe Caslon Pro Regular and center it.
Choose the Selection tool
and position the text box so it looks good. (Want to be precise? In the Control panel, click the top left reference point  and set: Y: 44p3)
With the frame selected, go into Edit > Duplicate.
It remembers the settings we used earlier, so it should be correctly positioned on the right page.
Double–click on page 2 in the Pages panel to see what you’ve created.
Save the document and keep it open. With the book design all set up, the only thing left to do is style the text. You’ll do this in the next exercise.