Coding Links: Images & Page Jumps
What This Tutorial Covers
Anchor Tags
<a> with href for links to other pages.
Image Tags
<img> with src and alt attributes.
Page Jumps
Anchor IDs and href=#id for in-page navigation.
Noble Desktop's Front-End Web Development Certificate teaches HTML, CSS, and JavaScript — the complete front-end foundation.
Enhance your coding skills with this HTML & CSS tutorial that covers topics like anchor tags & relative URLs, image linking, and coding links within a page.
Topics Covered in This HTML & CSS Tutorial:
Anchor Tags & Relative URLs, Wrapping Links Around Images, External Links (using the Target Attribute), Links Within a Page
Exercise Preview
Exercise Overview
This exercise will refresh you on how to link to other pages within a site and how to code external links that open in a new browser tab or window. You will also beef up your linking skills by creating links to different sections within a single webpage and wrapping links around images.
If you completed the previous exercise, sanfran.html should still be open, and you can skip the following sidebar. If you closed sanfran.html, re-open it now. We recommend you finish the previous exercises (3B–3D) before starting this one. If you haven’t finished them, do the following sidebar.
If You Did Not Do the Previous Exercises (3A–3C)
- Close any files you may have open.
- On the Desktop, go to Class Files > Web Dev Class.
- Delete the Revolution Travel folder if it exists.
- Duplicate the Revolution Travel Ready for Links folder.
- Rename the folder to Revolution Travel.
Coding Links to Pages Within a Site
Before you start coding the links, here is a tip that you should keep in mind. If you’re using Visual Studio Code (and set up the wrap keystroke using the instructions in the Before You Begin section near the start of this book), you can quickly wrap a tag around a selection using a keystroke. Select the code you want to wrap and hit Option–W (Mac) or ALT–W (Windows). Then type in the name of the tag you want to wrap (for links that is a) and hit Return (Mac) or Enter (Windows).
Let’s begin by coding the navigation links that lead to other pages in this site. In sanfran.html, find the nav (just after the start of the body tag). Wrap the following anchors and hrefs (in bold) around the text:
<nav>
   <ul>
      <li><a href="sanfran.html"> Featured Location</a></li>
      <li><a href="packages.html"> Tour Packages</a></li>
      <li><a href="tips.html"> Travel Tips</a></li>
      <li><a href="about.html"> About Us</a></li>
      <li><a href="contact.html"> Contact</a></li>
   </ul>
</nav>
NOTE: When linking from one file to another in a site, we use relative links. The links are relative to the location of the file in which you are coding. If both the file you are in and the one you are linking to are in the same folder (like ours are), all you have to type for the value of the href (hyperlink reference) is the file name.
- Save the file.
- Preview sanfran.html in a browser to test a link. (These pages have been provided for you and are not styled yet. We’ll style them in a later exercise.)
Hit the browser’s Back button to return to sanfran.html. Leave this page open in the browser so you can reload the page as you work.
Wrapping Links Around Images
Let’s add a link around the logo image. Traditionally, the logo image links to the homepage (index.html). Return to sanfran.html in your code editor.
Above the nav, there’s a logo image inside the header. Wrap the image in an anchor tag with an href to the index page, as shown below in bold:
<header><a href="index.html"><img src="images/revolution-logo.png" ALT="Revolution Travel"></a></header>- Save the file and reload the page in your browser.
- Click on the logo and you should be taken to the homepage. (This is another unstyled file we have provided for you.)
Hit the browser’s Back button to return to sanfran.html.
Creating Links to Other Websites
- Return to sanfran.html in your code editor.
Scroll down to the main section and find the heading that says, Things to Do.
There are three images in this section of the page, each of which needs to be wrapped in an anchor tag with an href to the appropriate external website.
Find the image for Alcatraz Cruises, and wrap an anchor tag around it as shown below in bold:
<p><a href="https://www.alcatrazcruises.com/"><img src="images/logo-alcatraz.jpg" class="img-left" ALT="Alcatraz Cruises"></a>When linking to another website you must always use
http://(hypertext transfer protocol) orhttps://(HTTP secure), depending on which protocol the site you are linking to uses. It’s best to copy the URL directly from the browser’s address bar.- Save the file and reload your page in a browser to test out the link. Awesome.
Hit the browser’s Back button to return to sanfran.html.
What if you prefer to open the link in another browser tab or window? Let’s see how to do that.
Return to sanfran.html in your code editor. Add the target attribute to anchor tag, like so:
<a href="https://www.alcatrazcruises.com/" target="_blank"><img src="images/logo-alcatraz.jpg" class="img-left" ALT="Alcatraz Cruises"></a>Save the file and reload your page in a browser to test out the link once more. This time the link will open in a new tab. (If a user has set preferences for links to open in windows rather than tabs, a new window will open.)
Return to sanfran.html in your code editor. Let’s use the same method for linking up the other two images in this section.
Find the image for Fisherman’s Wharf, and wrap an anchor tag around it as shown below in bold:
<p><a href="https://www.fishermanswharf.org/" target="_blank"><img src="images/logo-fishermans-wharf.jpg" class="img-right" ALT="Fisherman's Wharf"></a>Find the Blazing Saddles image, and wrap an anchor tag around it as shown below:
<p><a href="https://www.blazingsaddles.com/" target="_blank"><img src="images/logo-blazing-saddles.jpg" class="img-left" ALT="Blazing Saddles"></a>Save the file and reload your page in a browser to test out the two new links. Each should open in its own new tab (or window).
Links Within a Page
In order to make navigating the content of a page easier, IDs can be coded into sections of the document and then links to those IDs can be provided from a “Table of Contents” of sorts. A visitor can click a link to jump down the page and view a section.
We already have content set up to for these types of “page jumps”. Let’s code the links to make it work.
In the Things to Do section, add an ID to the paragraph about Alcatraz Island, as shown below in bold:
<p id="alcatraz"><a href="https://www.alcatrazcruises.com/" target="_blank">Also add an ID to the paragraph about Fisherman’s Wharf:
<p id="wharf"><a href="https://fishermanswharf.org/" target="_blank">Add another ID to the Blazing Saddles paragraph:
<p id="biking"><a href="https://www.alcatrazcruises.com/" target="_blank">Just below that last paragraph, add one more ID to the Local Travel Tips heading:
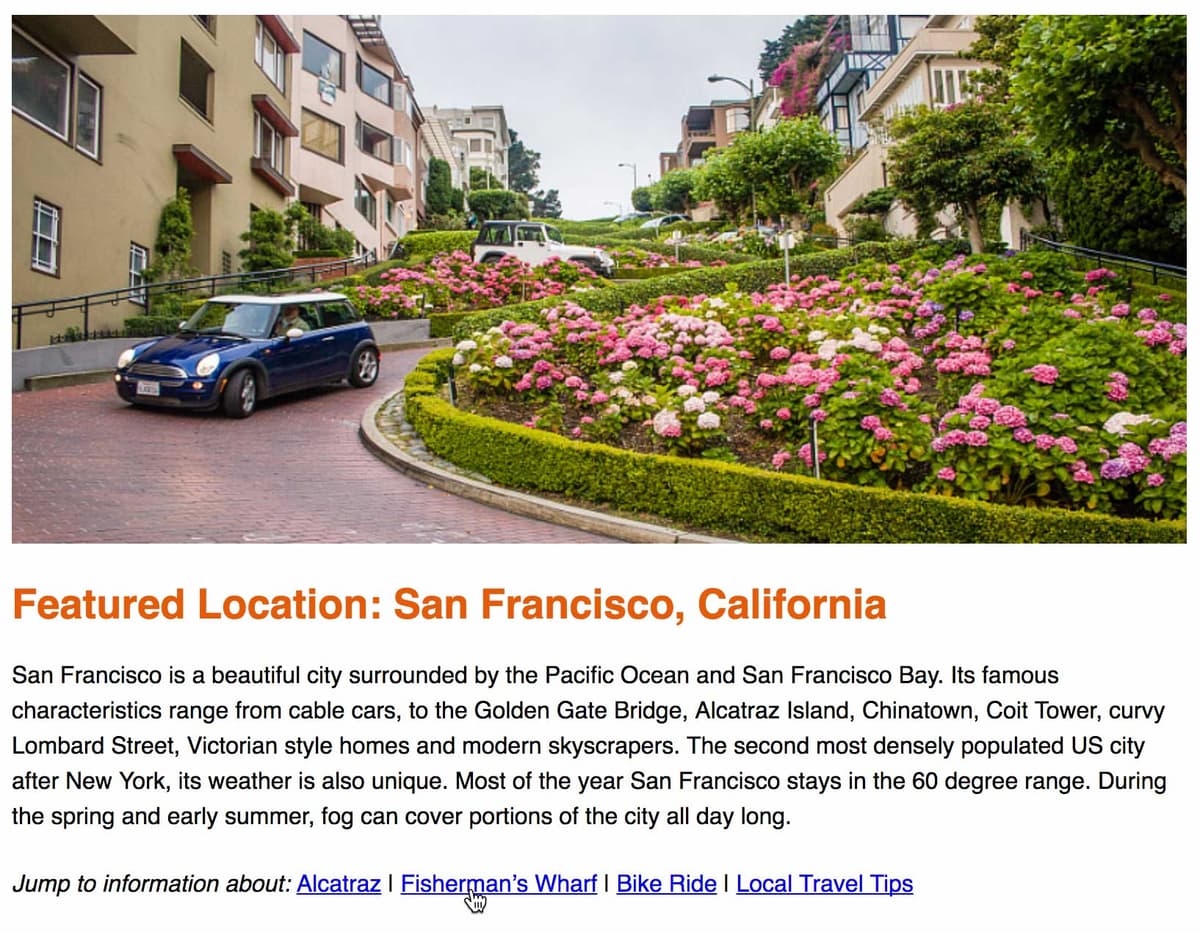
<h2 id="tips">Local Travel Tips</h2>You can link to any ID within the page, by making a link’s href equal to the ID. Above the Things to Do heading, next to Jump to information about, wrap the Alcatraz text with the following bold anchor tag and href to the ID of the section we want to jump to:
<p><em>Jump to information about:</em> <a href="#alcatraz"> Alcatraz</a> | Fisherman's WharfThe # in the href tells the browser to find an element with that ID and scroll up or down to it.
While you’re here, wrap another anchor around Fisherman’s Wharf like so:
<a href="#wharf"> Fisherman's Wharf</a>Save the file and preview sanfran.html in a browser.
Above the Things to Do heading, click the links to the right of Jump to information about to test them out. If the links do not work as expected, double-check your code. Make sure the anchor’s href and the ID are typed the same and have no spaces or special characters.
Return to sanfran.html in your code editor and finish coding the remaining two links like so:
<a href="#biking"> Bike Ride</a> | <a href="#tips"> Local Travel Tips</a>Save the file and reload your page in a browser to test the rest of the “page jumps.”
The page jumps down to specific content nicely, but it would also be nice to be able to jump back up to the top of the document. Let’s code that. Return to sanfran.html in your code editor.
Scroll down to the Things to Do section.
After the block of text about Alcatraz, you should see text that says, Back to Top. Wrap that text in an anchor tag with an href that points to # like so:
<a href="#"> Back to Top</a></p>You just created a link to an unnamed ID. When the browser encounters this, it jumps to the top of the document by default. Pretty neat trick.
Wrap the following three remaining Back to Top text phrases with the same exact
<a href="#">Back to Top</a>code as you wrote in the previous step:- At the end of the Fisherman’s Wharf content.
- At the end of the Blazing Saddles content.
- And all the way down at the end of the Local Travel Tips content (just above the footer).
TIP: If you’re using Visual Studio Code (and set up the wrap keystroke using the instructions in the Before You Begin section near the start of this book), you can:
- Select any of the Back to Top occurrences.
- Choose Selection > Select All Occurrences.
- Hit Option–W (Mac) or ALT–W (Windows) and wrap each selection in the a tag.
- Lastly, add the # in the href of each Back to Top link.
- Save the file and reload your page in a browser to test out all the Back to Top links!
If you finish early, check out the Spambot Resistant Email Link bonus exercise at the end of this book for more fun with links.