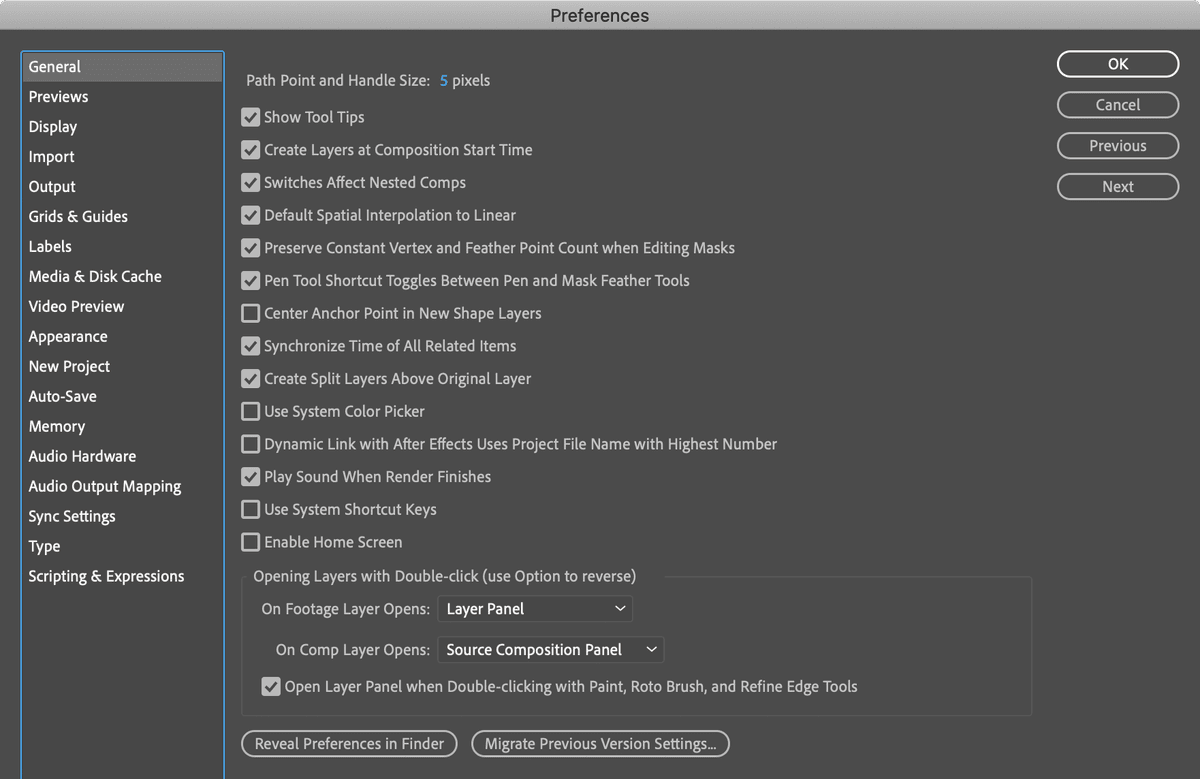
April 1, 2026Kalika Kharkar Sharma/6 min read

Setting Preferences: Free After Effects Tutorial

Master After Effects Setup for Optimal Workflow

Critical Setup Required

This setup exercise is essential for all future lessons in this tutorial series. Skipping this step will cause issues with later exercises, so complete it before proceeding.

Complete the following setup prior to beginning any exercises. This foundational configuration ensures optimal performance and prevents compatibility issues throughout your After Effects workflow.

Exercise Preview

preview setting preferences

Exercise Overview

Professional motion graphics work demands a properly configured workspace. While it's tempting to dive straight into creating, taking the time to establish the right preferences will save you countless hours of troubleshooting and ensure consistent behavior across all your projects. These settings form the backbone of an efficient After Effects workflow, and skipping this setup will cause issues with exercises throughout this course.

After Effects Version Compatibility

After Effects 2020

This tutorial has been fully tested and optimized for After Effects 2020. All features and preferences will work exactly as described.

Other Versions

Older and newer versions should work similarly, though some interface elements or preference locations may vary slightly.

Setting Preferences

The following configuration optimizes After Effects for professional motion graphics work, ensuring predictable behavior and streamlined workflows.

  1. Launch Adobe After Effects.

    NOTE: This book has been tested with After Effects 2020, though the principles remain consistent across versions. If you're using After Effects 2021 through 2026 or later versions, most settings will be identical or similarly located. Adobe maintains backward compatibility for these core preferences.

  2. If the Home screen appears, close it immediately. We'll disable this feature entirely in the upcoming steps to streamline your workflow.

  3. Like other Adobe Creative Suite applications, configuring preferences before creating any projects ensures these settings become your default workspace behavior. Navigate to the After Effects menu (Mac) or Edit menu (Windows) and select Preferences > General.

  4. Ensure Show Tool Tips is enabled. These contextual hints provide instant information about interface elements without requiring you to consult documentation, accelerating your learning curve and improving productivity even for experienced users.

  5. Enable Create Layers at Composition Start Time. This seemingly simple setting prevents a common workflow disruption where new layers begin at the current playhead position rather than your composition's start, maintaining timeline organization and preventing accidental gaps in your animation.

  6. Enable Default Spatial Interpolation to Linear to ensure animations behave predictably throughout this course.

    This critical setting determines how After Effects calculates motion between keyframes. When enabled, animated objects follow straight paths with sharp directional changes rather than curved, eased transitions. This creates more predictable and controllable motion paths, essential for precise motion graphics work.

  7. Enable Preserve Constant Vertex and Feather Point Count when Editing Masks.

    Masks are fundamental to advanced compositing work, allowing you to selectively hide or reveal portions of your layers. This preference ensures your masks maintain structural integrity throughout their animation lifecycle, preventing point count mismatches that can cause unpredictable behavior in complex animations.

  8. Enable Synchronize Time of All Related Items.

    This preference maintains temporal consistency across your project's panels and windows. When you scrub the timeline or jump to a specific frame, all related panels update simultaneously, providing accurate feedback and preventing the confusion that arises from desynchronized playheads.

  9. Enable Create Split Layers Above Original Layer.

    When editing video content, you'll frequently need to split layers to create cuts, transitions, or insert effects. This setting places the new segment above the original in your layer stack, following standard video editing conventions and maintaining logical layer organization.

  10. Mac Users Only: Disable Use System Shortcut Keys.

    macOS system shortcuts occasionally conflict with After Effects' extensive keyboard shortcuts. Disabling this option prioritizes After Effects' commands, ensuring professional shortcuts like Command+D (duplicate layer) work correctly instead of triggering system functions.

  11. Disable Enable Home Screen. While Adobe promotes the Home screen for project discovery, it adds unnecessary steps to your workflow and provides minimal value for focused work sessions.

  12. In the Preferences window's left panel, select the Previews section to optimize playback behavior.

  13. Under the Audio section, enable Mute Audio When Preview is Not Real-time.

    Unlike dedicated video editing applications, After Effects prioritizes quality over real-time playback. When the application can't maintain real-time speeds, audio becomes distorted and stuttered. This setting prevents that jarring experience, automatically muting audio during slower-than-real-time previews while preserving it during smooth playback.

  14. Select the Display section from the left panel to configure visual feedback options.

  15. Under Motion Path, select All Keyframes.

    Motion paths provide visual representations of how your layers move through 2D or 3D space over time. By displaying all keyframes, you gain immediate insight into your animation's spatial characteristics, making it easier to refine timing and adjust trajectories without scrubbing through the timeline.

  16. Navigate to the Output section to establish render and export behaviors.

  17. Disable Use Default File Name and Folder to maintain control over your export destinations. This forces After Effects to prompt you for specific save locations and filenames, preventing accidentally overwritten files and ensuring your renders land in project-appropriate folders.

  18. Select the Appearance section to configure visual organization tools.

  19. Enable both Use Label Color… options.

    Professional projects often contain dozens or hundreds of layers. Label colors provide instant visual categorization—assign red to problem layers, green to approved elements, or blue to audio tracks. This color-coding system dramatically improves project navigation and team collaboration.

  20. Enable Cycle Mask Colors (uses label colors).

    Complex compositing frequently requires multiple masks per layer. This setting automatically assigns different colors to each mask, making it immediately apparent which mask you're editing and preventing accidental modifications to the wrong mask path.

  21. Enable Use Contrasting Color for Mask Path to ensure mask visibility against any background color or image content.

  22. Select the Auto-Save section to establish project backup protocols essential for professional work.

  23. Enable Save every and set the interval to 5 minutes. This frequent backup schedule protects against data loss from crashes, power outages, or system instability without creating noticeable workflow interruptions.

  24. Enable Save when starting render queue. Rendering can be resource-intensive and occasionally causes system instability. This setting ensures your project saves before beginning any render operation, protecting your work if issues arise during export.

  25. Set Maximum Project Versions to 5. This maintains a reasonable history of auto-saved versions without consuming excessive disk space, allowing you to recover from accidental changes or corrupted files.

  26. Under Auto-Save Location, select Next to Project. This keeps backup files alongside your main project file, simplifying file management and ensuring backups remain accessible when moving projects between systems.

  27. Click OK in the upper right corner to apply all preference changes.

  28. To permanently save these preferences for all future sessions, quit After Effects using Cmd–Q (Mac) or Ctrl–Q (Windows). After Effects writes preference files during the quit process, ensuring these settings persist across application restarts.

Initial Setup Process

1

Launch After Effects

Start Adobe After Effects and close the Home screen if it appears. Setting preferences before creating projects ensures they apply to all future work.

2

Access Preferences

Navigate to After Effects menu (Mac) or Edit menu (Windows) and select Preferences > General to begin configuration.

3

Configure General Settings

Enable essential options like Show Tool Tips, Create Layers at Composition Start Time, and Default Spatial Interpolation to Linear.

General Preferences Checklist

0/5
Mac-Specific Setting

Mac users should uncheck 'Use System Shortcut Keys' to prevent conflicts between After Effects shortcuts and macOS system shortcuts, ensuring all application shortcuts function properly.

Audio and Preview Settings

0/2

Output and Organization Settings

0/4

Auto-Save Configuration

Save Frequency

Set auto-save to every 5 minutes to prevent data loss while maintaining smooth workflow without excessive interruptions.

Project Versions

Maintain 5 maximum project versions to balance file management with version history, allowing recovery from recent mistakes.

Save Location

Set auto-save location to 'Next to Project' for easy file organization and quick access to backup versions.

Save and Apply Settings

After clicking OK to apply preferences, quit After Effects completely using Cmd-Q (Mac) or Ctrl-Q (Windows) to ensure all preference changes are properly saved for future sessions.

Adobe's After Effects Preferences Reference

For comprehensive documentation on After Effects preferences and advanced configuration options, consult Adobe's official reference at helpx.adobe.com/after-effects/using/preferences.html. This resource covers enterprise-level settings and preferences not addressed in typical workflow tutorials.

Key Takeaways

1Proper preference setup is critical for tutorial success and must be completed before starting any other exercises
2After Effects 2020 is the tested version, though other versions should work with minor variations in interface
3General preferences should prioritize linear spatial interpolation, synchronized timing, and proper layer creation settings
4Audio should be muted during non-real-time preview to avoid distorted playback during frame loading
5Label colors and mask color cycling improve visual organization in complex compositions with multiple elements
6Auto-save should be configured for 5-minute intervals with project versions limited to 5 for optimal file management
7Mac users must disable system shortcut keys to prevent conflicts with After Effects keyboard shortcuts
8Quitting After Effects completely after preference setup ensures all changes are permanently saved for future sessions

RELATED ARTICLES