Movie Bumper: Editing Compositions & Adding Audio
What This Tutorial Covers
Composition Editing
Trim, split, and rearrange layers within compositions.
Audio Integration
Add audio layers and align them with visual cuts.
Pre-Composition
Group layers into nested comps for cleaner organization.
Noble Desktop's Video Editing & Motion Graphics Certificate teaches After Effects alongside Premiere Pro, Cinema 4D, and DaVinci Resolve.
Master After Effects with this tutorial on combining scenes, adding audio, and rendering a 15-second movie bumper that includes a feature presentation rated PG-13.
Exercise Preview
Adding Audio & Organizing the Project Panel
Let’s organize this project’s assets and add the audio file to our project.
On the top left, make sure you can see the Project panel. If instead you see the Effect Controls panel, close it by clicking the small X to the left of its name.
If any of the folders in the Project panel are expanded, close them now. If anything is selected, click in an empty area of the panel.
Cmd–click (Mac) or CTRL–click (Windows) on the following folders that After Effects automatically created when you imported the layered PSDs and AI file: Movie Feature Pres Layers, Movie-rating-page Layers, and yourname-Movie Tiles-120 Scale Layers.
NOTE: Remember that whenever you import a layered file using one of the two Composition options, After Effects will automatically create a folder for those layers.
Drag these down to the Create a new Folder button
 at the bottom of the panel.
Rename the new folder Assets and keep it selected so that the audio file we’re about to add will get nestled into this folder.
Press Cmd–I (Mac) or CTRL–I (Windows) or do a File > Import > File.
Navigate into Desktop > Class Files > After Effects Class > Movie Intro > Assets, and double–click on Movie-feature-presentation.aif to import it.
The Assets folder should expand so that you can see the asset has automatically been placed inside it. Perfect! That’s because we imported it with this folder selected.
The compositions we created in the three previous exercises are about to become pre-comps inside a new main composition. Let’s rename them with names that describe their position in the sequence we’re about to create (to match 01-Movie Tiles). Select Movie Feature Pres and press Return (Mac) or Enter (Windows).
Rename it to 02- Movie Feature Pres and press Return (Mac) or Enter (Windows) again to apply the name.
Rename Movie-rating-page to 03-Movie Rating Page (press Return/Enter to start and end renaming).
Click on the 01-Movie Tiles composition and Shift–click on 03-Movie Rating Page.
Drag these down to the Create a new Folder button
at the bottom of the panel.Rename the new folder Pre-comps.
Sequencing Multiple Compositions
Let’s create the master composition! Still in the Project panel, expand the Pre-comps folder and once again click on the 01-Movie Tiles composition and Shift–click on 03-Movie Rating Page.
In the Project panel, drag the three selected compositions down to the Create a new Composition button
 at the bottom of the panel.
In the pop-up that asks you what you want to do with these three compositions, choose the following options:
- Under Create, keep Single Composition selected if it isn’t already.
- If Sequence Layers isn’t already checked, check this option on.
- Uncheck Overlap if it isn’t already.
Click OK, and After Effects will automatically create a composition for you.
We want to change the name to something more memorable. Go to Composition > Composition Settings or press Cmd–K (Mac) or CTRL–K (Windows).
Change the name to 00-Movie-MAIN and click OK.
Return to the Project panel and drag the new 00-Movie-MAIN composition out of the Pre-comps folder to an empty area of the Project panel.
Back in the Timeline, scrub through with the playhead and notice the following:
- The tiles, Movie Feature Presentation, and rating animations are sequenced with no overlap. Once one animation ends, the next one begins.
- In the second pre-comp with the Movie logo animation, once the logo and text fade out at 10;10, the screen is totally black for almost a full second until the PG-13 sequence starts. We need to fix this!
We forgot to shorten the second composition when we originally worked on it, so let’s cut it to size now. Click into the Timeline. If this didn’t deselect all the master composition’s pre-comp layers, press Cmd–Shift–A (Mac) or CTRL–Shift–A (Windows).
Still in the Timeline, double–click on the 02-Movie Feature Pres layer to open this pre-comp’s Timeline tab.
We can determine where to cut it, let’s see where the last keyframe is. If they aren’t showing, press Cmd–A (Mac) or CTRL–A (Windows) to select all the unlocked layers, then press the U key.
In the Presentation layer, find the last set of keyframes
 . Hover over one of them to see a gray tooltip that displays the timecode, followed by its value. The timecode should say 5;05.
Press Cmd–K (Mac) or CTRL–K (Windows) to open the Composition Settings.
Change the Duration to 506 (to keep the last frame at 5;05) and click OK.
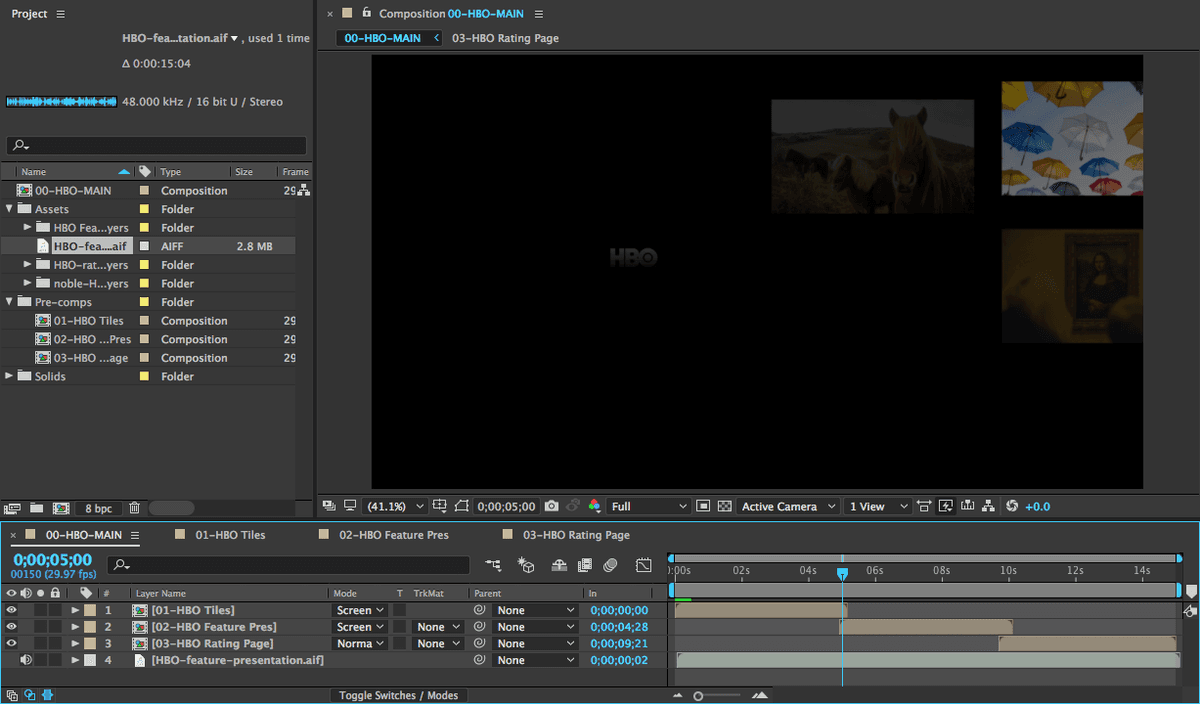
At the top of the Timeline, click on the 00-Movie-MAIN tab name to return to the main composition.
Back in the 00-Movie-MAIN composition (the master comp), press the End key (or Fn–Right Arrow) to get to the last frame.
Yikes, the composition is over 16 seconds! This is intended to be a bumper animation (a short announcement before a program or before/after a commercial). Bumpers simply remind or inform viewers what channel and program they’re watching, so they’re usually no longer than 15 seconds. We need to edit it down to 15;00.
Let’s work backwards a little bit. Park the playhead at 15;00.
In the Timeline, select the last shot in the sequence, the 03-Movie Rating Page layer.
To get the layer’s right edge to snap to the playhead, press the Right Bracket (]) key.