Even More Text Animation
What This Tutorial Covers
Multiple Animators
Stack animators for complex text behavior.
Range Selectors
Apply animation to specific characters or words.
Expressions
Code-driven text animation that scales beyond keyframes.
Noble Desktop's Video Editing & Motion Graphics Certificate teaches After Effects alongside Premiere Pro, Cinema 4D, and DaVinci Resolve.
Master the art of animation with After Effects, covering topics like animating multiple text properties, dingbat fonts, and saving an animation preset, while working through hands-on exercises to apply your new skills.
Exercise Preview
Animating Text with Character Offset
There are two layers we want to use in the side by side text animations. First we will combine them together using the Precompose command. For this lesson, two text layers have been prepared for you.
Select both the Numbers Left and Numbers Right layers.
Press Cmd–Shift–C (Mac) or CTRL–Shift–C (Windows) or choose Layer > Pre–compose
NOTE: you can also CTRL–click (Mac) or Right–click (Windows) on a highlighted layer and choose Pre–compose from the menu.
In the Pre–compose dialog name the new comp Numbers Animation.
- Confirm that both checkboxes at the bottom are disabled.
- Click OK
Double–click on the [Numbers Animation] comp to open it.
Select the Numbers Left layer and click the reveal arrow
 to view the Text and Transform groups.
Click the Animate
 button and choose Character Offset.
Set Offset to 2.
Click the reveal
arrow for Range Selector 1 to reveal its properties.Click the reveal
arrow for the Advanced group of Range Selector 1.Set Based On to lines and then set Units to Index.
NOTE: It is important to set the two properties in the order listed above. This is the only way the Start and End properties will automatically reset to the right number of lines.
Using Index will give us a more precise unit of measure than using percentage.
Close the Advanced properties.
In the Range Selector properties change End to 1.
Click the Add
button across from Animator 1 and choose Property > BlurClick off the link
 for blur and change the first value (this is horizontal blur) to 5
If necessary, move the playhead to the beginning of the Timeline and click on the stopwatch
 for Offset.
Move the playhead to 03;00 and change the Offset value to 12
Hold Option (Mac) or ALT (Windows) on your keyboard and click on the stopwatch for the Offset property to add an expression.
In the expression text field type: loopOut();
Click anywhere outside the field to finalize the expression.
Reveal the Advanced properties again and change Randomize Order to On.
Save the project by choosing File > Save or pressing Cmd–S (Mac) or CTRL–S (Windows).
Turn on the eye
 for the Chevron layer.
Click on the Chevron layer, hold Cmd (Mac) or CTRL (Windows) on your keyboard and click on the Diagonal Chevrons layer as well.
CTRL–click (Mac) or Right–click (Windows) on either of the selected layers and choose Pre–compose.
NOTE: You can also precompose layers using a keyboard shortcut, Cmd–Shift–C (Mac) or CTRL–Shift–C (Windows).
In the dialog, name the new composition Chevron Animation.
- Confirm that both checkboxes are disabled.
- Click OK
Drag the new Chevron Animation comp layer down until it is just above the BG—Grid layer.
Double–click Chevron Animation to open it.
CTRL–click (Mac) or Right–click (Windows) on the Diagonal Chevrons layer and choose Guide Layer from the menu.
NOTE: a guide layer remains visible in this pre–comp but will not be visble when this pre–comp is used anywhere else.
Click the lock
 switch for the Diagonal Chevrons layer.
- Save the project by choosing File > Save or pressing Cmd–S (Mac) or CTRL–S (Windows).
Animating with Range Selector Shape
When working with text animators it is important to remember that the advanced properties of range selectors offer a wide range of options that can completely change he look of your animation.
In the Timeline, double–click on the Chevron layer.
NOTE: Several things happen when you double–click on a text layer: the application switches to the text tool, all the text on the layer is selected and the Character and Paragraph panels pop–up.
Press Cmd–C (Mac) or CTRL–C (Windows) on your keyboard to copy the selected character.
Click to the right of the selected character to place the cursor.
Press Cmd–V (Mac) or CTRL–V (Windows) 6 (six) times so that you end up with 7 copies of the character.
In the Paragraph panel, click on the Right Align Text
 button.
Activate the Selection
 tool and reposition the text until it is more centered on the screen.
In the Timeline, double–click on the Chevron layer again to re–select all the text.
In the Character Panel, adjust the Vertical Scale
 and Horizontal Scale
  until the chevrons look more like the reference layer.
We used 90 for Vertical Scale and 60 for Horizontal Scale.
Change the Tracking
 to move the characters closer to each other.
We used a value of -100, but the value will vary depending on if you changed the font, size, or scale values.
In the Timeline, click on the name of the layer to finalize your changes.
NOTE: You can also finalize the text change by clicking on any empty area of the Timeline or by pressing Cmd–Return (Mac) or CTRL–Enter (Windows) on your keyboard.
Click on the reveal arrow
for the Chevron layer.Click the Animate
button to the right of the text group and choose Opacity.In the new animator, set Opacity to 0.
Click the reveal
arrow for Range Selector 1 to reveal its properties.If necessary, move the playhead to the beginning of the Timeline.
Change offset to -50 and click on its stopwatch
to enable animation.Move the playhead to 01;15 and change Offset to 100.
Hold Option (Mac) or ALT (Windows) on your keyboard and click on the stopwatch for the Offset property to add an expression.
In the expression text field type: loopOut();
Click anywhere outside the field to finalize the expression.
Press Spacebar on your keyboard to preview the animation.
The current animation isn’t bad but it may look better if the fade out aniation was a bit more spread out over the characters.
Click the reveal
arrow for the Advanced group of Range Selector 1.Change the Mode to Subtract
Change the Shape to Triangle.
Press Spacebar on your keyboard to preview the animation again.
Save the project by choosing File > Save or pressing Cmd–S (Mac) or CTRL–S (Windows).
Duplicating and Repositioning Layers
Move the playhead to the beginning of the Timeline.
Click off the eye
switch for Animator 1. This will disable the animation.In the Timeline, click on the Chevron layer to make it active.
In the Tools panel, click on the Pan Behind tool to activate it and click on the snapping switch to the right.
NOTE: You can activate the Pan Behind tool by press the Y key on your keyboard.
In the Composition panel, move the Anchor Point to the middle right of the layer. You want it to line up with the middle of the first chevron.
Click the visibility of animator 1 back on.
- Now we’re going to duplicate and flip the layers. With the chevron layer still selected:
- Choose Layer > Transform > Center in View.
- Choose Edit > Duplicate.
- Choose Layer > Transform > Flip Horizontal
Select both Chevron layers.
NOTE: You can select multiple layers by holding down the Cmd (Mac) or CTRL (Windows) key on your keyboard when you click on them.
Click on the Rotate tool in the Tools panel or press W on your keyboard to activate it.
In the Composition panel, click on one of the layers and rotate them into position.
NOTE: If you want to contrain the rotation to 45 degree increments press and hold the Shift key on the keyboard while rotating.
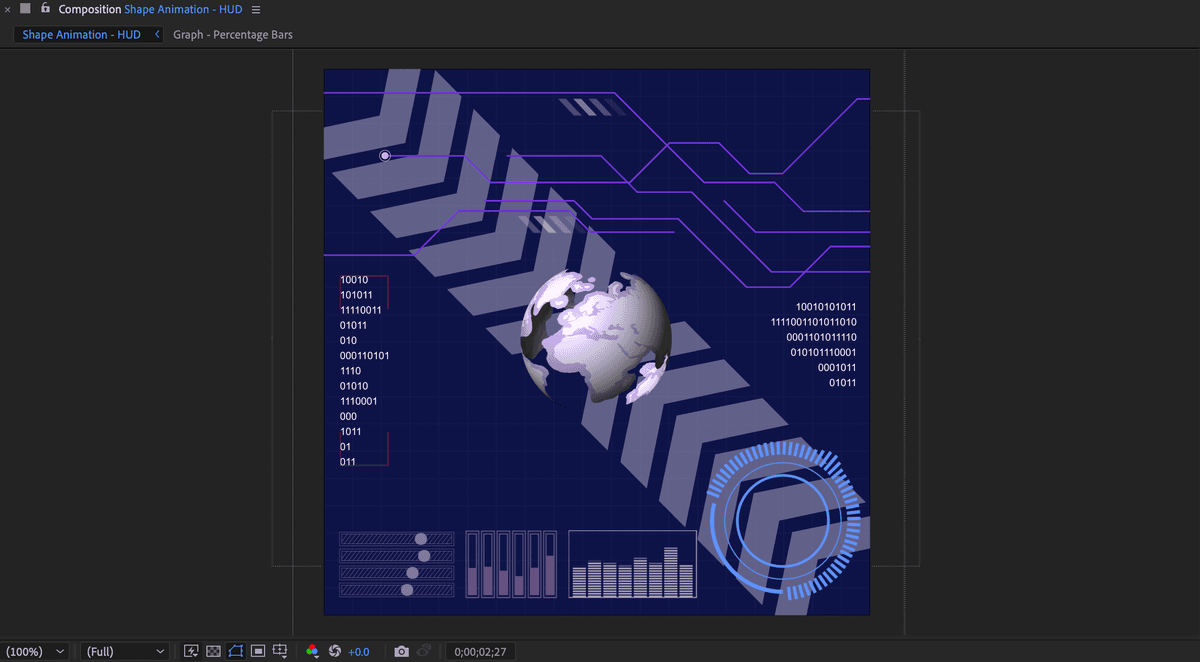
Return to the Shape Animation—HUD composition and preview the new layer animation.
Save the project by choosing File > Save or pressing Cmd–S (Mac) or CTRL–S (Windows).