Wavy Line Blend
Illustrator Vector Workflow
Set Up Document
Pixels for digital, points/inches for print. Add bleed if printing.
Build Shapes
Combine basic shapes with Pathfinder before reaching for the Pen tool.
Apply Color & Effects
Swatches panel for repeatable color; Effects for shadows, glows.
Export
SVG for web, PDF for print, PNG for raster handoff.
Noble Desktop's Illustrator Bootcamp teaches the Pen tool, vector drawing, and pro illustration.
Discover how to enhance your skills in Illustrator by following this detailed tutorial focusing on blending lines, the Reflect tool, and the Rotate tool.
Exercise Preview

Exercise Overview
In this exercise, you’ll take two wavy lines and use the Blend tool  to make this incredible repeating line effect. We show you how to edit the lines to form the proper shape.
Blending Lines
In the Illustrator Class folder, open wavy.ai.
Save it as yourname-wavy.ai.
In the dialog that appears, leave the default options checked and click OK.
Select the wavy line.
Double–click the Reflect tool
 . If you cannot find it, click and hold the Rotate tool
  .
.Under Axis, choose Horizontal.
Click the Copy button, NOT the OK button.
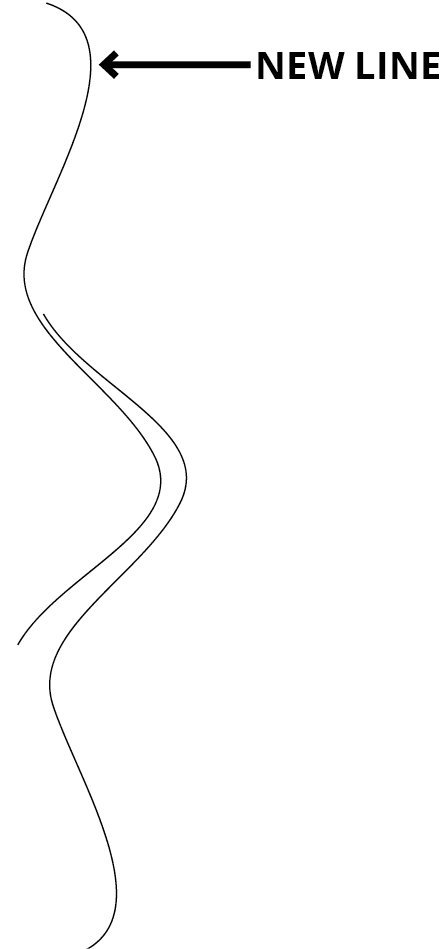
Select the new line and move it up and slightly to the left as shown below.
Select both lines.
Go to Object > Blend > Make.
Double–click the Blend tool
.Set Spacing to Specified Steps.
Enter 50 in the steps field.
Click OK.
Do a Select > Deselect.
Adding Some Color
Choose the Group Selection tool
 .
.Click and drag a selection box over the very top of the blend to select just the top line.
In the Properties panel, change the Stroke to white (using the Color Mixer). The blend is a live effect, so anything done to the lines will update the blend.
Click and drag a selection box over the very bottom of the blend to select just the bottom line.
Let’s change its stroke color too. In the Color Mixer panel, enter 50m, 100y and make sure the other values are set to zero.
Finishing It Off
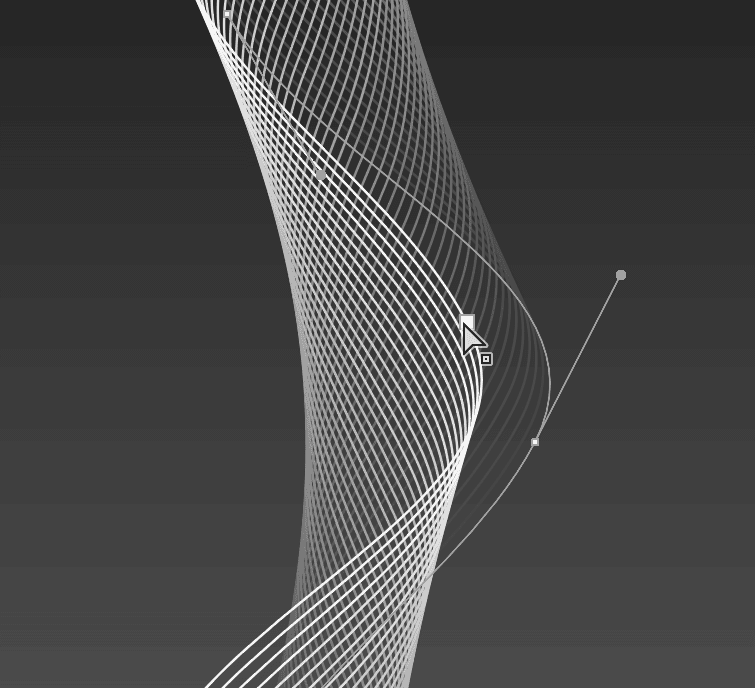
Select both lines so their anchor points are easy to find. We want to tweak them to make the lines look a bit more interesting.
Choose the Direct Selection tool
 .
.Click once to select the middle point of the left line, as shown below.
Click and drag the point to the right, a little past the other curve.
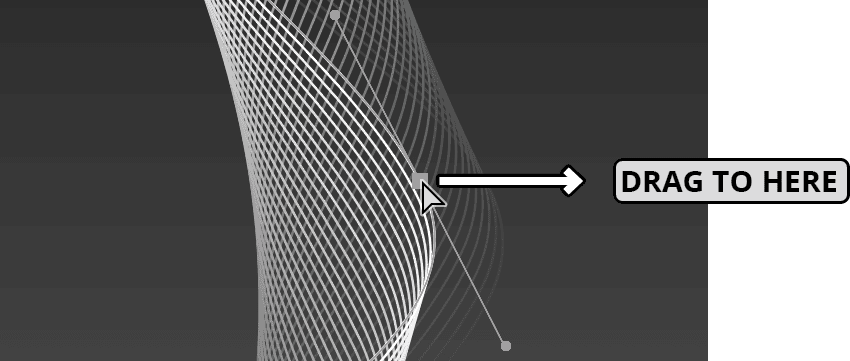
Select the bottom point of this line.
Click and drag the point to the left, about an inch.
Go to View > Fit Artboard in Window or Fit All in Window and admire your work.
Save and close the file when finished.